FUTEK IPM500 (D500) Digital Display User Manual
Page 11
11
9. ENABLING & LOCKING OUT MENU ITEMS
For security reasons and ease of meter operation, any and all menu
items may be disabled or "locked out" so that they are no longer directly
accessible from the front panel. Each function to be disabled is set to "1"
in menu items Loc 1, Loc 2 or Loc 3, and each function to be enabled is
set to "0." The top menu items Loc 1, Loc 2 and Loc 3 can in turn be
locked out by installing an internal hardware jumper. With the jumper
installed, the operator only has access only to enabled menu items. With
the jumper removed, the operator also has access to menu items Loc 1,
Loc 2
and Loc 3.
SETTING HARDWARE LOCKOUT JUMPER
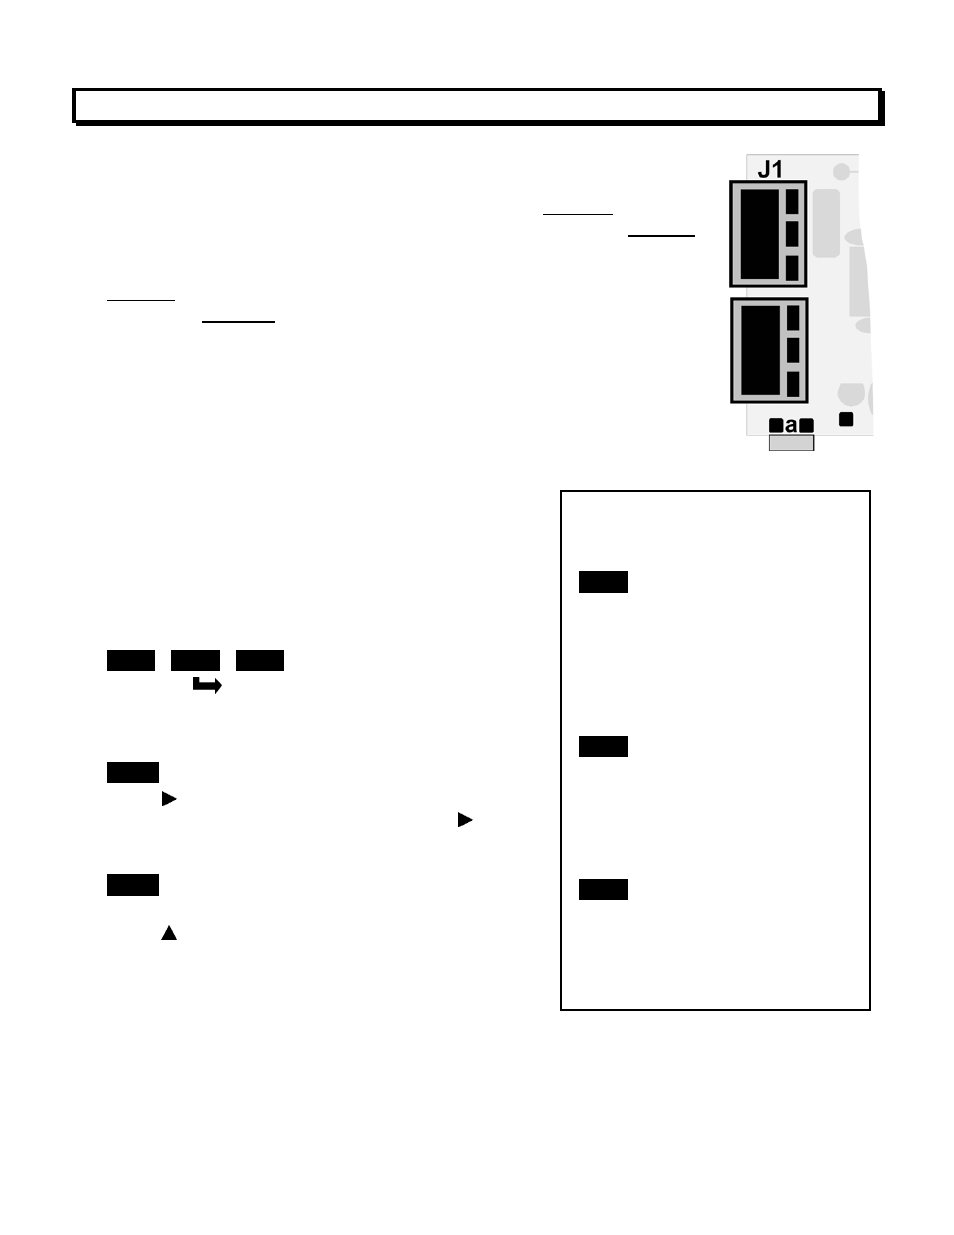
To access the lockout jumper, remove the rear panel per Section 9 and
locate jumper “a” in the lower portion of the power supply board next to
the input connectors (see figure at right).
SETTING SOFTWARE LOCKOUTS
When setting up the meter, it may be necessary to
enable specific menu items by setting the corres-
ponding lockout digit to 0. Be sure to reset the
lockout digit to "1" if you do not want the menu item
to be changed by an operator.
Loc 1 Loc 2 Loc 3
Press the
MENU
key until Loc 1, Loc 2 or Loc 3
is displayed, as desired. Note: the hardware lockout
jumper must be removed (see above).
11111
Press to display the lockout status, consisting of
1’s and 0’s. The left digit will flash. Press again to
step to the next digit, which will flash.
00000
12345
Press to set the flashing digit to "0" to enable the
menu item or to "1" to disable. Press MENU to enter.
See the table to the right for list of menu items that
can be enabled or disabled.
Enabled or Disabled
Menu Items
Loc 1
1
- Input type selection.
2
- Meter setup, configuration
&
decimal
pt.
3
- Filter selection.
4
- Scale or Lo, Hi input.
5
- Offset or Lo, Hi reading
Loc 2
2
- Alarm setup.
3
- Alarm setpoint value
programming.
4
- Analog output scaling.
5
- Serial interface setup.
Loc 3
2
- View peak value
3
- View alarm setpoints
4
- Reset (peak & latched alarms)
5
- Reset (meter reset)