Figure 3-3. main panel, Main panel -9, R. 3.3.2 – KEPCO BIT 4886 Operator Manual User Manual
Page 31: Ar. 3.3.2, Step 30
BIT 4886 120413
3-9
If the
CAL:DPOT
command was used to adjust the negative output, after adjusting the nega-
tive supply output, send
CAL:LCURR MAX
to the unit and repeat step 26 before proceeding
to step 29.
29.Set the BOP to current limit by sending
CAL:CPR MAX
. Continue to measure the output of
the BOP.
30.Send the command
CAL:DATA -10
to decrease the voltage across the sense resistor until
the output voltage measured is within, or close to, the tolerance specified in Table 3-2 for
CURRENT LIMIT ADJUST. Send the command
CAL:DATA 1
to increase the voltage or
CAL:DATA -1
to decrease the voltage as necessary until the measured value is within the
tolerance specified in Table 3-1 for CURRENT LIMIT ADJUST.
31.Save the calibration levels by sending
CAL:SAVE 2/21/2004
. The 9 characters at the end
are optional and are the calibration date of the power supply. The date entered in this man-
ner is reported in the
*idn?
query. This can be prove useful for checking calibration dates
when periodic calibration is imposed by system or quality requirements.
3.3.2
CALIBRATION OF BIT 4886 INTERFACE CARD USING THE VISA DRIVER SOFT PANEL
Calibration of the BIT 4886 card installed in the BOP is performed using SCPI commands imple-
mented through the Instrument driver. The driver provides a graphical interface with informa-
tional displays and prompts which lead you through the calibration of the BIT 4886 card. This
VISA compliant driver works with many GPIB cards from suppliers like National Instruments and
Hewlett-Packard.
NOTE: PC-12 connector (See Figure 2-2) must be installed for BOP to function.
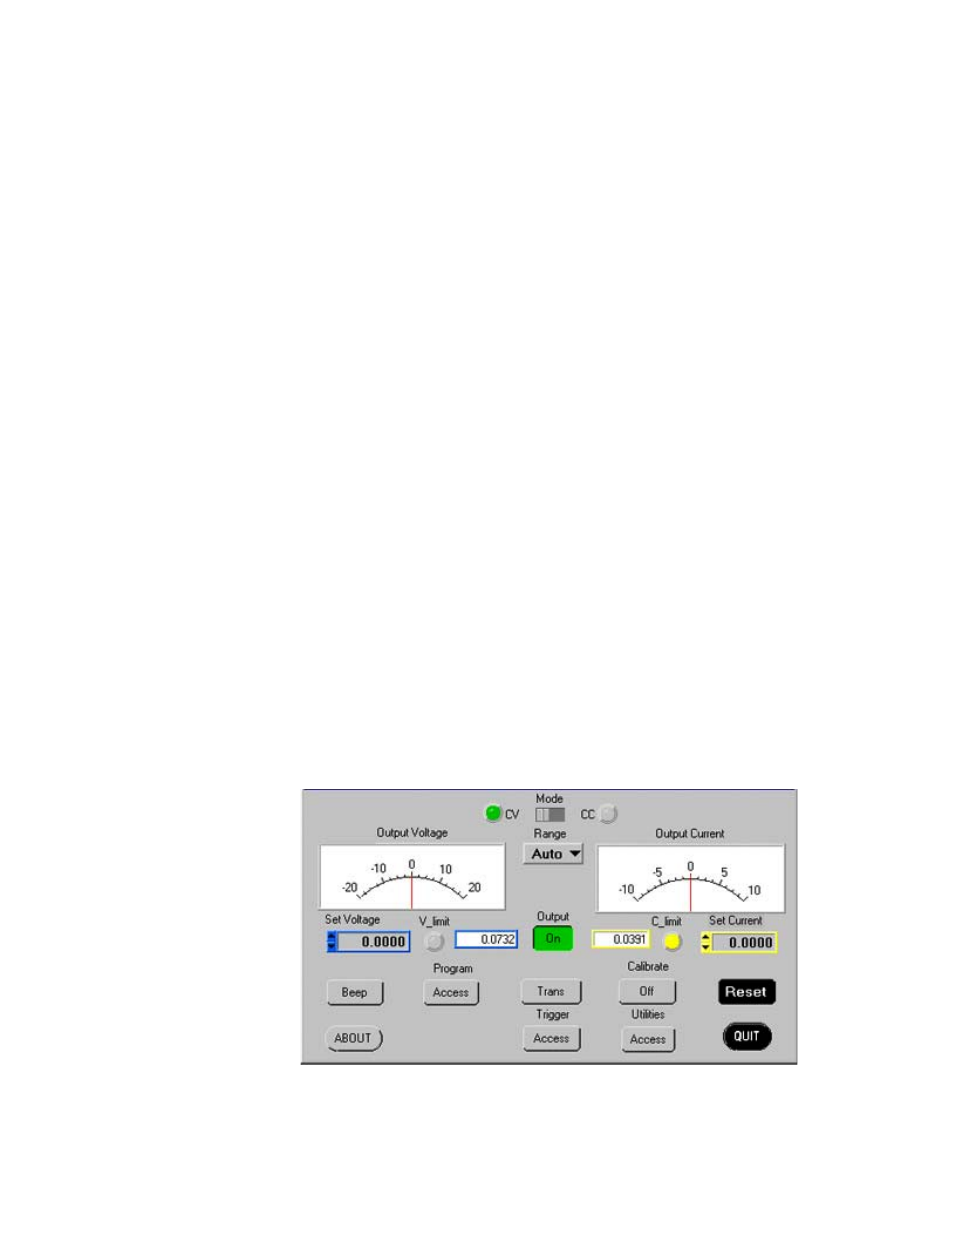
The following calibration procedure uses the “soft” front panel which is part of the CVI driver for
the BIT 4886 which can be downloaded from the Kepco website at:
www.kepcopower.com/drivers.htm
Unzip the files and doubleclick on setup.exe to install the driver. The bit_mdac folder will be
added to the Start - Programs folder. Doubleclick bit_mdac.exe to run the program, and refer to
the visamdac.pdf in the bit_mdac folder for details about using the soft front panel.
FIGURE 3-3. MAIN PANEL