Displaying interface information – Brocade Virtual ADX Installation and Deployment Guide (Supporting ADX v03.1.00) User Manual
Page 22
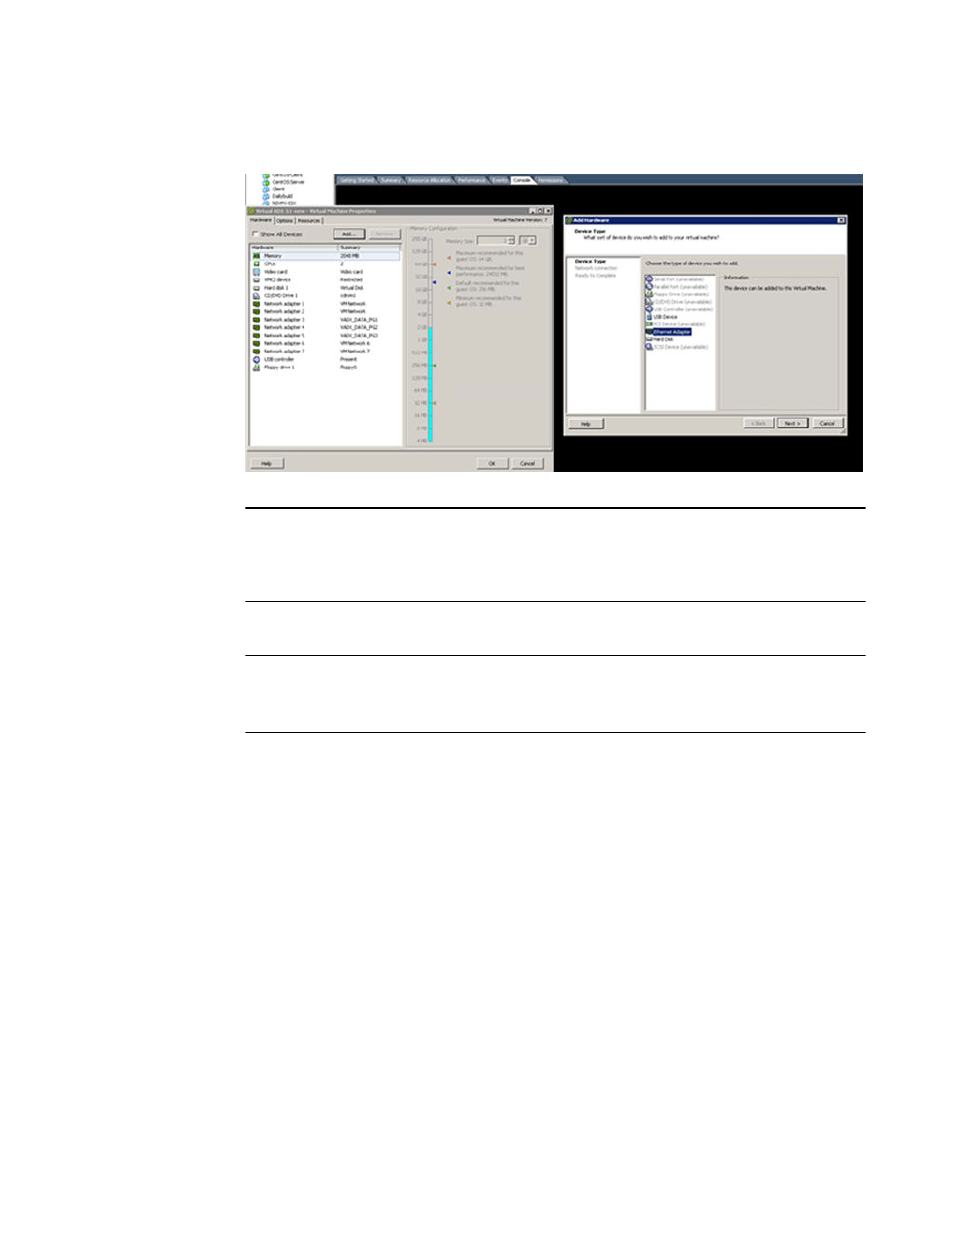
FIGURE 1 ESX: Add or remove an interface
NOTE
Interfaces must be added in interface number order i.e. 4, 5, 6, 7, 8 and removed in reverse order
i.e. 8, 7, 6, 5, 4. Adding or removing interfaces in any other order will generate a random order of
interfaces on the VM. To ensure proper functioning on the Brocade Virtual ADX, disable (rather than
remove) an interface from the middle of the configured range of interfaces.
3. If you want to add or remove another interface, return to Step 2.
NOTE
Brocade Virtual ADX supports a maximum of nine interfaces. Adding more than nine interfaces will
generate a random order of interfaces on the VM and interfere with normal processing on Brocade
Virtual ADX.
4. Power on and access the Brocade Virtual ADX from the vSphere client to confirm that the interfaces
are now added or removed.
A vSwitch in trunk mode will not cause network loops. To avoid looping in other cases, add one
vSwitch only to each interface.
Displaying interface information
Use the following steps and commands to display interface information.
1. Logon to your Brocade Virtual ADX.
2. To display information about the interfaces available on a device use the following command.
Virtual ADX# show interface brief
Port Link State Dupl Speed Trunk Tag Priori MAC Name
1 Up Forward Full 10G None No level0 000c.2973.098c
2 Up Forward Full 10G None No level0 000c.2973.0996
3 Up Forward Full 10G None No level0 000c.2973.09a0
4 Up Forward Full 10G None No level0 000c.2973.09aa
5 Up Forward Full 10G None No level0 000c.2973.09b4
6 Up Forward Full 10G None No level0 000c.2973.09be
7 Up Forward Full 10G None No level0 000c.2973.09c8
8 Up Forward Full 10G None No level0 000c.2973.09d2
mgmt1 Up Forward Full 10G None No level0 000c.2973.0982
Displaying interface information
22
Brocade Virtual ADX Installation and Deployment Guide
53-1003241-01