Using the electronic control display – A.O. Smith 12 40GPC T 100 User Manual
Page 18
18
USING THE ELECTRONIC CONTROL DISPLAY
How to select or change the temperature scale from Fahrenheit (°F) to Celsius (°C).
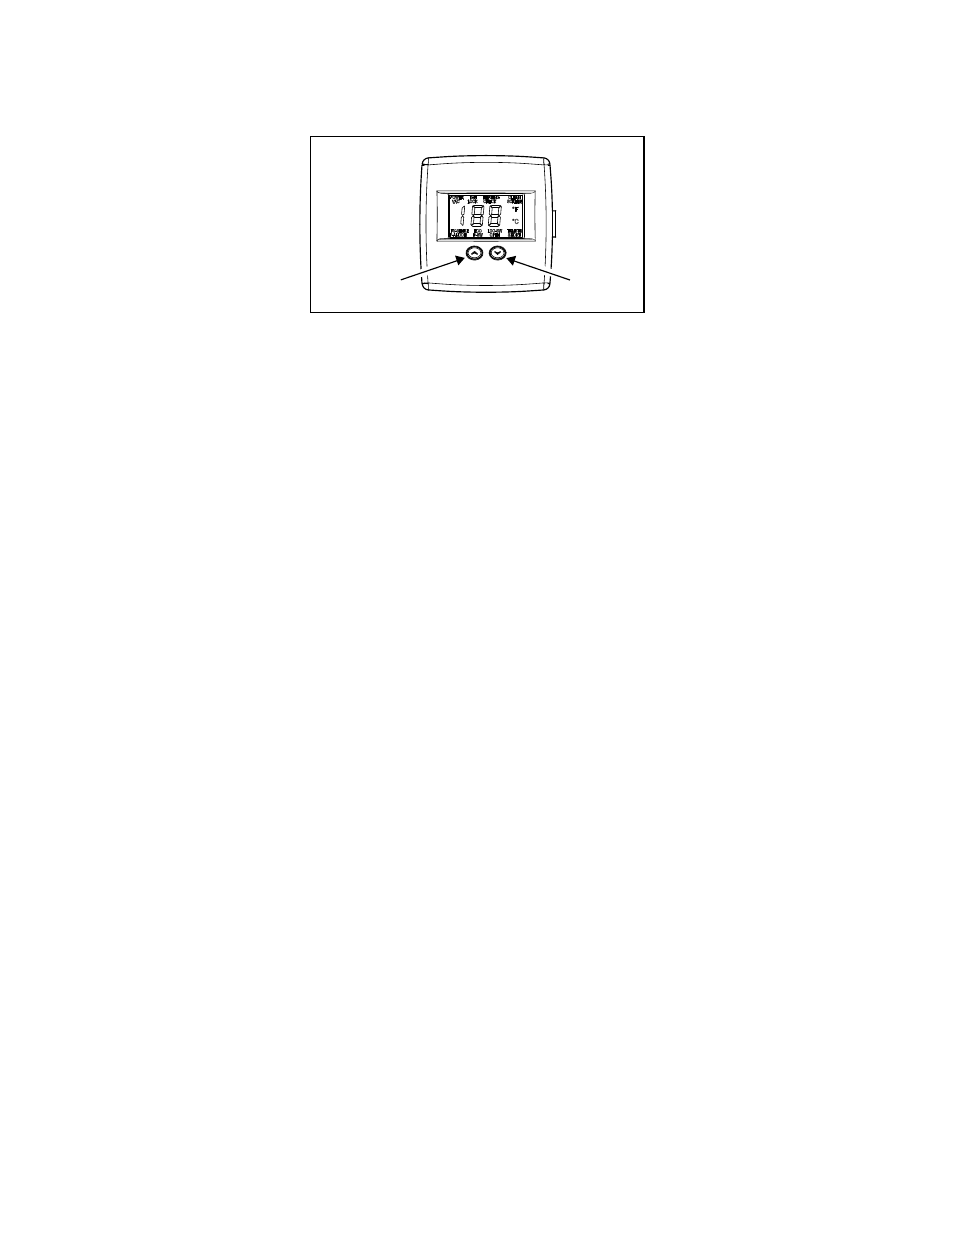
Figure 22.
1. The temperature scale defaults to Fahrenheit (°F).
2. To change to Celsius (°C), press the two temperature adjustment buttons at the same time for more
than five (5) seconds but less than 10 seconds to enter the Temperature Scale Selection mode. In this
mode the currently active temperature scale indicator (°F or °C) will start to flash. When in this mode a
button press of either the red up arrow, or the blue down arrow button will cause the control to toggle
the temperature scale between °F and °C (Figure 22).
3. Once the selection has been made the user may exit this mode by again pressing the two temperature
adjustment buttons at the same time for more than two (2) seconds but less than five (5) seconds. The
control will also time out five (5) seconds after the last button press and return to the normal operational
mode.
Fault Code Diagnostics:
• The control system of this water heater monitors inputs and outputs.
• When the system determines a fault condition is present it will show the
fault on the display.
• Depending on the fault, the system may continue to operate or enter a
timed
lockout.
• Lockout time varies depending on the fault.
• When the lockout time expires, if the fault has been corrected, the system
will attempt normal operation.
Fault Code Retrieval:
• The system will display the last eight (8) fault codes.
• The system will display how many days ago each fault occurred, up to 14 days.
Note: A “14” indicates that the fault occurred 14 or more days ago. Interrupting
the power restarts the date code at “00”.
• User must enter Field Service Mode to view information.
• Current water temperature, measured at gas valve/thermostat will also be
displayed
in
Field Service mode.
Entering Field Service Mode:
1. Press and hold both temperature adjust buttons (Figure 22).
2. Hold both buttons as control passes from the set point display to Temperature Scale Selection menu.
Continue to hold buttons until “CHECK” icon is displayed, then release buttons. This will take 10 to 15
seconds.
3. The display will show the current water temperature, “POWER” icon, “CHECK” icon and will flash any
current fault icons. The backlight will always be displayed while in the Field Service Mode.
Gas Control Valve/Thermostat Settings
COOLER
HOTTER
Electronic Control Display