Replacing the sd system with a sheath bottle – Luminex 200 System User Manual User Manual
Page 43
1. Turn off the power switch on the rear of the analyzer or instrument, then unplug the
instrument power cord from the wall source. Remove the power cord from the analyzer or
instrument.
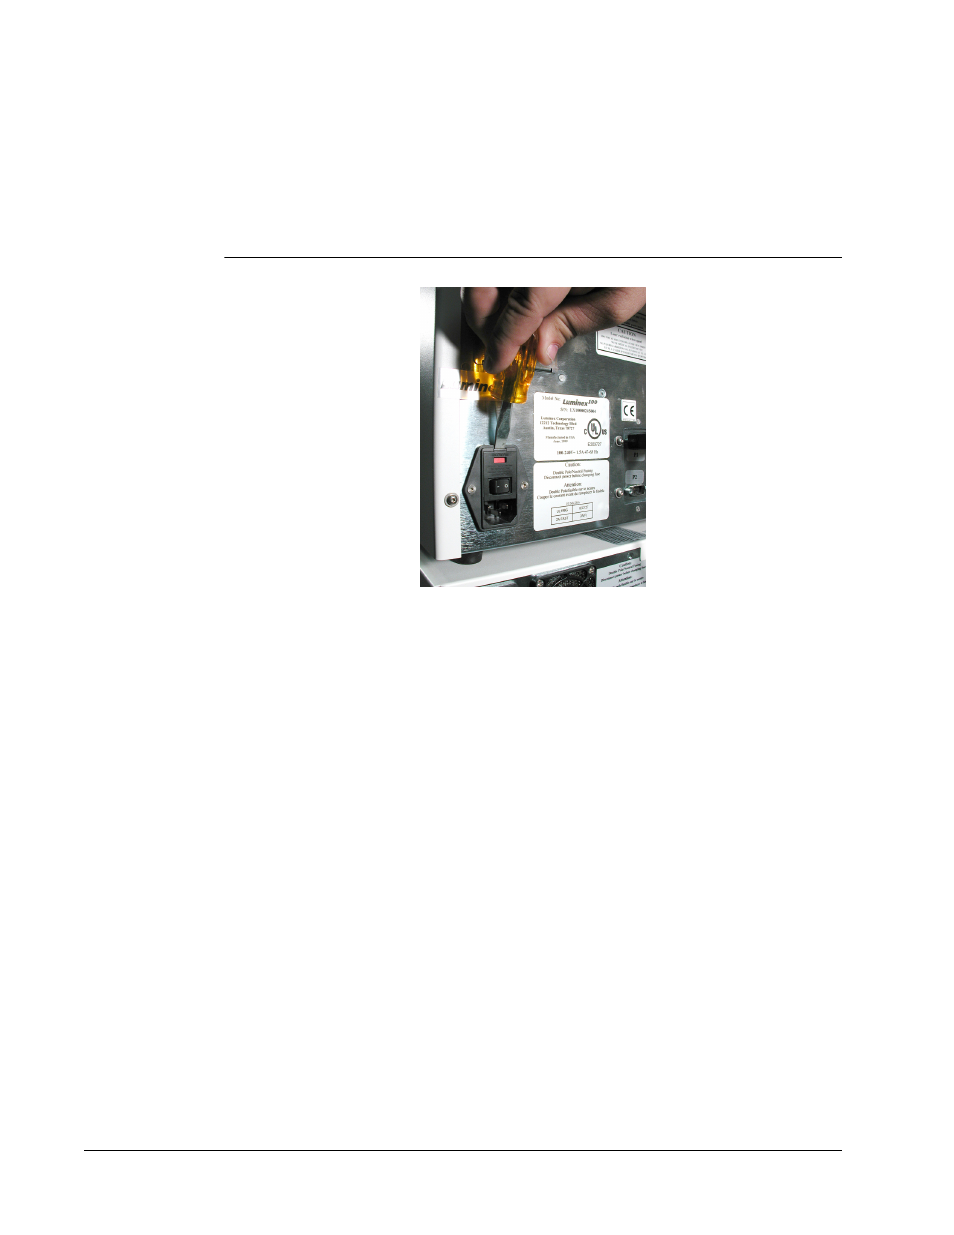
2. With a small, flathead screwdriver, open the module door on the lower left corner of the
back of the analyzer or instrument. See the following figure.
FIGURE 12.
Opening the Module Door
3. Remove the red cartridge (use a flathead screwdriver).
4. Check both fuses for damage.
5. Replace damaged fuses with the type specified on the sticker to the right of the power
input module.
6. Replace the module door.
7. Plug in and power on the analyzer or instrument.
Replacing the SD System with a Sheath Bottle
You may need to replace the Sheath Delivery (SD) system with sheath bottles for
maintenance or troubleshooting.
1. With the SD still connected, perform Warm Up using the software.
2. When the pressure has stabilized, note the sheath pressure in the software.
3. Open the access door on the analyzer. Use a screwdriver to turn the regulator
approximately five full turns to the left (counterclockwise).
4. Shut down the SD and disconnect it from the analyzer.
5. Attach the sheath bottle (preferably full) to the analyzer.
6. Open and close the sheath bottle cap in order to release any remaining pressure within
the system.
7. Perform Warm Up using the software if the compressor has turned off.
8. When the pressure has stabilized, note the sheath pressure.
For In Vitro Diagnostic Use
Maintenance and Cleaning
31