Replace the syringe, Luminex 200 analyzer ventilation filter – Luminex 200 System User Manual User Manual
Page 41
Replace the Syringe
To replace the syringe:
1. Screw the syringe into place.
2. Grab the base of the syringe plunger and gently pull down on it until it is fully seated into
the opening of the arm.
3. Tighten the thumbscrew at the base of the syringe completely. If the thumbscrew does
not go in as far as it did before, reposition the plunger and try again.
4. Turn on the analyzer. The syringe will return to its home position before the analyzer
begins its normal start up process.
5. Prime the system twice, watching for any leaks in the syringe area.
6. When the prime finishes, close the analyzer door.
Luminex 200 Analyzer Ventilation Filter
1. Disconnect the Luminex 200 analyzer from AC power by turning off the power switch on
the rear of the analyzer, then unplug the analyzer power cord from the wall source.
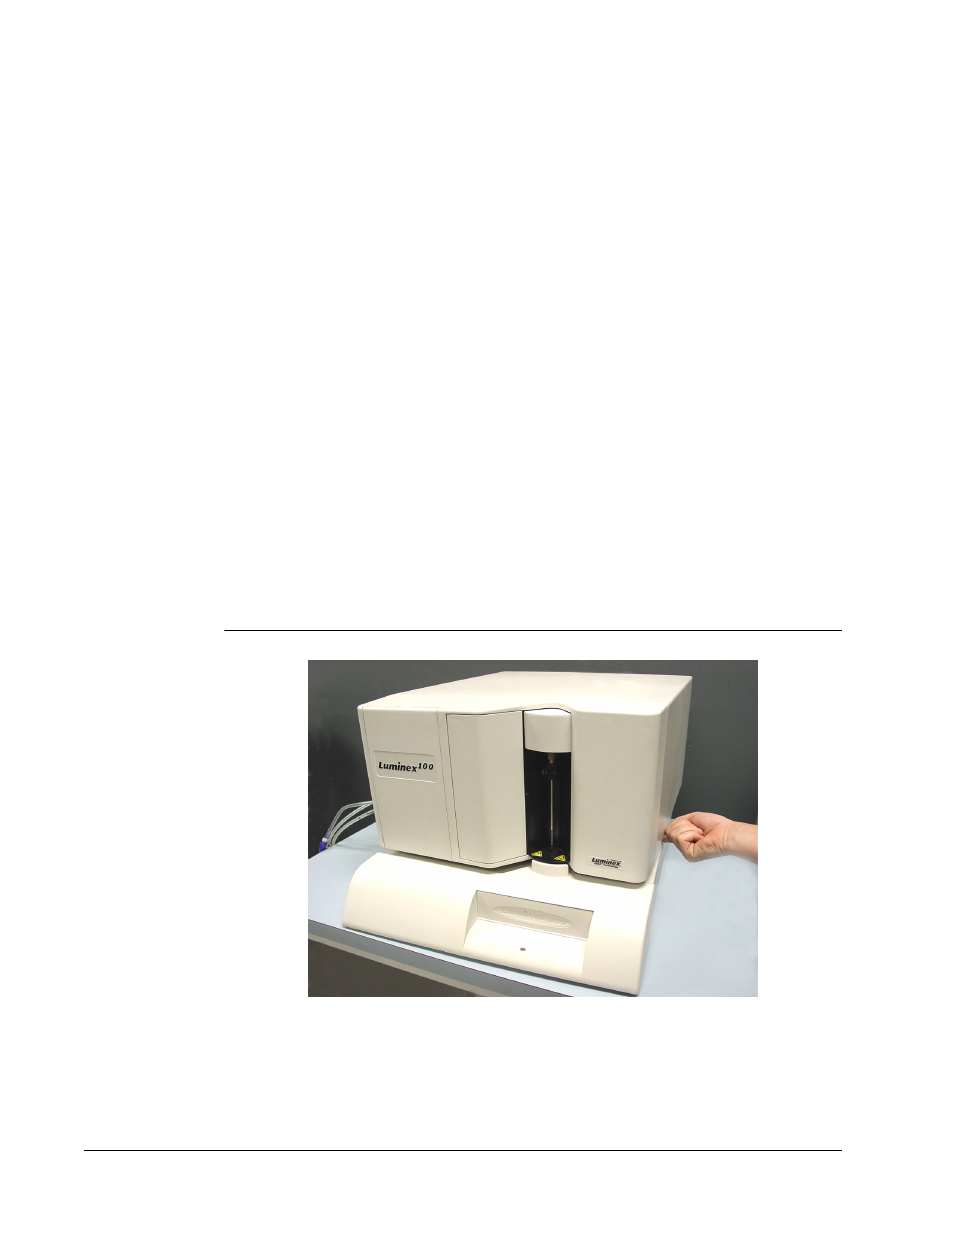
2. While facing the Luminex 200 analyzer, place your index finger up under the right side of
the analyzer (in the space between the Luminex 200 analyzer and the Luminex XYP
instrument). When you feel the filter, push the filter toward the left of the analyzer. See
the following figure.
FIGURE 10.
Luminex 200 Analyzer Ventilation Filter
3. Remove the filter from the left side of the Luminex 200 analyzer.
4. Clean the filter with a vacuum or with distilled water. Stand the filter upright to air dry.
5. Re-install it with the arrows facing up. The filter should click into place.
6. Plug in and turn on the Luminex 200 analyzer power.
For In Vitro Diagnostic Use
Maintenance and Cleaning
29