Soft edge blending, 1 soft edge blending, 2 soft edge setup – Analog Way Orchestra2 User Manual
Page 42: 1 soft edge blending 8.2 soft edge setup
42
8.1 Soft Edge blending
8. SOFT EDGE BLENDING
8.1 Soft Edge blending
8.2 Soft Edge setup
If you want to create a Soft Edge setup using only one unit, you need to set the unit in «Embedded SEB» mode
and connect your Left projector to «Output 1» (Main) and your Right Projector to «Output 2» (Preview).
In this «Embedded SEB» mode type of setup, your unit does not have a Preview anymore, unless the unit is
equipped with an Optional Video Output Board. In this case, you can use the Optional Video Outputs for your
Preview purposes. (Adjust the «Video Out» to the format of the monitor connected to it).
If you want to do a Soft Edge setup using multiple units, you need to set all of the units in «Mixer» mode and
connect the projectors to the «Output 1» (Main) of each unit.
To correctly clean setup your Soft Edge, follow these simple steps.
It is important to do the setup in the right order as follows:
1.
Switch ON your Unit(s).
2.
In the «Control» menu, run an «Erase Memories» (on all units).
3.
In the «Control» menu, run a «Default Values» (on all units).
4.
If you wish to setup a Softegde with only one unit, in the «Mode» menu select the «Embedded SEB» mode.
If you wish to use multiple units, in the «Mode» menu select the «Mixer» mode.
5.
In the «Output» menu, set the «Output Format» at the same resolution (native resolution) as the projec-
tors that you use.
6.
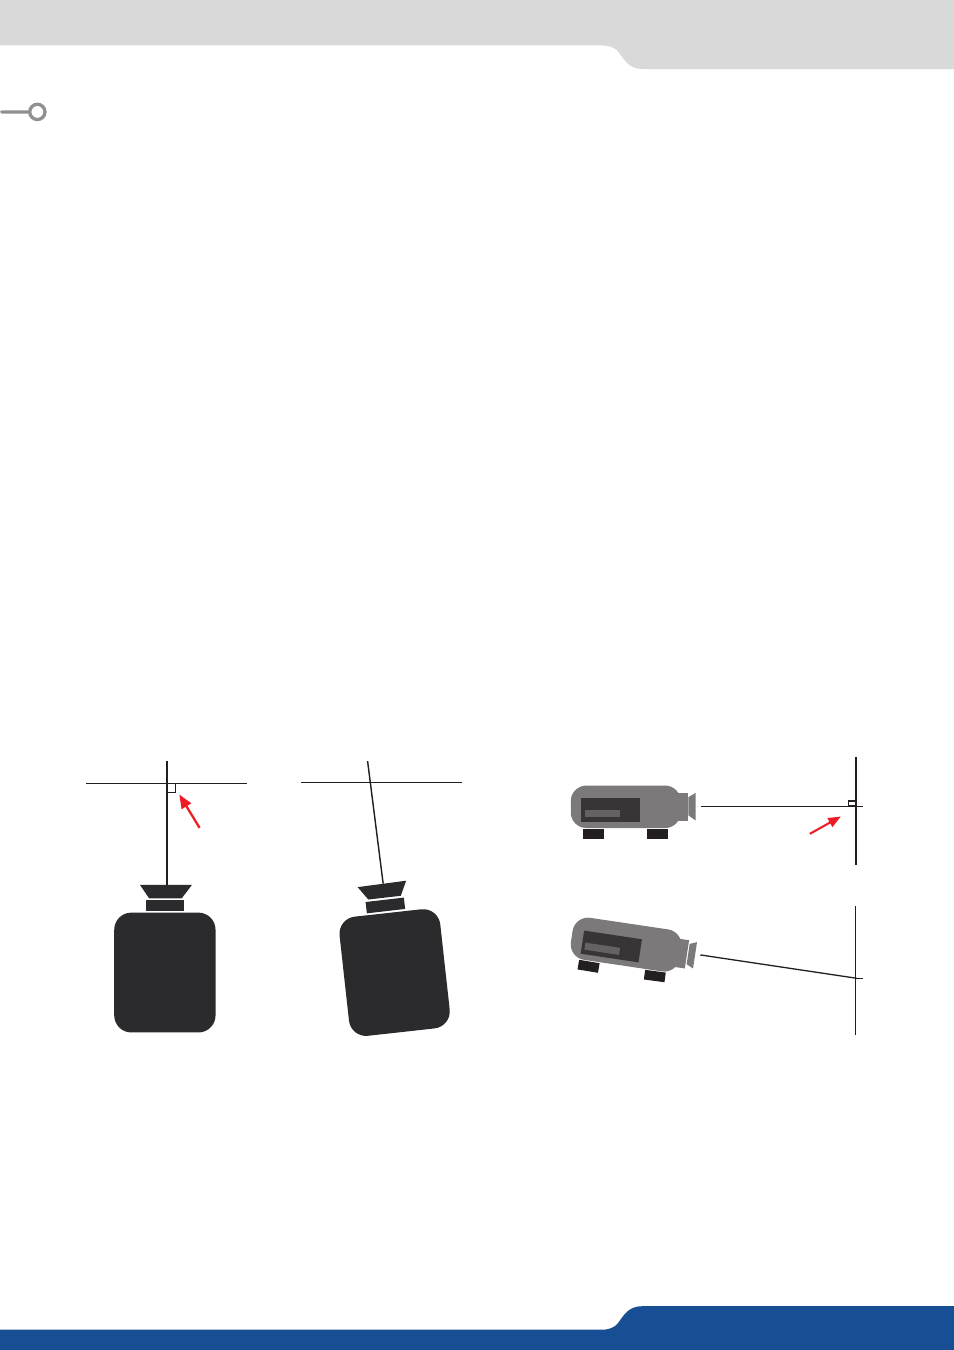
Physically align the projectors so that their internal test patterns are correctly displayed on the screen. To
do a correct projection, the projectors must be positioned at 90° to the screen in the X and Y axes.
NOTE:
• If you must move image, latteraly, always move VP.
• When moving image verticaly, use the lens shift on your VP.
NEVER USE KEYSTONE
Right
angle
Screen
Screen
VP
VP
Screen
Screen
Right
angle
VP
VP