3 live backgrounds, 1 adding a background, 2 clearing a background – Analog Way Orchestra2 User Manual
Page 29: 4 frame backgrounds, 1 adding a frame
29
To add a Live Background (motion content layer) to your empty Preset, proceed as follows:
1.
Press the
BKGND LIVE
button: activate the Live Background container rectangle on screen. The tactile
screen of the Orchestra² will display a yellow rectangle, indicating the selected area, and your Preview
output will display an empty selection rectangle.
2.
The blue Source Preview section light will blink to indicate you can select the source you want to use as a
Live Background. Press a
SOURCE PREVIEW
button (#1 to #8). The chosen image should now appear on
your Preview output.
3.
Press the
TAKE
button to view the result on your Main output.
To add a Frame (fixed content frame) to your empty Screen, proceed as follows:
1.
Press the
BKGND FRAME
button: activate the Background Frame outline rectangle on screen. The tactile
screen of the Orchestra² will display a yellow rectangle, indicating the selected area.
2.
The blue Source Preview section light will blink to indicate you can select the source you want to use as a
Background Frame. Press a
SOURCE PREVIEW
button (#1 to #8). The chosen image should now appear on
your Preview output.
3.
Press the
TAKE
button to view the result on your Main output.
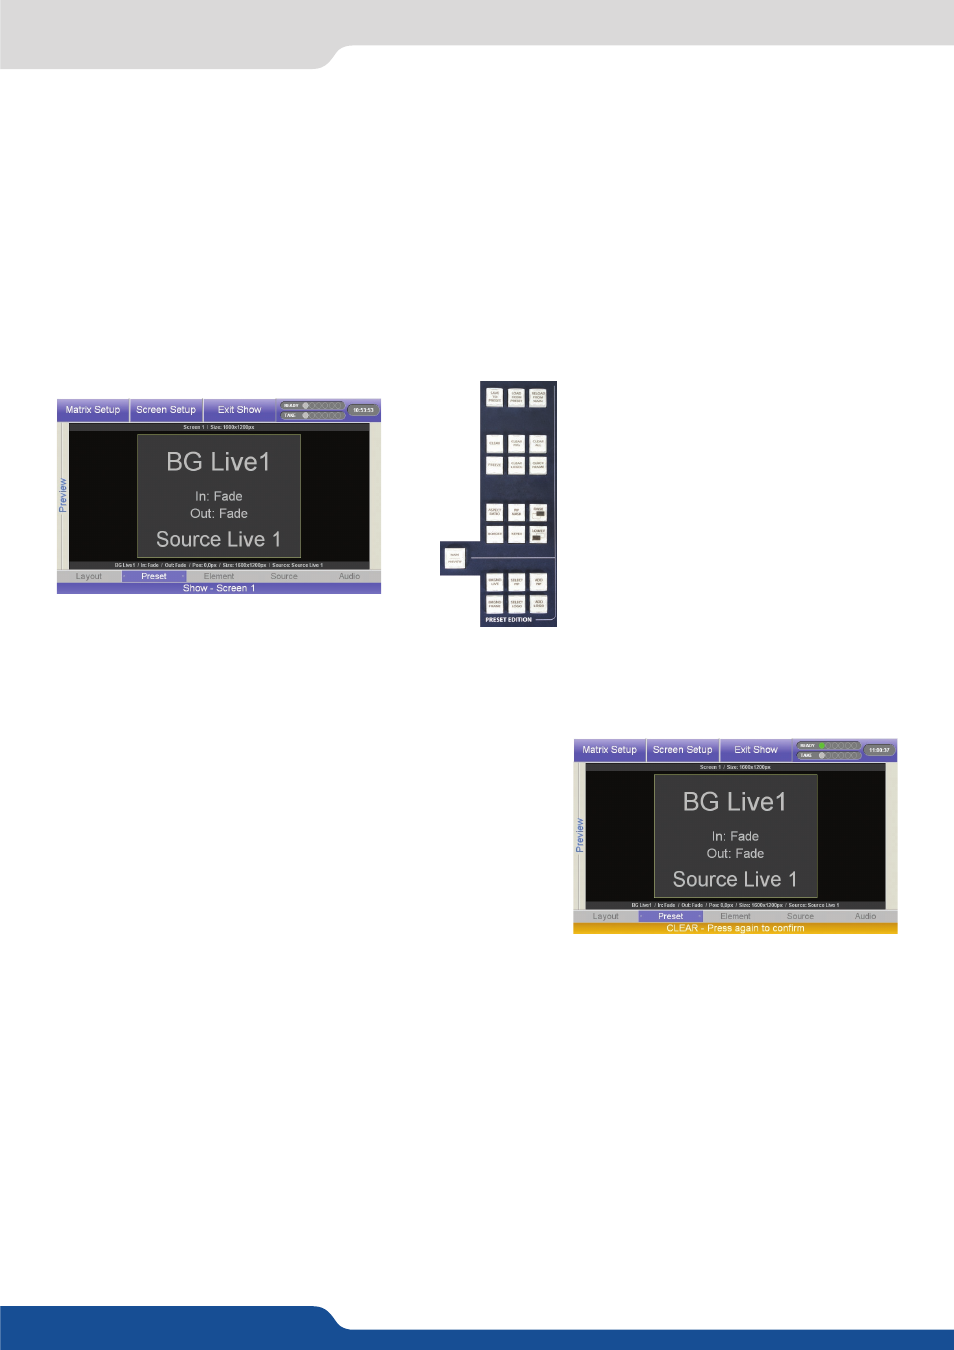
To clear a Live Background from your Screen, proceed as follows:
1.
Press the
BKGND LIVE
button to select the Live Background
you wish to clear from your Screen.
2.
Press the
CLEAR
button once. In the Orchestra² Settings
section, the touch screen will ask to confirm in the form of
a message on a yellow banner at the bottom of the screen.
Press the
CLEAR
button again to confirm. The Live Background
will go to black on the Preview output.
3.
Select a new source for your empty Live Background by
pressing a
SOURCE PREVIEW
button (#1 to #8), or simply
press the
TAKE
button to view the result on your Main output.
NOTE: You do not need to clear a background to switch its source.
5.3 Live backgrounds
• Preset Edition: Save, load and modify presets. Various
layer properties are also available in this section.
• CLEAR ALL button: delete all layers.
• Please refer to our user manual for all the functions
in this section.
5.3.1 Adding a background
5.4.1 Adding a Frame
5.3.2 Clearing a background
5.3 Live backgrounds
5.4 Frame backgrounds