9 image settings, 10 logos & frames – Analog Way Orchestra2 User Manual
Page 25
25
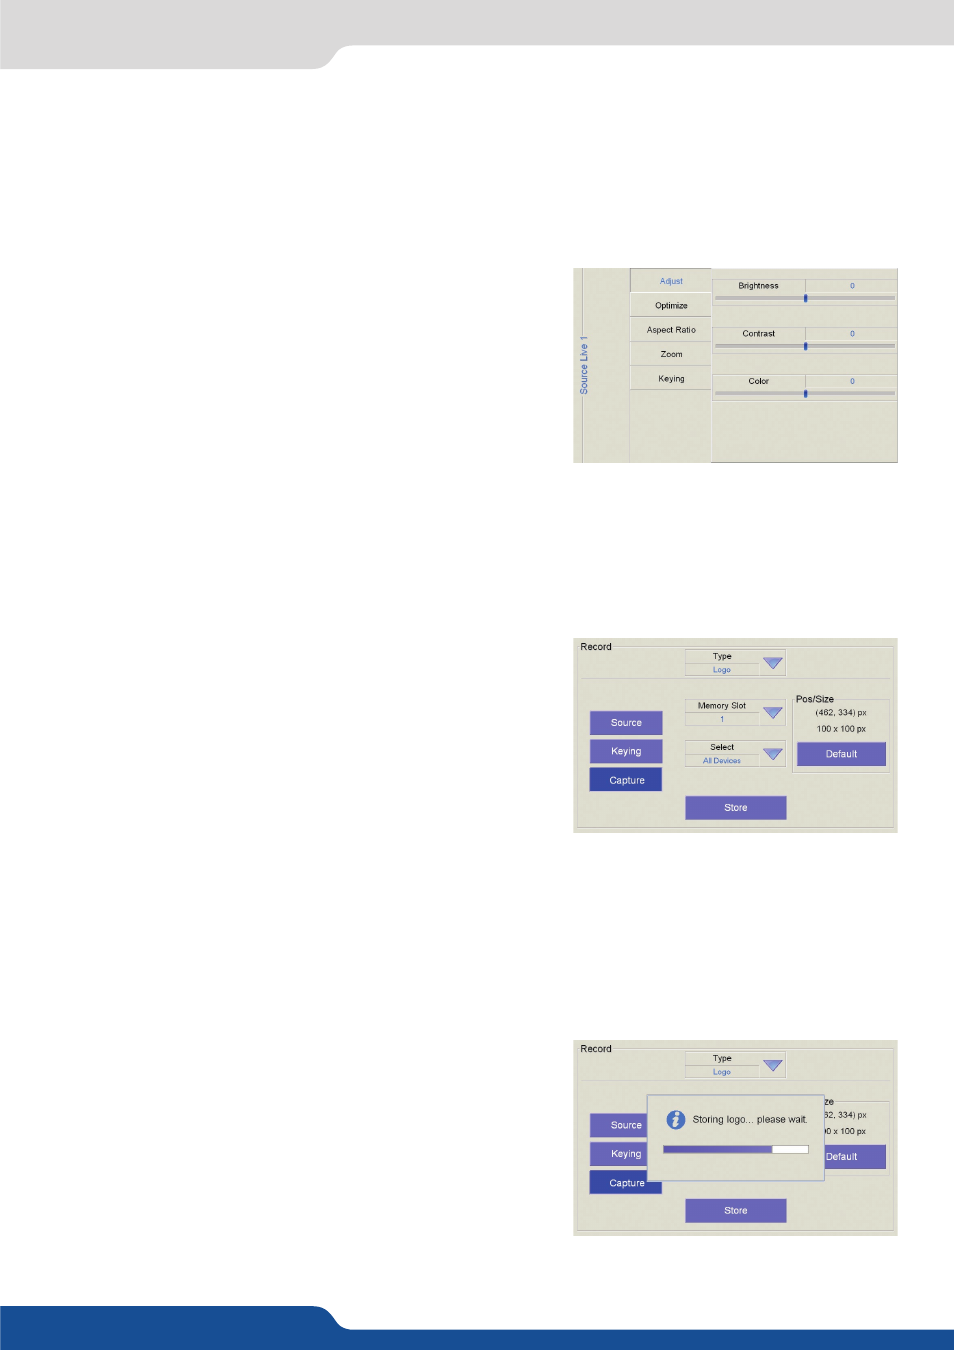
The Image Settings page allows you to fine tune the source image of any input you have previously entered
into your Screen.
NOTE: This menu is accessible when working directly with live sources on the Orchestra² front panel (for
more detail on Image Settings, please refer to the Layer Settings chapter).
1.
In the Screen Setup page of the Orchestra², press
Image
Settings
. The Image Settings page will give access to different
settings depending on whether the selected source is a digital
or an analog source.
2.
Select the source you wish to work on. Buttons in the Source
Preview section will light up, indicating the sources are
available.
3.
Select the Adjust, Advanced, Position/Size, Optimize, Aspect
Ratio, Zoom or Keying tabs to adjust those settings of your
source image by rotating the corresponding knobs, or selecting the options required.
4.
When you are satisfied with your image settings, press the
OK
button to return to the Screen Setup page.
4.2 Show settings
The Logos/Frames page allows you to capture and store logos and frames (see also Frame Background).
1.
In the Screen Setup page of the Orchestra², press Logos/
Frames. The buttons in the Source Preview section of the
Orchestra² will light up, allowing you to display the source you
wish to capture. The buttons in the Layout section will also
light up, and give you access to your logo or frame parameters.
2.
Select the source you wish to capture by pressing a
SOURCE
PREVIEW
button (#1 to #8), then select the type of capture
you wish in the dropdown list. In this case, we will see how
to record a logo. A white rectangle will appear on screen to
indicate the area to capture as a logo.
3.
Select the memory you wish to store the logo/frame into (#1 to #8) in the Memory Slot dropdown list.
4.
In the Layout section, press the
POS
button, and with the help of the joystick, move the rectangle on screen
to the area where your logo is. Resize the outline to fit the logo if need be, by pressing the
SIZE
button then
adjusting with the joystick.
NOTE: To move the source, rather than the container rectangle itself, press the source tab and adjust size and
position with the help of the joystick as described in step #4.
5.
Press the keying tab to adjust the keying settings for your logo.
6.
Once all your logo parameters are set, press
Store
in the
Capture Tab. The Orchestra² will display a progress status bar
while the device memorizes the logo.
7.
Press the
OK
button to return to the Screen Setup page.
NOTE: To record a logo in Soft Edge Blending Mode, you need to
press Source, then press Switch Extended.
4.2.9 Image Settings
4.2.10 Logos & Frames