Analog Way Axion2 User Manual
Quick start guide, Axion2 - ref. arc200
QUICK START GUIDE
What’s in the box
Axion2 settings
Thank you for choosing
Analog Way
and the
Axion2
. By following these simple steps, you will be able to setup
and use your powerful High End Remote Controller within minutes. Discover the
Axion2
extensive capabilities and
intuitive interface while configuring your first show, and unleash your creativity for a new experience in show and event
management by
Analog Way
.
Axion2 - Ref. ARC200
1 x
Axion2
(ARC200)
1 x Power supply cord
1 x Set of adjustable feet
1 x Stylus
1 x User Manual (PDF version) *
1 x Quick Start Guide (PDF version) *
The
Axion2
automatically detects that the correct software
version is in use on the product that it is connected to. If
connecting the Axion2 directly to your product make sure
that you use an Ethernet crossover cable.
For programming a preset, here is the configuration to do:
#1- Select a Screen #1 to #6
#2- Create a layer by “Preset Edition” section
#3- Select a source
#4- Save the configuration of the Screen in a Preset.
=> Restart the steps #1 to #4 if several Screens are
associated to a Preset.
Specific commands:
- For saving a Preset with black content, you must save an
empty Preset.
- Short press on a preset: loading of all information saved
into the memory and selecting only the relevant screens
in the Transition section.
- Long press on a preset: Loading only the information
concerning the Screens selected in the Transition section.
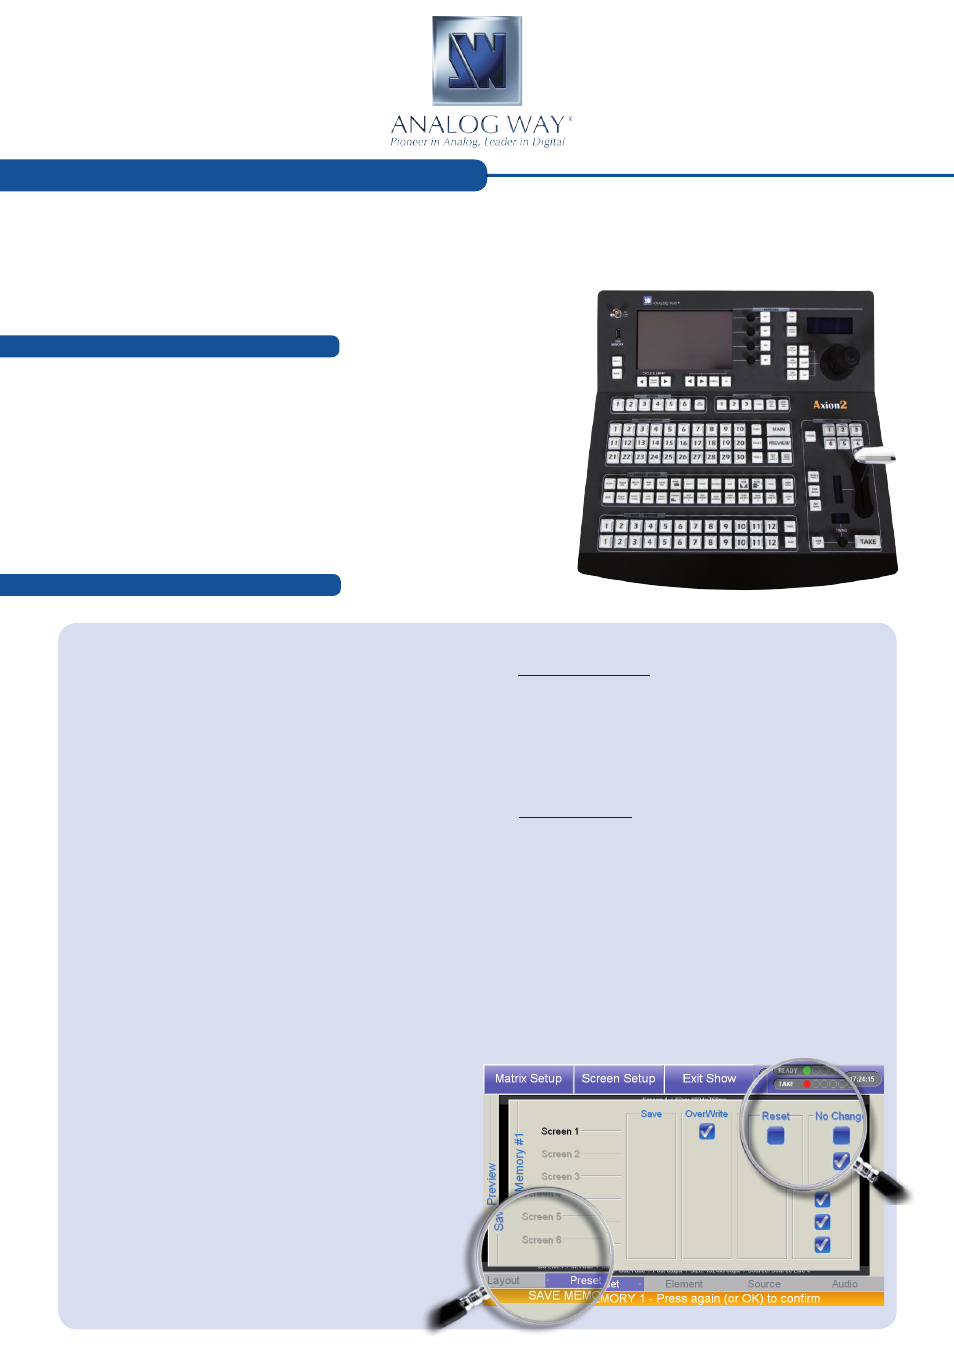
- For cleaning a Preset (Memory): Save To Preset =>
Confirm the reset of the memory on the touch screen.
The check boxes are not automatically checked by the
software.
The operator must confirm the action of erasing.
Sequences mode:
- Impossible to add an empty preset in a sequence.
- Long press on the < or > button: Shifting at the start or the
end of the sequence.
- Short press on the < or > button: moving step by step in
the sequence.
Lines of status of top screen:
● Line status READY
- Grey dark circle: No device
- Grey light circle: Device not connected
- Yellow circle: Initializing and synchronizing device
- Green circle: Device connected and ready for operation.
● Line status TAKE
(Redundant with the Transition section)
- Grey dark circle: No device
- Grey light circle: Screen unselected, no action scheduled
- Red circle: The Main is different from Preview. The
screen will change after a Take.
Line status of bottom screen:
The line including the followings terms (Preset, Element,
Source, Audio) is a shortcut for accessing a menu page.
* Download on our website:
www.analogway.com