Packaging for shipment – Extron Electronics HSA 822M User’s Manual User Manual
Page 29
Packaging for Shipment
HSA 822M • Packaging for Shipment
HSA 822M • Packaging for Shipment
CAUTION
Installation and service must be performed by
authorized personnel only.
The HSA 822M’s ultra-fine machined surfaces and moving parts
make them vulnerable to damage caused by mishandling
during shipment if they are improperly packaged. If, for any
reason, you need to return an HSA to Extron, first contact
Extron to obtain a return kit. The return kit, which reduces the
chances of damage during shipment, includes a sturdy shipping
carton, shipping restraints, and foam cut to fit the HSA
(figure B-1).
Figure B-1 — HSA 822M return kit
Package an HSA for shipment as follows:
1
.
Contact the Extron S
3
Sales & Technical Support Hotline to
obtain a return kit. Extron will send the repair kit to the
location you specify.
The flanged edges of the top of the surface enclosure
are sharp when the HSA is removed from the table.
Exercise caution when handling to prevent personal
injury.
CAUTION
The flanged edges of the top of the surface enclosure
are bevelled to an ultra-fine thickness of less than
0.04 (4/100)" (approximately 1 mm). These edges
are soft and can be easily nicked or bent. Exercise
caution when handling and mounting the
enclosure. Mishandling can damage the appearance
of the enclosure.
B-3
B-2
2
.
Disconnect all cables, remove any AAPs, and remove the
HSA 822M from the table or desk. See “Removing and
Replacing the Enclosure”, steps 1 through 11, in chapter 3,
“Maintenance and Modifications”. Place the enclosure on
a horizontal surface. To protect the finish, place the
enclosure on a soft cloth or rubber mat.
3
.
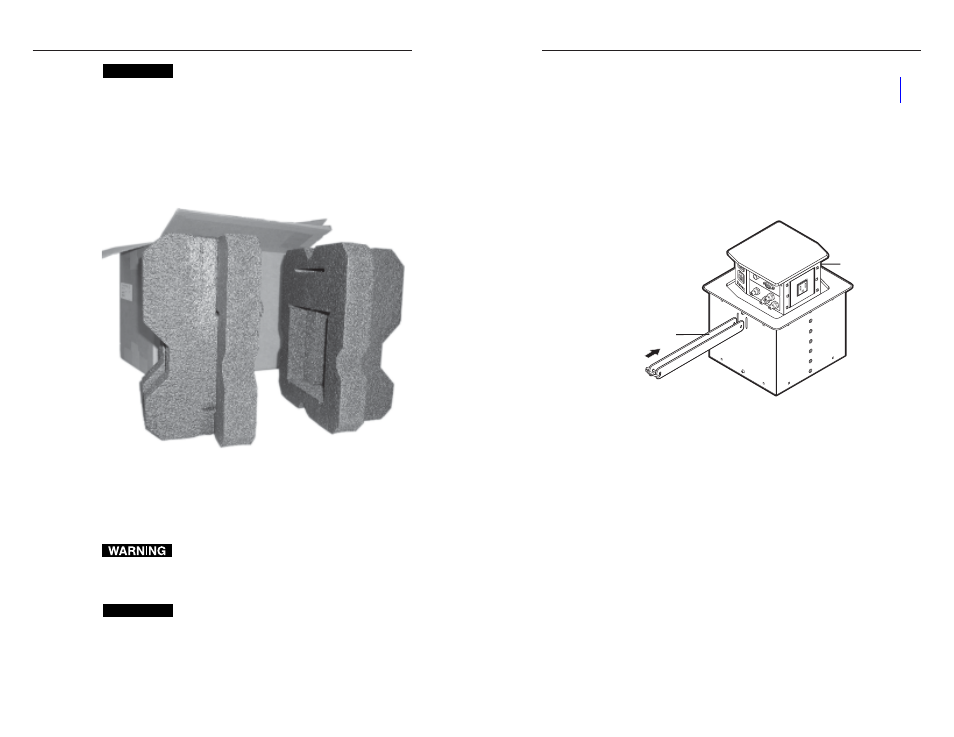
With the platform fully extended, insert the yellow
shipping restraints through the slotted holes in one side of
the enclosure’s shroud (figure B-2) and out the holes in the
opposite side. Use the included tie-wraps to secure the
shipping restraints in place.
CO
MPU
TER
INP
UT
SEL
ECT
AU
DIO
HSA 822
Enclosure
Yellow Shipping
Restraints
INSTALL
Figure B-2 — Installing the shipping restraints