Asus NCCH-DLE User Manual
Page 158
5 - 4 6
5 - 4 6
5 - 4 6
5 - 4 6
5 - 4 6
C h a p t e r 5 : D r i v e r i n s t a l l a t i o n
C h a p t e r 5 : D r i v e r i n s t a l l a t i o n
C h a p t e r 5 : D r i v e r i n s t a l l a t i o n
C h a p t e r 5 : D r i v e r i n s t a l l a t i o n
C h a p t e r 5 : D r i v e r i n s t a l l a t i o n
6.
Restart the system, then press
Utility.
7.
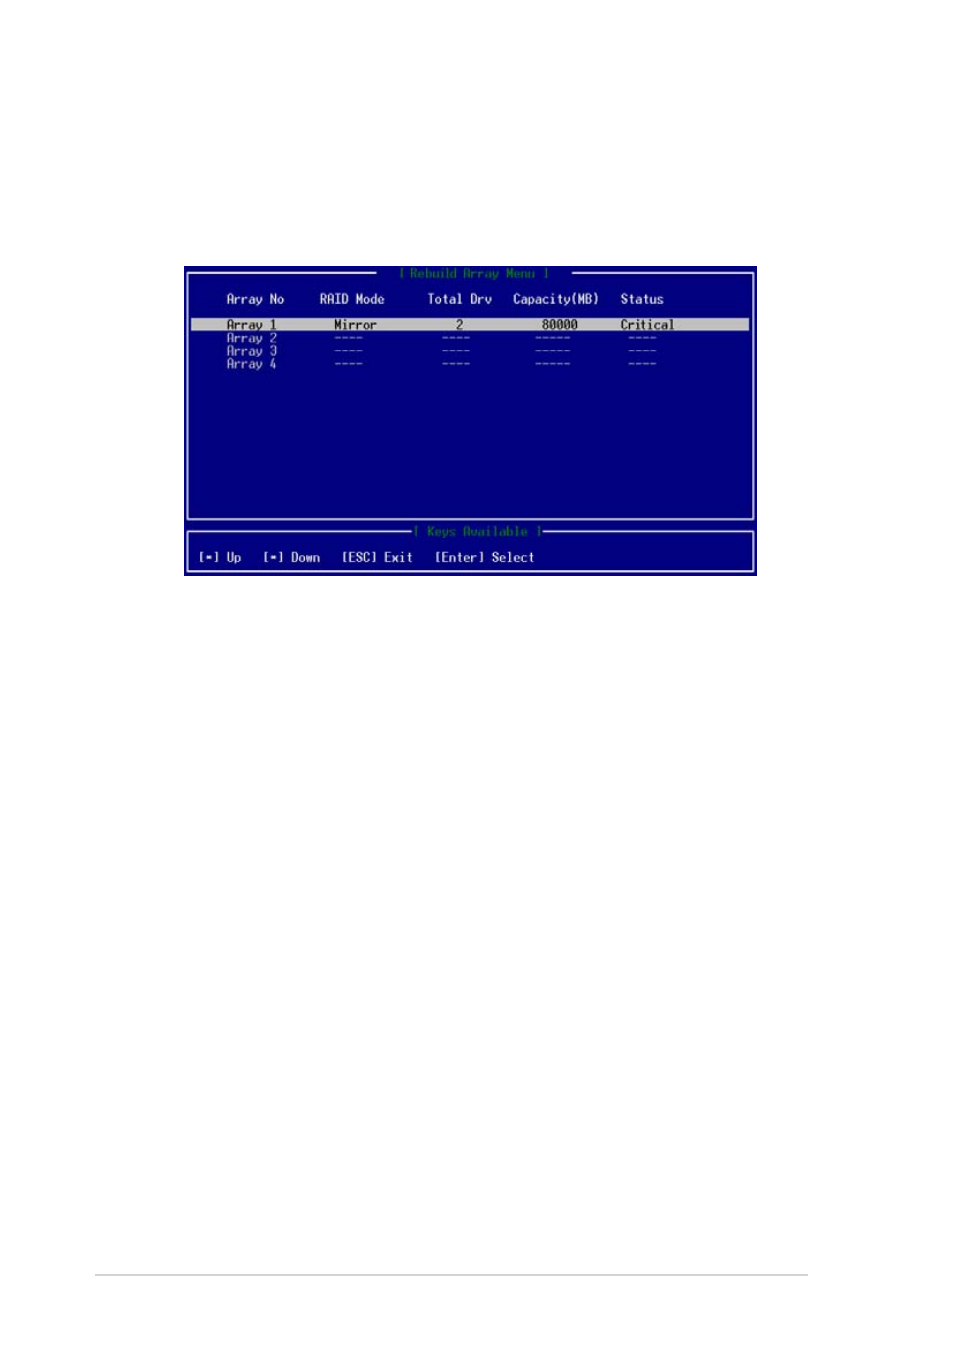
From the FastBuild™ Utility main menu, press <5> to display the
R e b u i l d A r r a y M e n u
R e b u i l d A r r a y M e n u
R e b u i l d A r r a y M e n u
R e b u i l d A r r a y M e n u
R e b u i l d A r r a y M e n u.
8.
Use the arrow keys to select the array with a C r i t i c a l
C r i t i c a l
C r i t i c a l
C r i t i c a l
C r i t i c a l status, then
press
9.
From the S e l e c t D r i v e t o R e b u i l d
S e l e c t D r i v e t o R e b u i l d
S e l e c t D r i v e t o R e b u i l d
S e l e c t D r i v e t o R e b u i l d
S e l e c t D r i v e t o R e b u i l d section, use the arrow keys to
highlight the replacement drive, then press
All data on the replacement drive will be overwritten with mirrored
information from the existing array drive. A progress bar indicates the
duplicating process.
10. When finished, exit the utility, then restart the system.