Service guide for all portable dryers – Grain Systems PNEG-573 User Manual
Page 53
53
SERVICE GUIDE FOR ALL PORTABLE DRYERS
SERVICE GUIDE FOR ALL PORTABLE DRYERS
SERVICE GUIDE FOR ALL PORTABLE DRYERS
SERVICE GUIDE FOR ALL PORTABLE DRYERS
SERVICE GUIDE FOR ALL PORTABLE DRYERS
FAN MOTOR REMOVAL AND INSTALLATION
FAN MOTOR REMOVAL AND INSTALLATION
FAN MOTOR REMOVAL AND INSTALLATION
FAN MOTOR REMOVAL AND INSTALLATION
FAN MOTOR REMOVAL AND INSTALLATION
In the event of motor failure, remove
the motor as described, and take it
to the nearest service station. An
authorized service station is the only
place that can provide possible mo-
tor warranty. Motor service and re-
pair at other places will be at own-
ers expense.
If the service station determines
motor failure is caused by faulty ma-
terial or workmanship within the war-
ranty period, repair will be covered
under the warranty. Motor failure
caused by external sources will result
in a charge to the owner for repair.
1. Make certain power is SHUT-
OFF and locked out. REMOVE
fan guard
fan guard
fan guard
fan guard
fan guard and propellor
propellor
propellor
propellor
propellor.
2. REMOVE cover from fan/heater
fan/heater
fan/heater
fan/heater
fan/heater
control box
control box
control box
control box
control box, and DISCONNECT
shims (if required) between mo-
mo-
mo-
mo-
mo-
tor base
tor base
tor base
tor base
tor base and plate
plate
plate
plate
plate. REINSTALL
motor mount bolts
motor mount bolts
motor mount bolts
motor mount bolts
motor mount bolts and washer
washer
washer
washer
washer,
but do not fully tighten at this time.
6. REINSTALL conduit
conduit
conduit
conduit
conduit and wires
wires
wires
wires
wires
through hole in fan/heater
fan/heater
fan/heater
fan/heater
fan/heater
housing
housing
housing
housing
housing and carefully CON-
NECT all electrical wiring
electrical wiring
electrical wiring
electrical wiring
electrical wiring.
7. ADJUST position of motor
motor
motor
motor
motor. Tem-
porarily MOUNT fan blade
fan blade
fan blade
fan blade
fan blade on
motor shaft
motor shaft
motor shaft
motor shaft
motor shaft. ROTATE fan blade
fan blade
fan blade
fan blade
fan blade
by hand, making the necessary
adjustments, so the tip clearance
between blade and housing is
uniform. If required, REMOVE the
fan blade
fan blade
fan blade
fan blade
fan blade and fully TIGHTEN all
four motor mount bolts
motor mount bolts
motor mount bolts
motor mount bolts
motor mount bolts.
Note: Make sure to INSTALL and
TIGHTEN the propellor
propellor
propellor
propellor
propellor in accor-
dance with previous instructions.
the motor lead wires
motor lead wires
motor lead wires
motor lead wires
motor lead wires from within
the box. TAG or otherwise iden-
tify wires
wires
wires
wires
wires for ease of reassembly.
3. REMOVE motor mount bolts
motor mount bolts
motor mount bolts
motor mount bolts
motor mount bolts.
If there are shims between the
motor and its base, note their lo-
cation so they can be properly
installed during reassembly.
4. DISCONNECT the upper end of
the motor conduit
motor conduit
motor conduit
motor conduit
motor conduit, then carefully
PULL the wires
wires
wires
wires
wires through the hole
in the fan/ heater housing
fan/ heater housing
fan/ heater housing
fan/ heater housing
fan/ heater housing. RE-
MOVE motor
motor
motor
motor
motor from the fan/
fan/
fan/
fan/
fan/
heater unit
heater unit
heater unit
heater unit
heater unit with the conduit
conduit
conduit
conduit
conduit still
attached. If motor requires ser-
vice, take it to an authorized ser-
vice station.
5. To reinstall motor
motor
motor
motor
motor, SLIDE onto
motor base plate
base plate
base plate
base plate
base plate and REPLACE
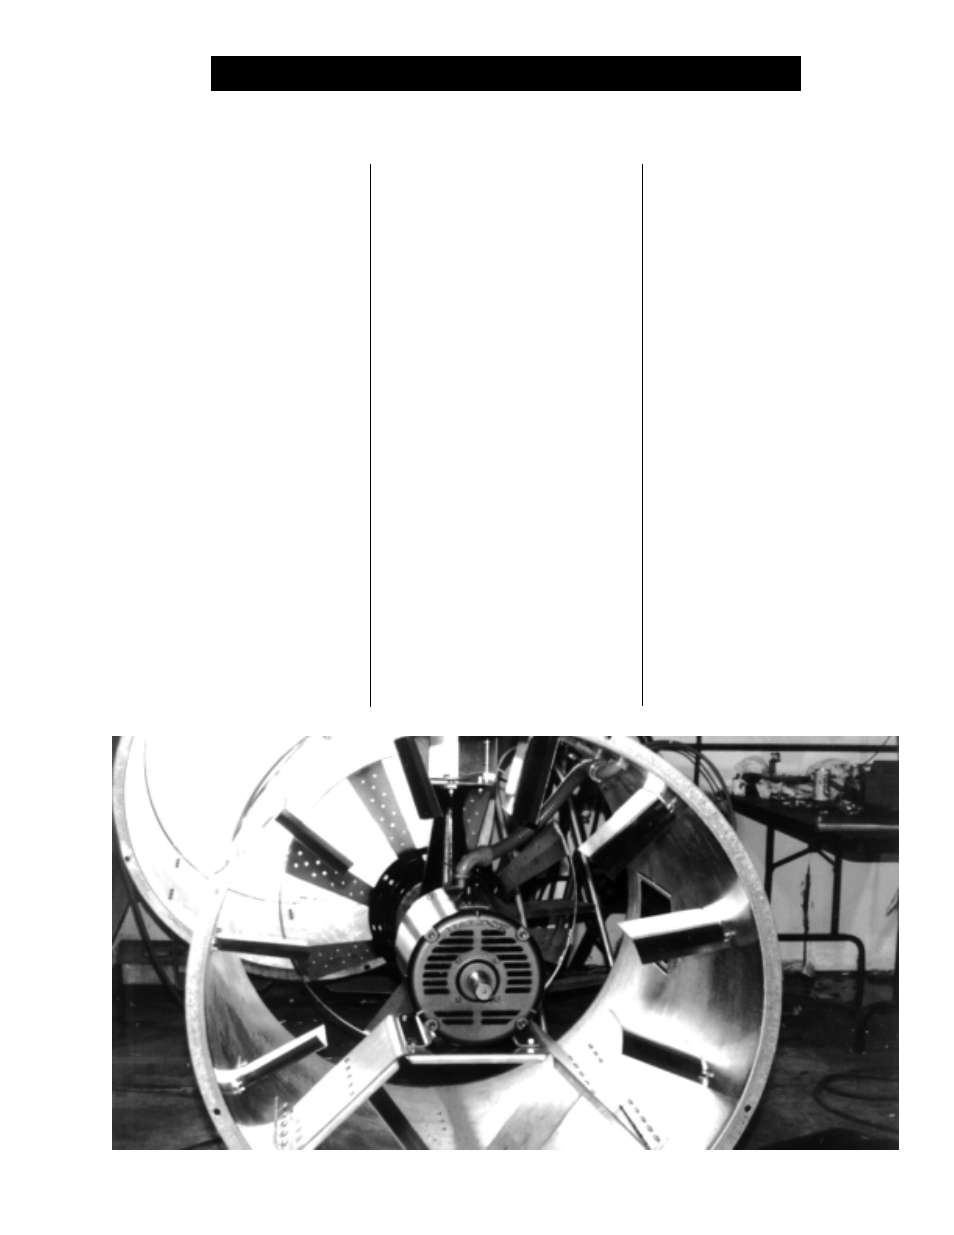
The position of the fan motor provides easy access for service.
The position of the fan motor provides easy access for service.
The position of the fan motor provides easy access for service.
The position of the fan motor provides easy access for service.
The position of the fan motor provides easy access for service.