Making settings in the sampling screen, Sampling screen” (p. 60) – Roland CDX-1 User Manual
Page 60
60
Recording a sound to a pad—Sampling
Making settings in the Sampling screen
The Sampling screen appears in step 3 of “Sampling an external sound” (p. 56) or
step 2 of “Sampling from a CD audio clip collection inserted in the CDX-1” (p. 57).
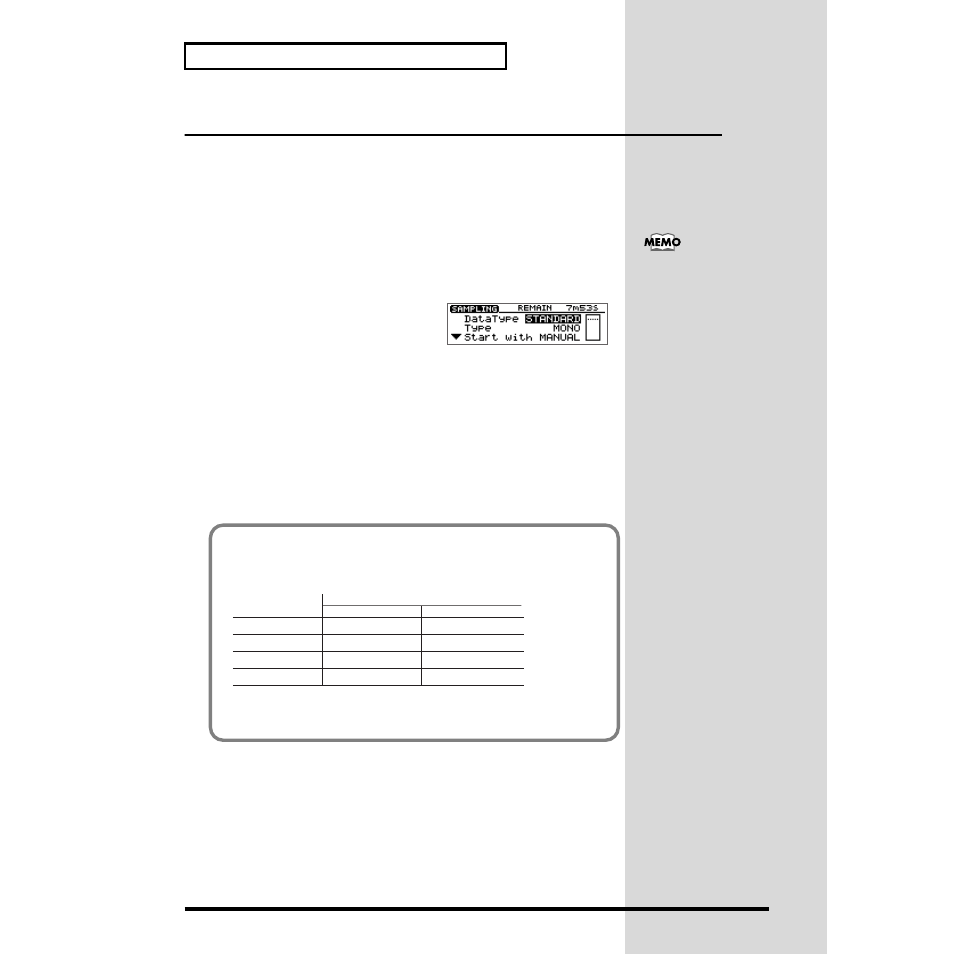
As necessary, make settings for the various items in the Sampling screen to modify
the sampling settings.
Selecting the audio quality and sampling time
appropriate for the material—Data Type
You can set the
data type
each time you sample. This allows you to select the audio
quality and recording time appropriate for the audio material you are sampling.
fig.31-07a
1. Make sure that the cursor is located at the
“Data Type” line.
2. Turn the TIME/VALUE dial to select the data type.
●
Data Type
HIGH:
Of the four types, this allows the highest-quality recording.
STANDRD:
This type maintains high quality, while allowing longer
recording time than “HIGH.” Normally you should select this
type.
LONG1:
This type allows longer recording than “STANDARD.” It is
suitable for recording live performances.
LONG2:
This allows the longest recording time of the four types.
For multitrack recording, you
will select the data type when
you format the CD-RW disc
(p. 110).
Data type and sampling time
If you limit your selection to one data type, the available sampling time will be as
follows.
fig.31-08e
* The above sampling times are approximations for when only one data type is used. The data type
can be set separately when recording each sample, and the sampling time will be different if
different data types coexist.
HIGH
STANDARD
LONG1
LONG2
Using standard memory
Using expansion memory
Data Type
Sampling Time
5 minutes
7 minutes
9 minutes
11minutes
43 minutes
58 minutes
69 minutes
87 minutes