Philips KX-PNBC8 User Manual
Page 20
20
7. Press the ENTER button.
The printer enters the IP Address Input mode.
8. Enter the IP Address.
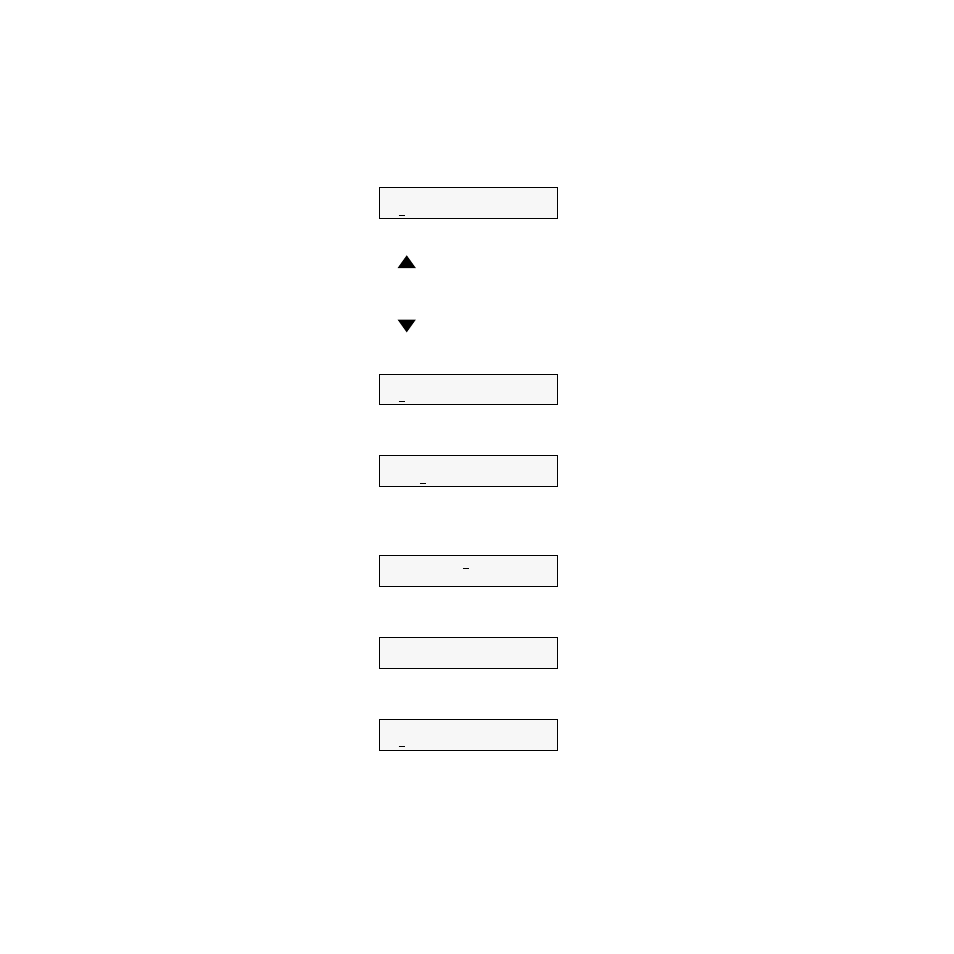
- Pressing the
button once will increase the value by one.
(If you keep pressing the button, the value will continue to
increase by ten.)
- Pressing the
button once will decrease the value by one.
(If you keep pressing the button, the value will continue to
decrease by ten.)
9. Press the ENTER button.
The cursor moves to the next 3-digit value.
10. Repeat steps 8 and 9 to finish entering all the 3-digit values of the IP
Address.
A message to confirm the IP Address is displayed.
11. Press the ENTER button.
“Ethernet Subnet Mask” is displayed.
12. Press the ENTER button.
The printer enters the Subnet Mask Input mode.
Ethernet IP Address
xxx.xxx.xxx.xxx*
Ethernet IP Address
xxx.xxx.xxx.xxx
Ethernet IP Address
xxx.xxx.xxx.xxx
xxx.xxx.xxx.xxx OK?
Yes
Network Protocol setup
Ethernet Subnet Mask
Ethernet Subnet Mask
xxx.xxx.xxx.xxx*
- SWA3301S/17 (1 page)
- Duplex SDJ6130W (2 pages)
- Swarovski SW60/27 (2 pages)
- PSC705 (34 pages)
- SNA6500 (47 pages)
- PSC702 (2 pages)
- PSC70217 (2 pages)
- SWV2591W (2 pages)
- 3LR12PBXC/10 (2 pages)
- PCA102CD (47 pages)
- S26.7912-006 (1 page)
- VOIP080IB (2 pages)
- PSC 604 (10 pages)
- HAPPY LAURA FM02SW00/00 (2 pages)
- WAR1900 (2 pages)
- SWV3558 (2 pages)
- FM01SW60 (72 pages)
- SWV3458W/17 (2 pages)
- SPE3071CC (2 pages)
- SWV4157W (2 pages)
- SPD5240 (51 pages)
- PH0900L (29 pages)
- Swarovski FM01SW40/00 (2 pages)
- FM02FD02B/00USB (2 pages)
- CGA7740N (26 pages)
- SNA6640 (42 pages)
- SJM2121 (2 pages)
- US2-P72069 (2 pages)
- FM02SW00 (104 pages)
- Mercury 1314L2S (2 pages)
- PHOTOFRAME 7FF1CWO (51 pages)
- SDJ6070W (2 pages)
- SJA9480 (2 pages)
- SWV3011W (2 pages)
- SCU5120NB (2 pages)
- TDA6800 (10 pages)
- SHOWVIEW VR400 (2 pages)
- SWV3459W/17 (2 pages)
- SWV3458W/27 (2 pages)
- Swarovski FM01SW21/00 (2 pages)
- TDA8767 (20 pages)
- SAA2051W (2 pages)
- SPE2010CC (2 pages)
- SCU3050NB (2 pages)
- SDJ6120W (2 pages)