Using the self-timer – Sanyo IDC-1000ZU User Manual
Page 81
Using the self-timer
The self-timer function allows you to have the digital disk camera wait 10 seconds after the
shutter release button is pressed until it captures the image or starts recording. You can also
change the amount of time the digital disk camera will wait from anywhere between 0 seconds to
9 hours 59 minutes 59 seconds.
*
When using the self-timer, be sure to use a tripod or other means of holding the digital disk
camera.
Preparation
œ
Set the CAMERA/PLAY switch to “CAMERA.”
œ
Turn the mode selector dial to
&
,
r
, or
7
to select the desired shooting mode.
1
Press the MODE button.
œ
The Shooting Setting Screen appears.
2
Press
j
or
l
on the arrow button to select the
self-timer menu.
œ
The self-timer menu appears.
3
Press
c
on the arrow button to select the self-timer
icon
v
.
œ
To set the self-timer: Select
v
(self-timer on)
œ
To not set the self-timer: Select
w
(self-timer off)
4
Press the SET button.
œ
This completes the self-timer setting.
œ
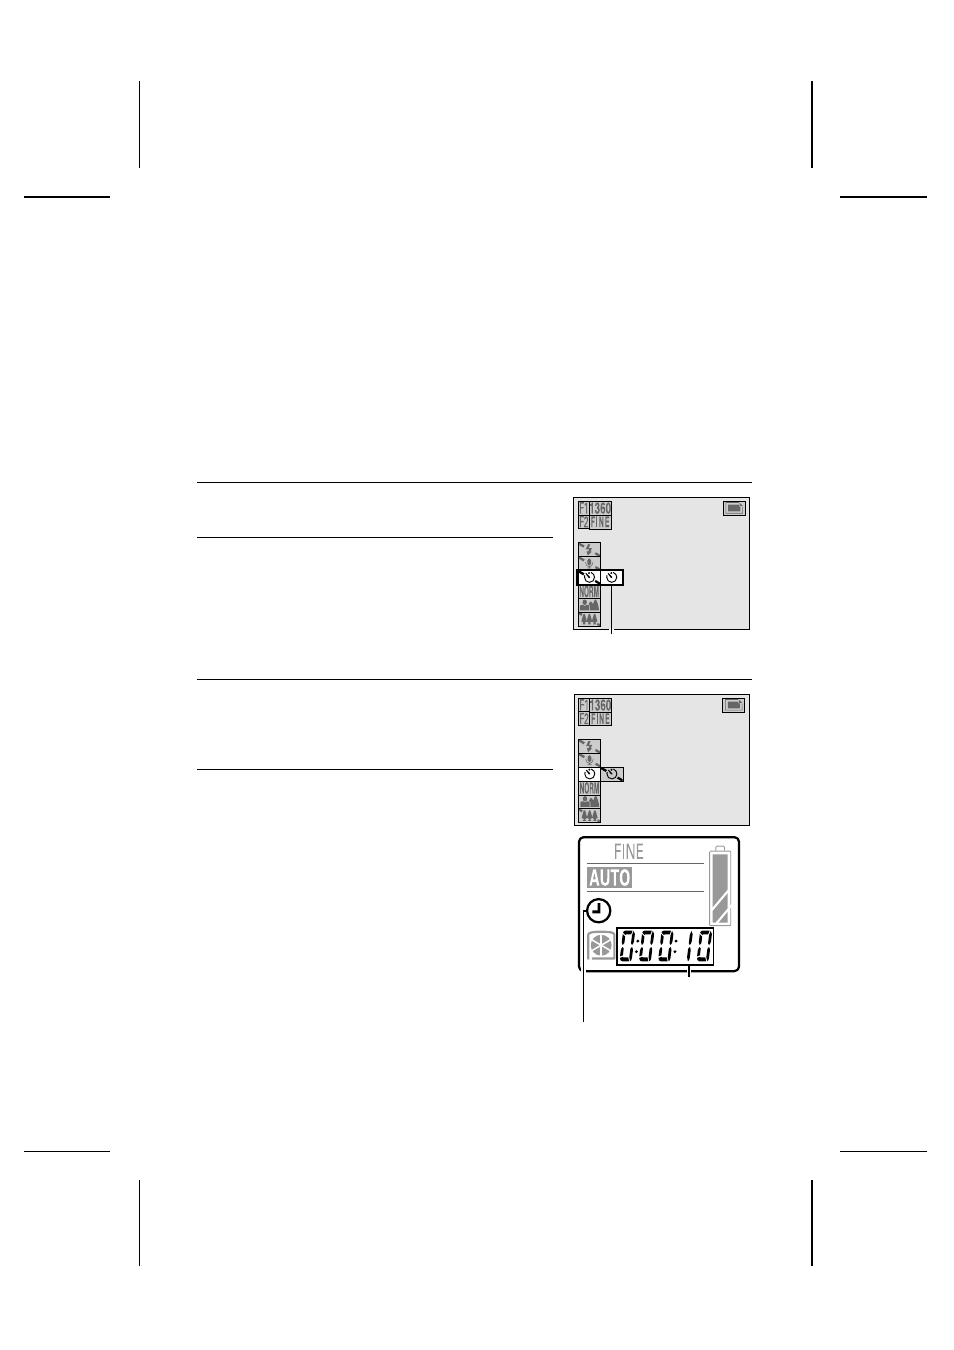
The timer mark
#
and the time until images are
captured or recording is started appear in the mode
display panel.
œ
The default time for the self-timer is 10 seconds. If you
will not change this setting, skip to step 6.
œ
If you want to change the time for the self-timer,
proceed to step 5.
œ
The self-timer setting returns to self-timer off and the
self-timer time returns to 10 seconds if the mode
selector dial is turned, or the digital disk camera is
turned off.
Ä0:00:10
100-0003
Timer menu
Shooting Setting Screen
Ä0:00:10
100-0003
Time until image is
captured or
recording started
Timer mark
Mode display panel
English
80