HP RM500SL User Manual
Page 27
0611
RM500SL User’s Guide Version 2.8
Page 27
6.3
Barcodes, headers and comments on printouts
FastFacts 6.3: Barcodes, headers and comments on printouts
6.4
Local printer setup
FastFacts 6.4: Local printer setup
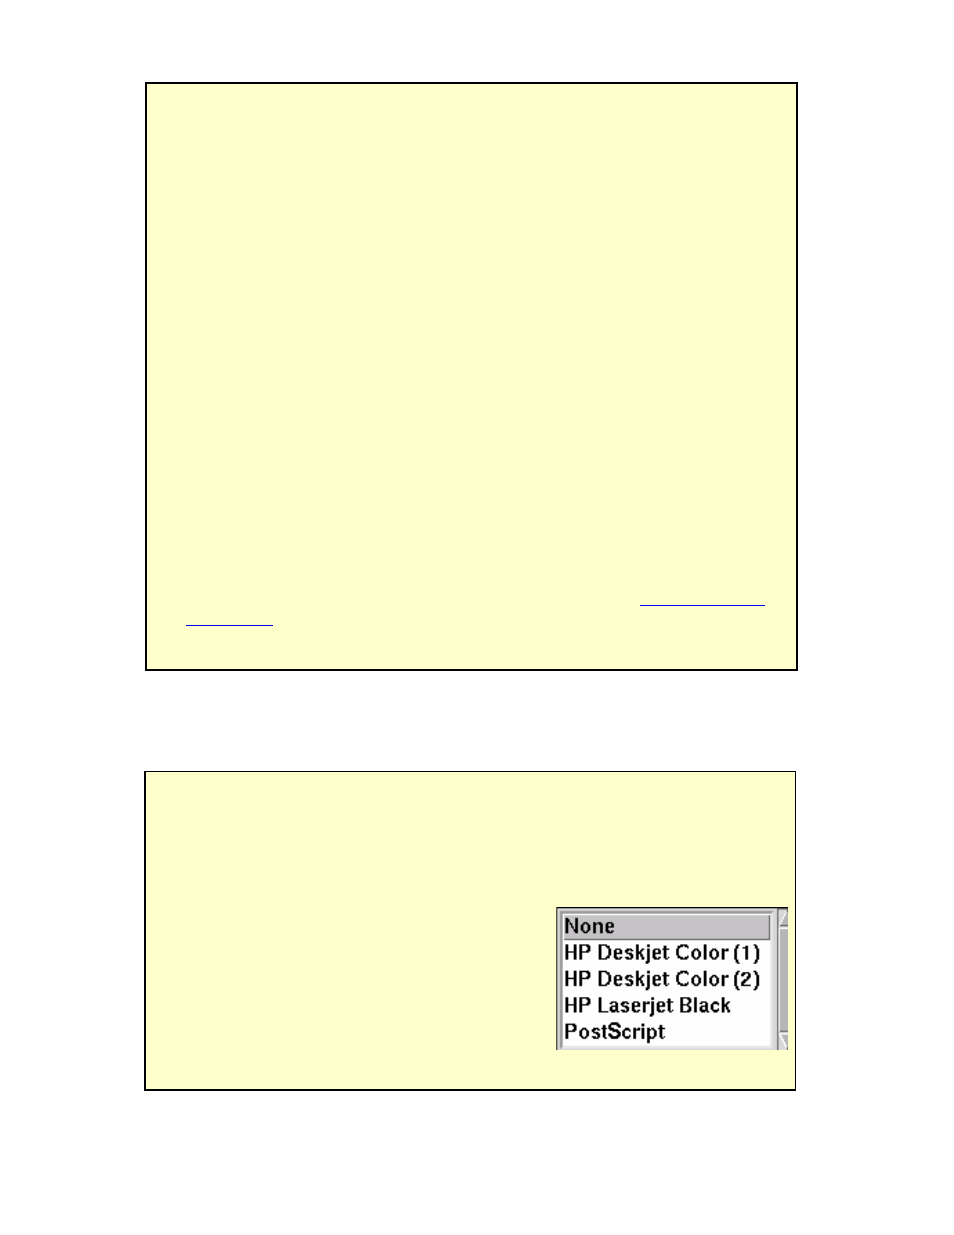
1) Connect an external printer to the USB port. Only PCL3, PCL5 or PostScript
compatable printers are supported.
2) Press
3) Highlight &
4) Highlight &
5) Highlight &
6) Highlight &
Color(1) for a printer with a single ink cartridge;
color(2) for a printer with separate color and
black ink cartridges. Check [Black only] for black
printouts on a color printer
7) Press
The date and a header, such as facility or patient name, may be added to
printouts. Barcodes representing hearing threshold, UCL and RECD, where
applicable, may be added to printouts of Speechmap, Insertion gain and RECD
tests. Lines for hand-written notes or typed comments may also be added.
1) Connect a computer keyboard to the USB port.
2) Press
3) Highlight [Page setup] and press
4) To print the date and time on each printout, highlight and
5) To print lines for handwritten notes, highlight and
6) To add barcodes for audiometric data, highlight and
7) To print a fixed header on printouts, highlight and
a keyboard to the USB port and enter the desired header (up to 35
characters). Press
complete the entry. To be prompted for a new header for each printout,
highlight and
8) To print fixed comments following a printout, highlight and
[Description]. Connect a keyboard to the USB port and enter comments. Press
prompted for new comments for each printout, highlight and
9) To be prompted for a file name when you print to a USB memory stick or a
network file, highlight and
file name. USB file names are limited to 8 characters. See
6.7: Printing to a
network file
.
10) Press