Changing image color tones (my colors) – Canon PowerShot SX410 IS User Manual
Page 74
74
Before Use
Basic Guide
Advanced Guide
1
Camera Basics
2
Auto Mode
3
Other Shooting Modes
5
Playback Mode
6
Setting Menu
7
Accessories
8
Appendix
Index
4
P Mode
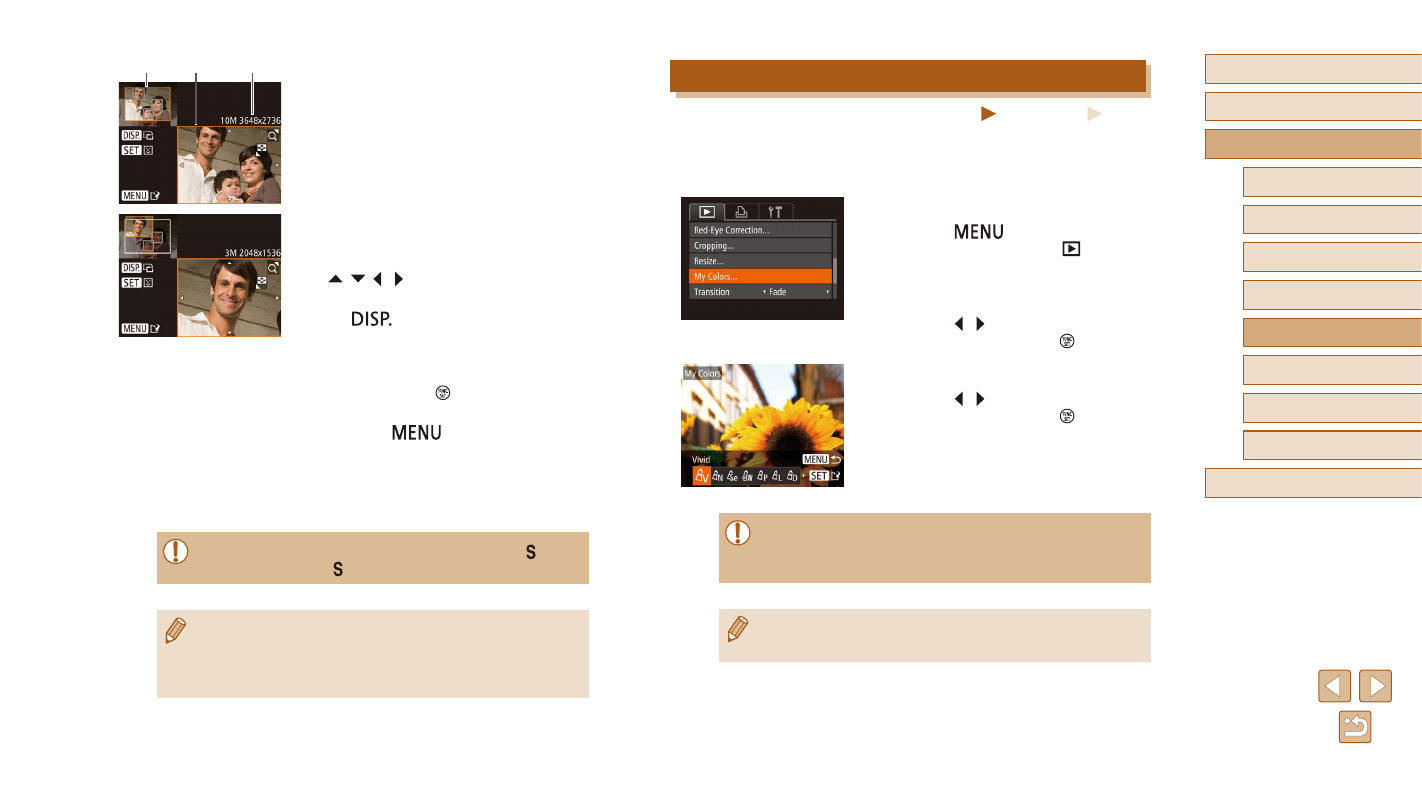
Changing Image Color Tones (My Colors)
Still Images
Movies
You can adjust image colors and then save the edited image as a
separate file. For details on each option, see “Changing Image Color
1
Choose [My Colors].
●
Press the [
] button, and then
choose [My Colors] on the [
] tab
2
Choose an image.
●
Press the [ ][ ] buttons to choose an
image, and then press the [ ] button.
3
Choose an option.
●
Press the [ ][ ] buttons to choose an
option, and then press the [ ] button.
4
Save as a new image and review.
●
Follow steps 4 – 5 in “Resizing Images”
●
Image quality of pictures you repeatedly edit this way will be
a little lower each time, and you may not be able to obtain the
desired color.
●
The color of images edited using this function may vary slightly
from the color of images shot using My Colors (= 53).
3
Adjust the cropping area.
●
A frame is displayed around the portion of
the image to be cropped (1).
●
The original image is shown in the upper
left, and a preview of the image as
cropped (2) is shown in the lower right.
You can also see the resolution after
cropping (3).
●
To resize the frame, move the zoom
lever.
●
To move the frame, press the
[ ][ ][ ][ ] buttons.
●
To change the frame orientation, press
the [
] button.
●
Faces detected in the image are
enclosed in gray frames in the upper-left
image. To crop the image based on this
frame, press the [ ] button to switch to
the other frame.
●
Press the [
] button.
4
Save as a new image and review.
●
Follow steps 4 – 5 in “Resizing Images”
●
Editing is not possible for images shot at a resolution of [ ]
(= 37) or resized to [ ] (= 73).
●
Images supported for cropping will have the same aspect ratio
after cropping.
●
Cropped images will have a lower resolution than uncropped
images.
(1)
(2)
(3)