Pre-lighting check, Note on first ignition, Loading the pellets – MCZ Club AIR User Manual
Page 37
PELLET STOVES
Chapter 4
INSTALLATION AND USE MANUAL
page
37
Operation
Technical service - Rights reserved MCZ Group S.p.A. - Reproduction prohibited
A
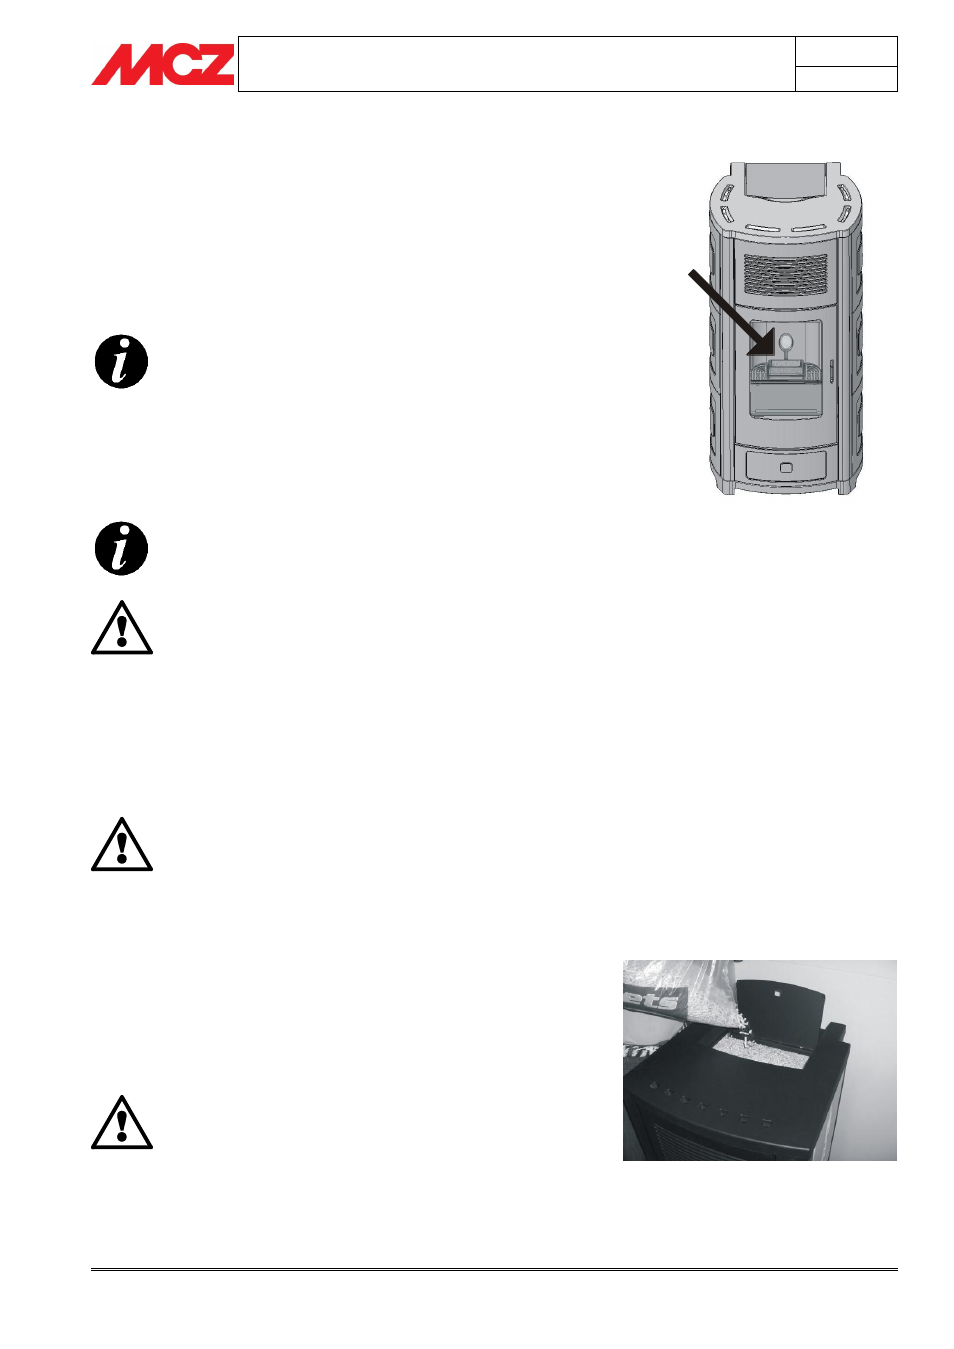
4.2. PRE-LIGHTING CHECK
Check that all the safety conditions described above have been met.
Make sure you have read and completely understood the contents of
this instruction booklet.
Remove any components which might burn from the firebox and from
the glass (various instructions and adhesive labels).
Check that the grate A is properly positioned and rests correctly on the
base.
After long periods of disuse, remove from the hopper (using
a vacuum cleaner with an extension) any remains of
pellets which have lain there for some time, since they may
have absorbed moisture, which changes their original
characteristics and makes them unsuitable for burning.
4.2.1. Note on first ignition
The first attempt at ignition may not be successful,
since the feeder screw is empty and it is not always
able to fill the grate with required amount of pellets
in time to ensure normal ignition
CANCEL THE ALARM (A02) CONDITION FROM THE
EMERGENCY PANEL (see paragraph 7.2), REMOVE
PELLETS IN THE GRATE AND REPEAT LIGHTING
After repeated attempts at lighting, if there is no flame even though
pellets are flowing normally, check that the grate is correctly positioned.
It must be placed where it adheres perfectly to its housing and
free of any ash incrustations. If after this check no abnormalities
are found, it means that there may be a problem with the stove
components or that installation may not have been carried out correctly.
REMOVE THE PELLETS FROM THE BURNER AND
CONTACT AN AUTHORISED MCZ TECHNICIAN.
4.3. LOADING THE PELLETS
Fuel is loaded from the upper part of the stove by opening a door. Pour
the pellets in the hopper. Pour the pellets in the hopper; when empty it
holds almost two sacks (about 25 kg)
This is easier if performed in two steps:
Pour half of the contents into the hopper and wait for the fuel
to settle on the bottom.
Then pour in the rest
Never remove the protection grille in the hopper.
When filling, do not let the sack of pellets touch any
hot surfaces.
Do not place any type of fuel in the hopper other than
pellets that are compliant with the specifications
provided previously.