Checking the battery icon, Snapping the shutter – Epson Digitial Camera User Manual
Page 20
Taking Pictures with PhotoPC
2-3
A
2
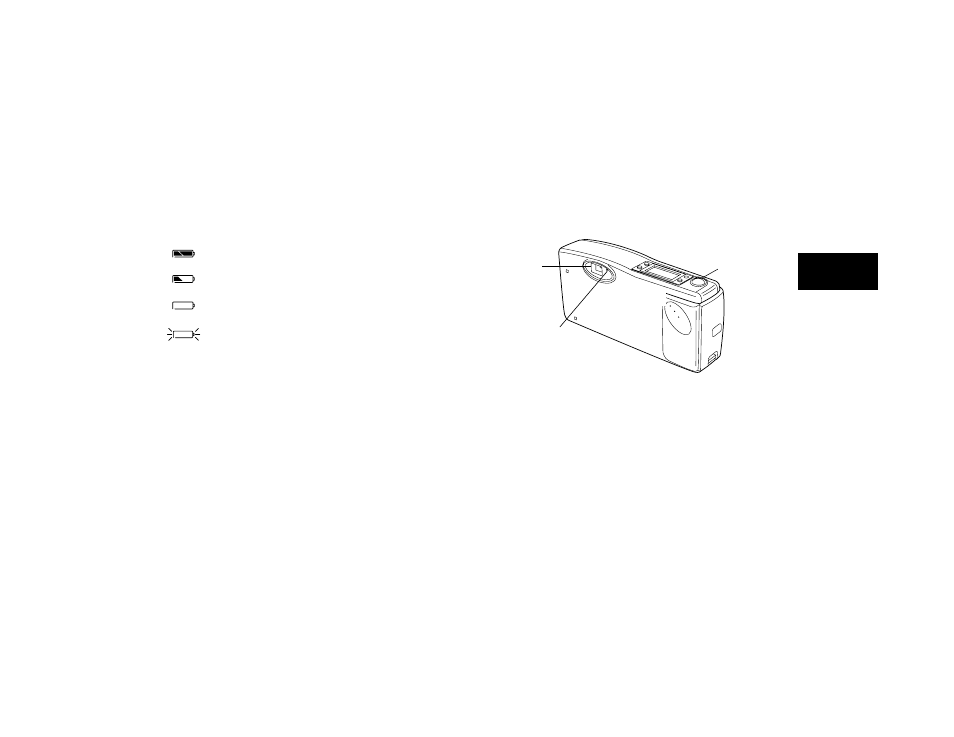
Checking the Battery Icon
Before you take pictures, check the battery icon on the control panel.
The icon shows how much battery power you have left, in the following
four stages:
Full battery power (or AC adapter in use)
Battery power is decreasing
Battery power is almost out
Change batteries
The battery icon is not precise, so you should use it only as a guide to
remaining power. Several factors can affect battery life, including the
surrounding temperature and the type of batteries you use. Low
temperatures (especially below 50° F) weaken your batteries. See page
1-3 for information about changing batteries.
Snapping the Shutter
Follow these steps to take a picture:
1
Turn the camera on and wait until the green standby light stops
flashing.
2
Look straight through the viewfinder and center your subject.
3
Slowly press the shutter button.
4
Hold the camera still until the camera beeps and the standby light
starts flashing.
The flashing light indicates that the camera has captured the image and
is processing it. (If you try to press the shutter button again, you’ll hear
an “error” beep.) When the light stops flashing, the image is saved.
Saved images remain in memory for up to a year, even when the camera
is turned off and the batteries are removed.
You can take another picture when the standby light stops flashing. If the
light flashes longer each time you take a picture, your batteries are
becoming weaker.
viewfinder
green standby light
shutter button