HEIDENHAIN TNC 320 (77185x-01) Cycle programming User Manual
Page 421

CALIBRATE TS RADIUS OUTSIDE (Cycle 463, DIN/ISO: G463) 17.9
17
TNC 320 | User's Manual Cycle Programming | 3/2014
421
In order to be able to determine the ball-tip center
misalignment, the TNC needs to be specially
prepared by the machine manufacturer. The machine
manual provides further information.
The characteristic of whether and how your
touch probe can be oriented is already defined in
HEIDENHAIN touch probes. Other touch probes are
configured by the machine tool builder.
STUD RADIUS Q407: Diameter of the ring gauge.
Input range 0 to 99.9999
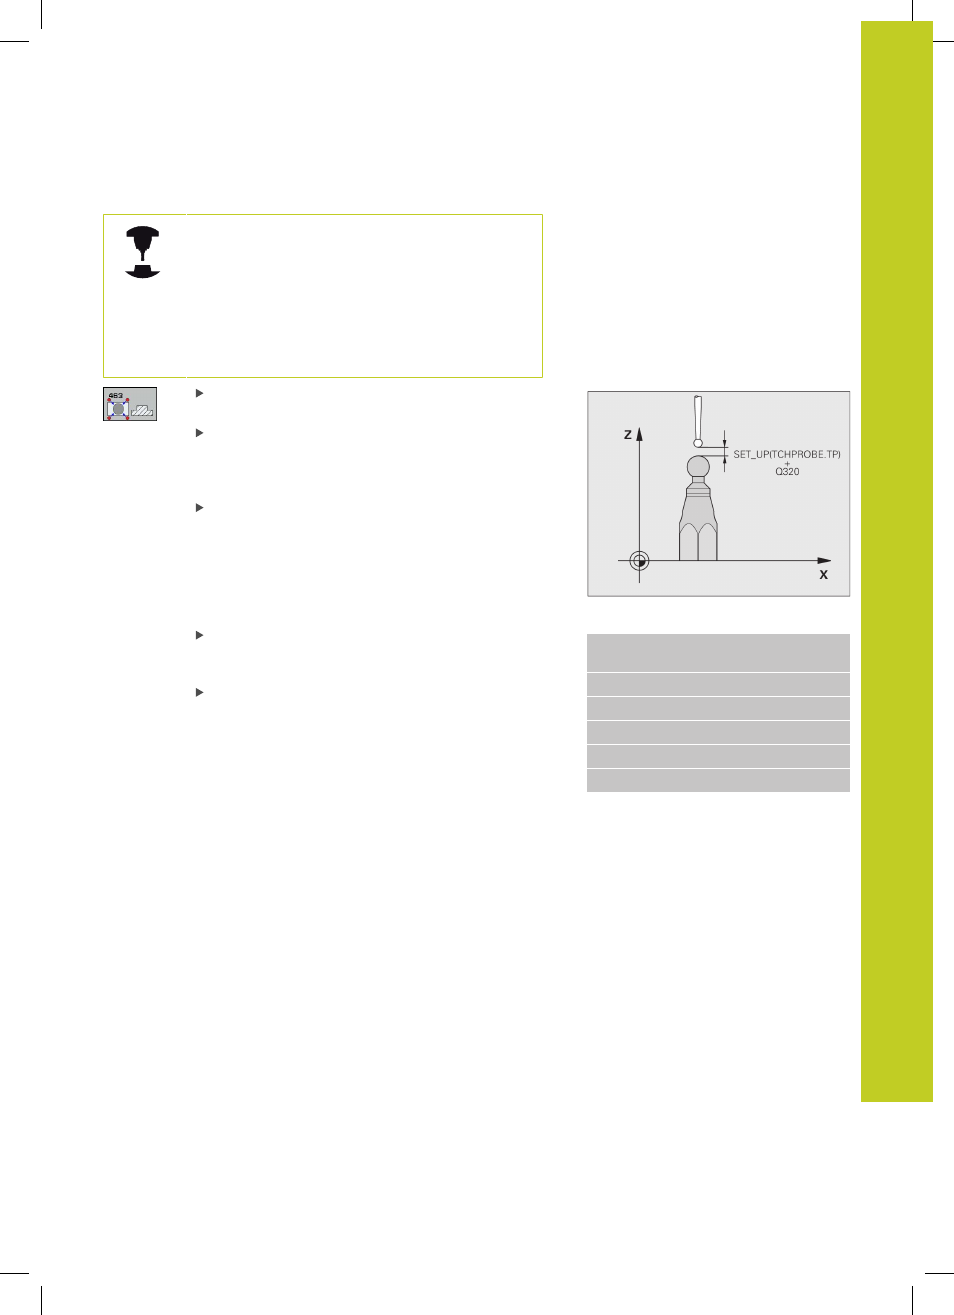
SET-UP CLEARANCE Q320 (incremental): Additional
distance between measuring point and ball tip.
Q320 is added to SET_UP (touch probe table). Input
range 0 to 99999.9999
MOVE TO CLEARANCE Q301: Definition of how the
touch probe is to move between the measuring
points:
0
: Move at measuring height between measuring
points
1
: Move at clearance height between measuring
points
NO. OF PROBE POINTS Q407 (absolute): Number of
measuring points on the diameter. Input range 0 to
8
REFERENCE ANGLE Q380 (absolute): Angle
between the reference axis of the working plane
and the first touch point. Input range 0 to 360.0000
NC blocks
5 TCH PROBE 463 TS CALIBRATE ON
STUD
Q407=+5
;STUD RADIUS
Q320=+0
;SET-UP CLEARANCE
Q301=+1
;MOVE TO CLEARANCE
Q423=+8
;NO. OF PROBE POINTS
Q380=+0
;REFERENCE ANGLE
