7 calibrate ts length (cycle 461, din/iso: g461), Calibrate ts length (cycle 461, din/iso: g461) – HEIDENHAIN TNC 320 (77185x-01) Cycle programming User Manual
Page 417

CALIBRATE TS LENGTH (Cycle 461, DIN/ISO: G461) 17.7
17
TNC 320 | User's Manual Cycle Programming | 3/2014
417
17.7
CALIBRATE TS LENGTH (Cycle 461,
DIN/ISO: G461)
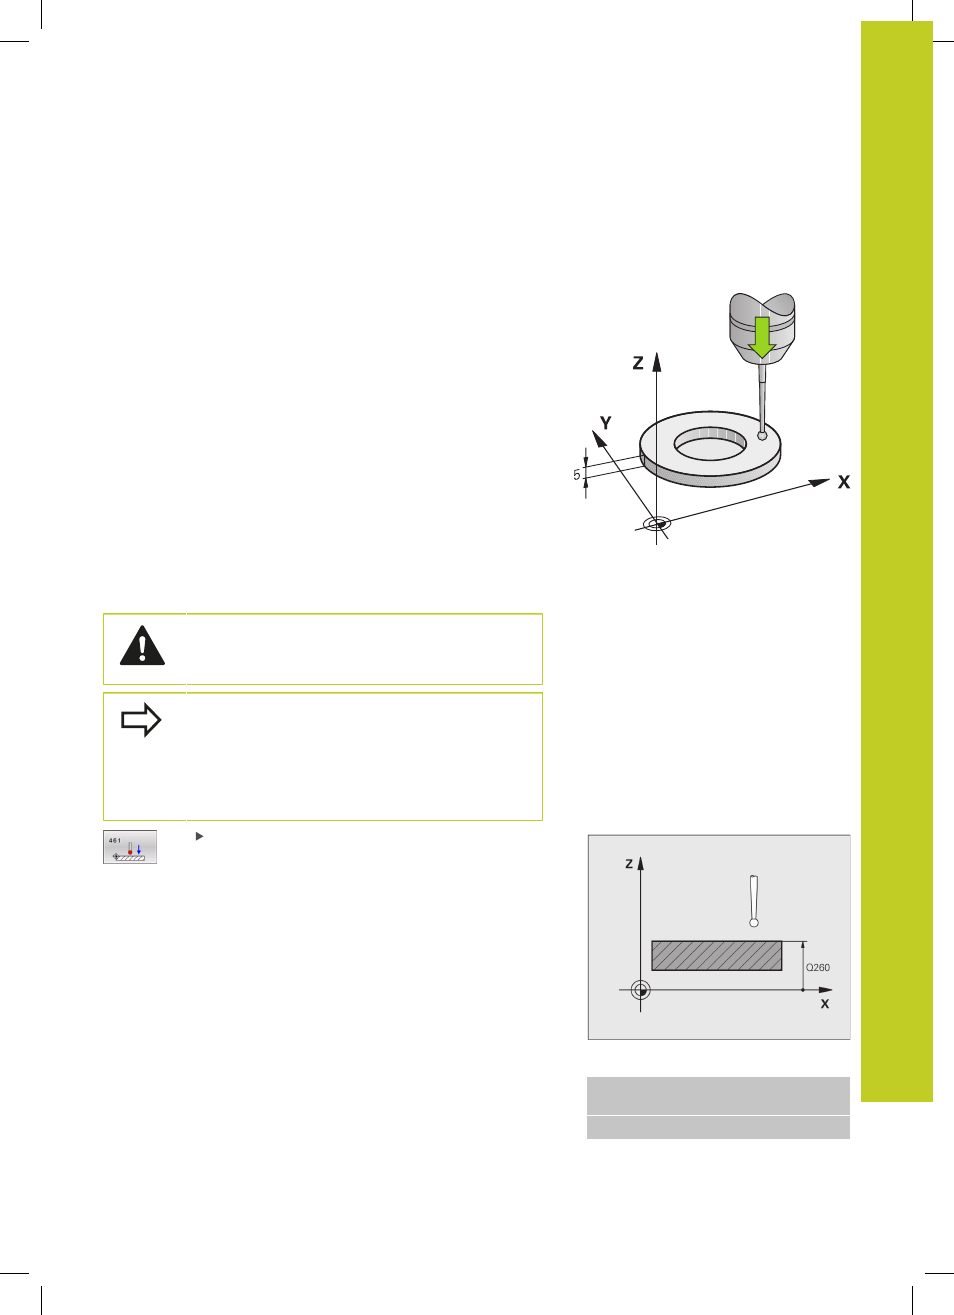
Cycle run
Before starting the calibration cycle, you must set the datum in
the spindle axis so that Z=0 on the machine table; you must also
preposition the touch probe over the calibration ring.
1 The TNC orients the touch probe to the angle
CAL_ANG from
the touch probe table (only if your touch probe can be oriented).
2 The TNC probes from the current position in a negative spindle
axis direction at the probing feed rate (column
F from the touch
probe table).
3 The TNC then returns the touch probe at rapid traverse (column
FMAX from the touch probe table) to the start position.
Please note while programming:
HEIDENHAIN only gives warranty for the function of
the probing cycles if HEIDENHAIN touch probes are
used.
The effective length of the touch probe is always
referenced to the tool datum. The machine tool
builder usually defines the spindle tip as the tool
datum.
Before a cycle definition you must have programmed
a tool call to define the touch probe axis.
Datum Q434 (absolute): Datum for the length (e.g.
height of the ring gauge). Input range -99999.9999
to 99999.9999
NC blocks
5 TCH PROBE 461 CALIBRATE TS
LENGTH
Q434=+5
;DATUM
