Setting the built-in clock, Turning the unit off, Connecting monitoring equipment – Teac DR-40 User Manual
Page 11: Attaching the tilt foot, Basic operation procedures, Menu structure
TASCAM DR-40
11
Setting the built-in clock
When the unit is turned on for the first time (or when
the built-in clock is reset after being left unused
without batteries), the
DATE/TIME
screen appears
before the start-up screen to allow the date and time
to be set.
Use the .// and +/− buttons to set the date
and time, and press the ENTER/MARK button to
confirm.
Turning the unit off
Press and hold the
(HOME) [8] button until
LINEAR PCM RECORDER
appears on the display.
The unit turns off after it completes its shutdown
process.
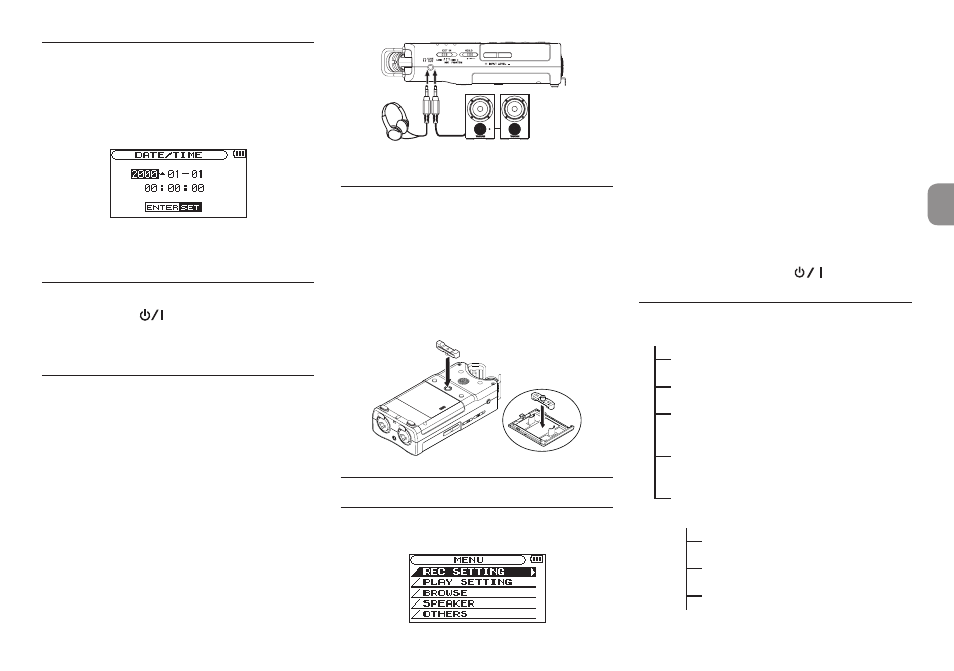
Connecting monitoring
equipment
To listen with headphones, connect them to the
PHONES jack.
To listen with an external monitoring system
(powered monitor speakers or an amplifier and
speakers), connect it to the LINE OUT jack.
Headphones
Powerd monitor speakers
or amplifer and speakers
Attaching the tilt foot
When recording with the built-in mic, you can attach
the included tilt foot to the tripod mounting threads
to prevent the mic from being too low when placing
the unit with the bottom side (battery compartment
cover side) down.
When not using the tilt foot, you can put it between
the two protrusions on the inside of the battery
compartment cover for storage and transportation.
Basic operation procedures
1. Press the MENU button to open the
MENU
Screen.
2. Use the + and – buttons to select (highlight)
menu items, and press the ENTER/MARK
button to open setting screens.
3. Use the + and – buttons to select the setting
item, and press the ENTER/MARK button.
4. Use the / or ENTER/MARK button to move
the cursor to the right and highlight the setting
value.
5. Use the + and – buttons to change the setting.
6. Press the . button to move the cursor left
if you want to set a different item in the same
menu.
7. Repeat step 3 to 6 as necessary to set other
items.
8. When finished, press the
(HOME) [8]
button to return to the Home Screen.
Menu structure
MENU
REC SETTING
Make recording settings
PLAY SETTING
Make playback settings
BROWSE
Work with files and
folders on the SD card
SPEAKER
Turn the built-in
speaker on/off
OTHERS
Open the OTHERS
submenu
INFORMATION View information
TUNER
Use the tuner
EFFECT
Make effect settings