12 configuring the built-in digitiser – Guralp Systems CMG-6TD User Manual
Page 42
Installing the 6TD
11. When you have finished setting up the Wi-Port, apply the new settings
by clicking
. The Wi-Port will re-boot with the
new settings in effect.
Note: Simply changing settings in the web page and clicking
does not effect any functional change. You must
click
before the changes take effect.
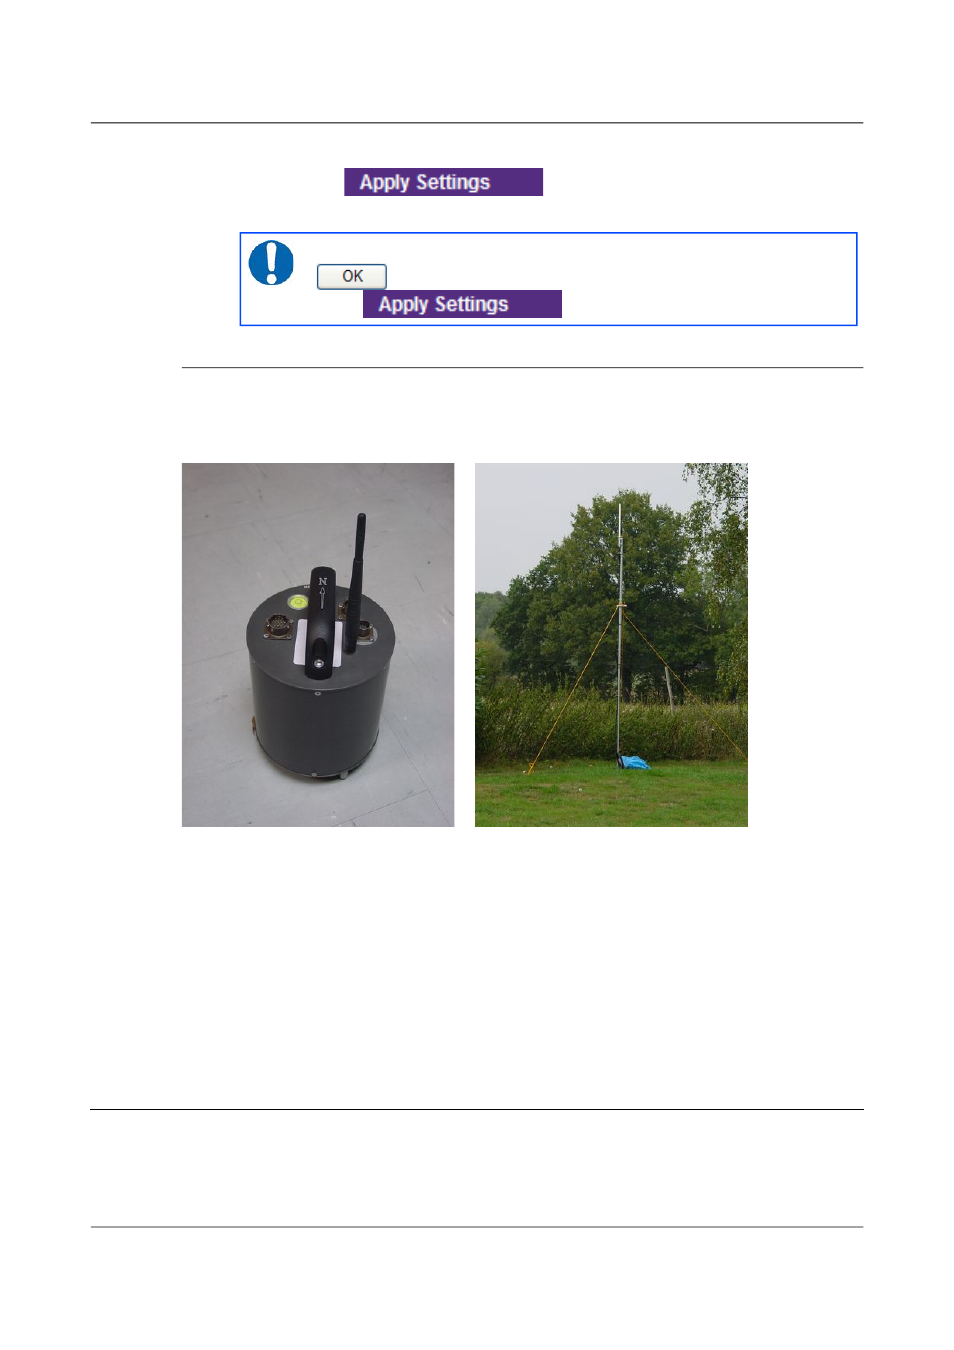
4.11.4 Installing wireless hardware
The small antenna supplied with the 6TD is adequate for initial testing or
temporary installations with an access point within 50 metres of the
instrument.
To send data over a larger distance, or if the line of sight between the antenna
and the access point is blocked, you will need to use a larger and more
powerful antenna.
You can reduce the power requirements by using a directional antenna
pointed at the location of the access point. The access point does not need to
be permanently present. For example, you could set up an array of 6TD
instruments with antennas pointed towards a prominent natural feature with
a direct line of sight to all the instruments, and access them all from this
location using a laptop PC.
4.12 Configuring the built-in digitiser
Autonomous 6TD installations will need to be configured before deployment.
You can do this either
42
Issue F - February 2014