Guralp Systems CMG-5TD Installation User Manual
Cmg-5td, Accelerometer, Installation
CMG-5TD
Accelerometer
Installation
Check you have all components and cables.
•CMG-5TD strong motion broadband accelerometer
•GPS Receiver
•Blue/grey sensor data and power cable
•Brown GPS sensor cable
•Sensor calibration data booklet
You will need a 12–24 Volt DC power supply and a
Windows or Linux PC with an RS232 (COM) port.
Keep the packaging, in case you need to transport the
sensor at a later date.
↔
↔
2
3
Prepare the installation site. The instrument should be installed on a solid surface, such as a
concrete floor.
To create a suitable surface in a temporary site:
1. Dig a pit, or machine-auger a suitable hole for the sensor.
2. Prepare a quick-setting cement/sand mixture, and pour it into the hole.
3. Agitate (“puddle”) the mixture until the surface is level.
4. Leave the mixture for between 2 and 12 hours, depending on the type of cement used.
Scribe an accurate North/South line on the surface.
Place the sensor in position and rotate it until it’s studs
and orientation lines align with the scribed line.
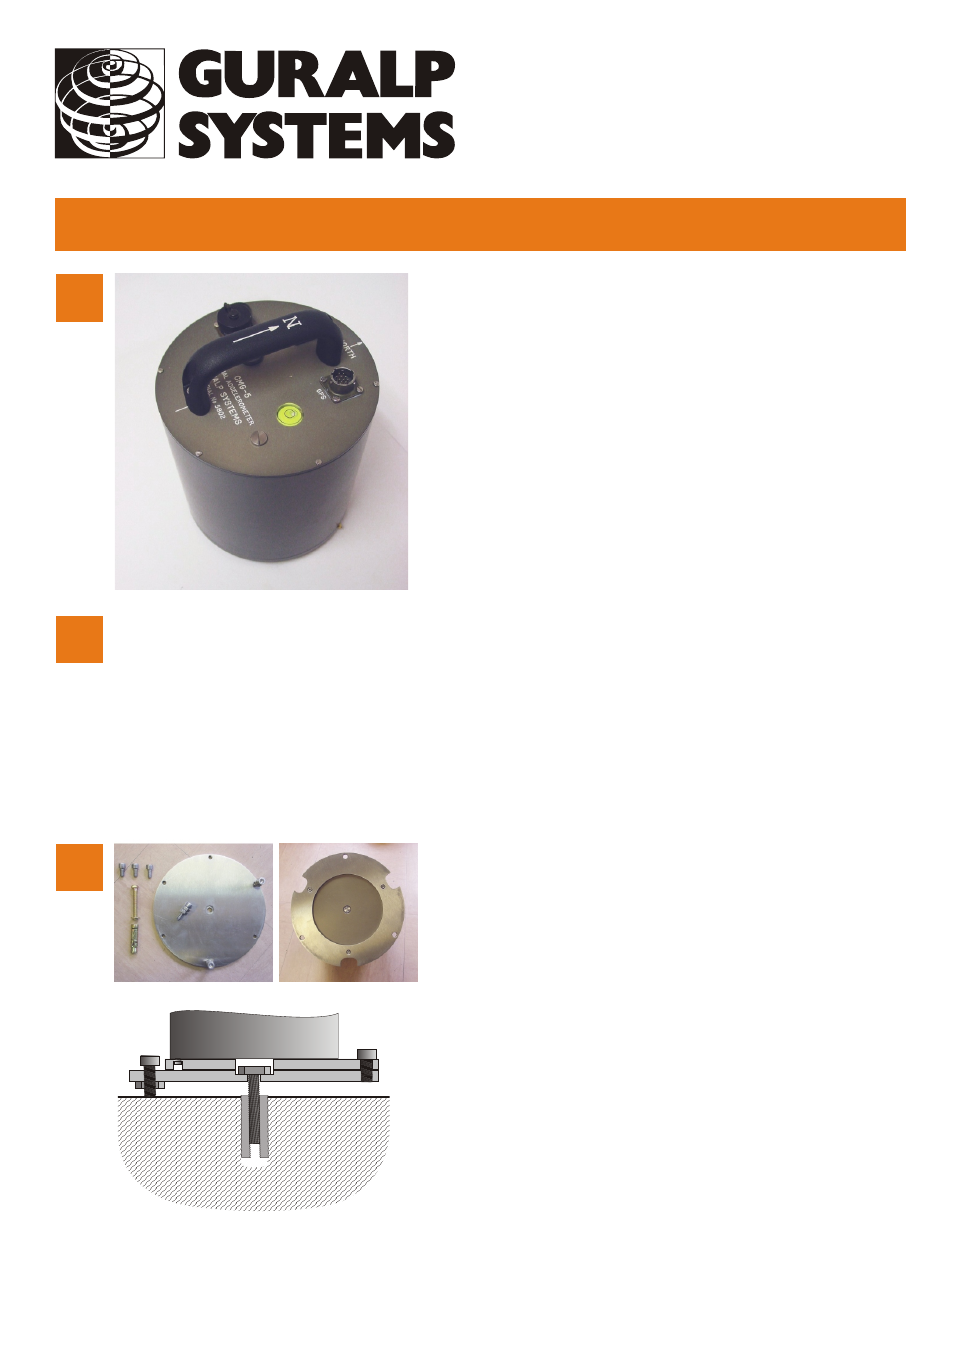
If you are using a base-plate and ring:
1. Fit the longer three screws half way into alternate
holes in the round base-plate and add a lock-nut to
each (left-hand top picture).
2. Drill through the centre of the North/South line and
use the anchor bolt to fasten the round base-plate to
the surface with the screw-heads uppermost. Rotate
to the correct orientation before tightening.
4. Screw the indented mounting ring onto the bottom of
the sensor (right-hand top picture).
5. Fix the sensor onto the base-plate using the shorter
set of three screws through the mounting ring.
6. Use the bubble level to check the sensor attitude and
adjust the mounting feet as required.
1