4 hanging mount, 5 wall mount, Hanging mount -2 – Daktronics AE-3010-7.6-R,G,A User Manual
Page 18: Wall mount -2, Figure 8: eye bolt insertion -2, Figure 9: mounting clip placement; rear view -2, Figure 10: wall mounting clip attachment -2
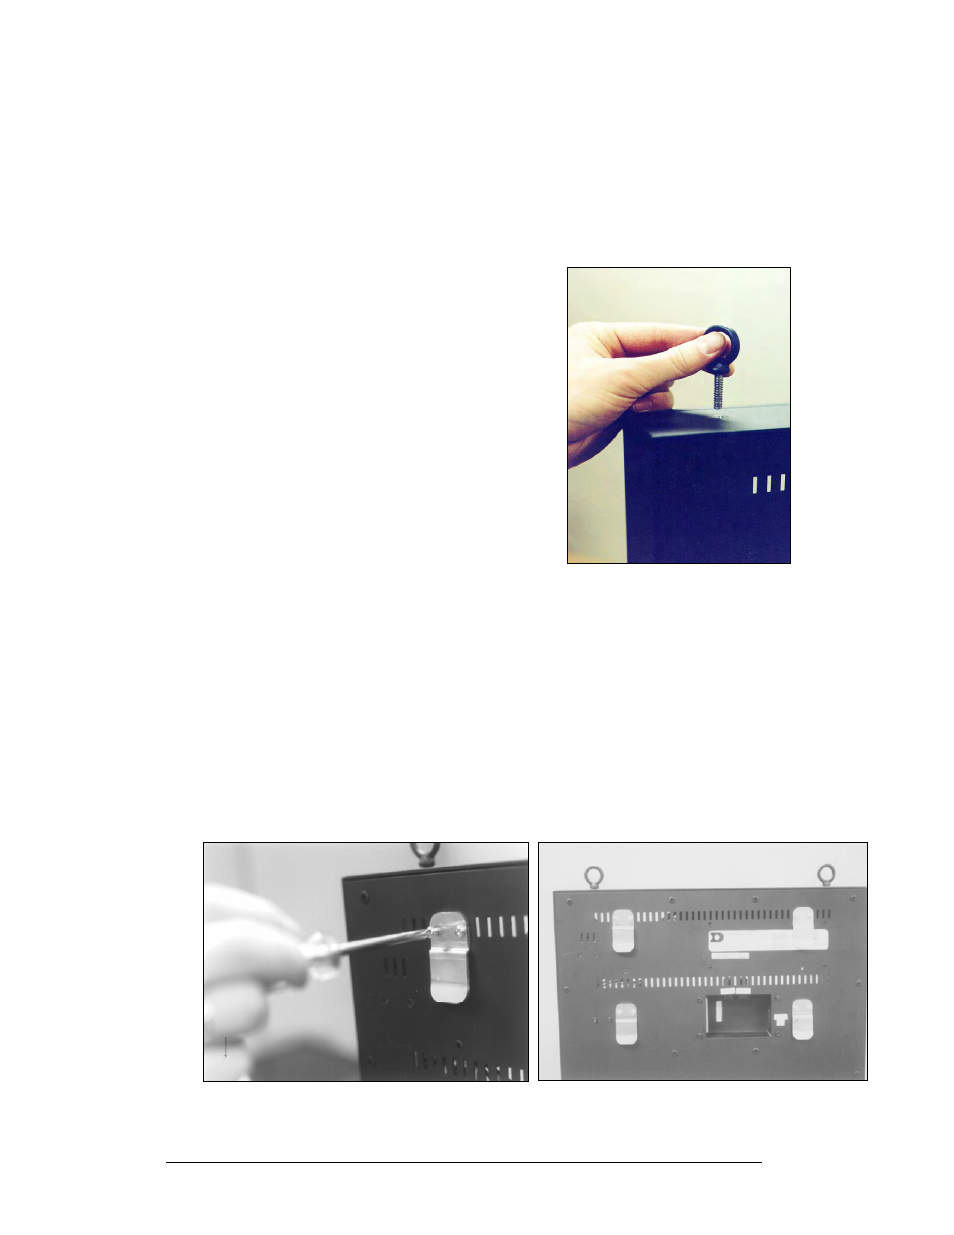
2.4 Hanging Mount
Reference Drawings:
Mounting Methods, AE-3010-*****-7.62mm ................ Drawing A-107655
The Galaxy Series Display has two pre-drilled holes in the top of the display for use
in the hanging mount method. Refer to Drawing A-107655 and the directions below
to hang the display.
Figure 8: Eye Bolt Insertion
1. Remove the two retaining screws from the
top of the display using a Philips
screwdriver.
2. Slide the provided sealing washer over the
threads of each eyebolt.
3. Insert the eyebolts in to the pre-drilled
holes on the display (refer to
).
4. Hand-tighten the eyebolts.
Note: Hanging the display without using the
supplied eyebolts will negate the warranty.
Attaching or hanging anything from the display will
render the warranty null and void.
2.5 Wall Mount
Reference Drawing:
Shop Drawing, AE-3010-16***-7.62mm-SB-RG .......... Drawing A-107618
Shop Drawing, AE-3010-32***-7.62mm-SB-RG .......... Drawing A-107636
Shop Drawing, AE-3010-48***-7.62mm-SB-RG .......... Drawing A-107639
The Galaxy has holes on the back of the display for the attachment of the wall
mounting clips. Using the #8-32 screws provided with the display, attach the
mounting clips to the rear of the display as shown (refer to both
and the Shop Drawing for your sign size for more information
). Use all the supplied
clips.
Figure 9: Mounting Clip Placement; Rear View
Figure 10: Wall Mounting Clip Attachment
Mechanical Installation
2-2