Battery information for electric start models – Bolens 132-395A User Manual
Page 6
Attention! The text in this document has been recognized automatically. To view the original document, you can use the "Original mode".
BATTERY INFORMATION FOR ELECTRIC START MODELS
^ WARNING \
A. Battery acid must be handled with great care
as contact with it can burn and blister the skin.
It is also advisable to wear protective clothing
(goggles, rubber gloves and apron) when work
ing with it.*
B. Should battery acid accidentally splatter into
the eyes or onto the face, rinse the affected
area immediately with clean cold water. If
there is any further discomfort, seek prompt
medical attention.
C. If acid spills on clothing, first dilute it with
clean water, then neutralize with a solution of
ammonia/water or baking soda/water.
Battery-
Acid
Pack
Filling
Adapter
/
\
Hardware
Drain
Tube
D. Since battery acid is corrosive, do not pour it
into any sink or drain. Before discarding empty
electrolyte containers, rinse them with a
neutralizing solution.
E. NEVER connect or disconnect charger clips to
battery while charger is turned on as it can
cause sparks.
F.
Keep all lighted materials (cigarettes,
matches, lighters) away from the battery as the
hydrogen gas generated during charging can
be combustible.
G. As a further precaution, only charge the battery
in a well-ventilated area.
* Always shield eyes, protect skin and clothing
when working near batteries.
ACTiVATING AND iNSTALLING THE BATTERY
1. Upon opening the battery pack, you should
receive acid pack, battery, drain tube, filling
------ adapter and hardware. See figure 6.
DANGER
BATTERIES CONTAIN SULFURIC
ACID AND MAY CONTAIN EXPLO
SIVE GASES (when electrolyte has
been added).
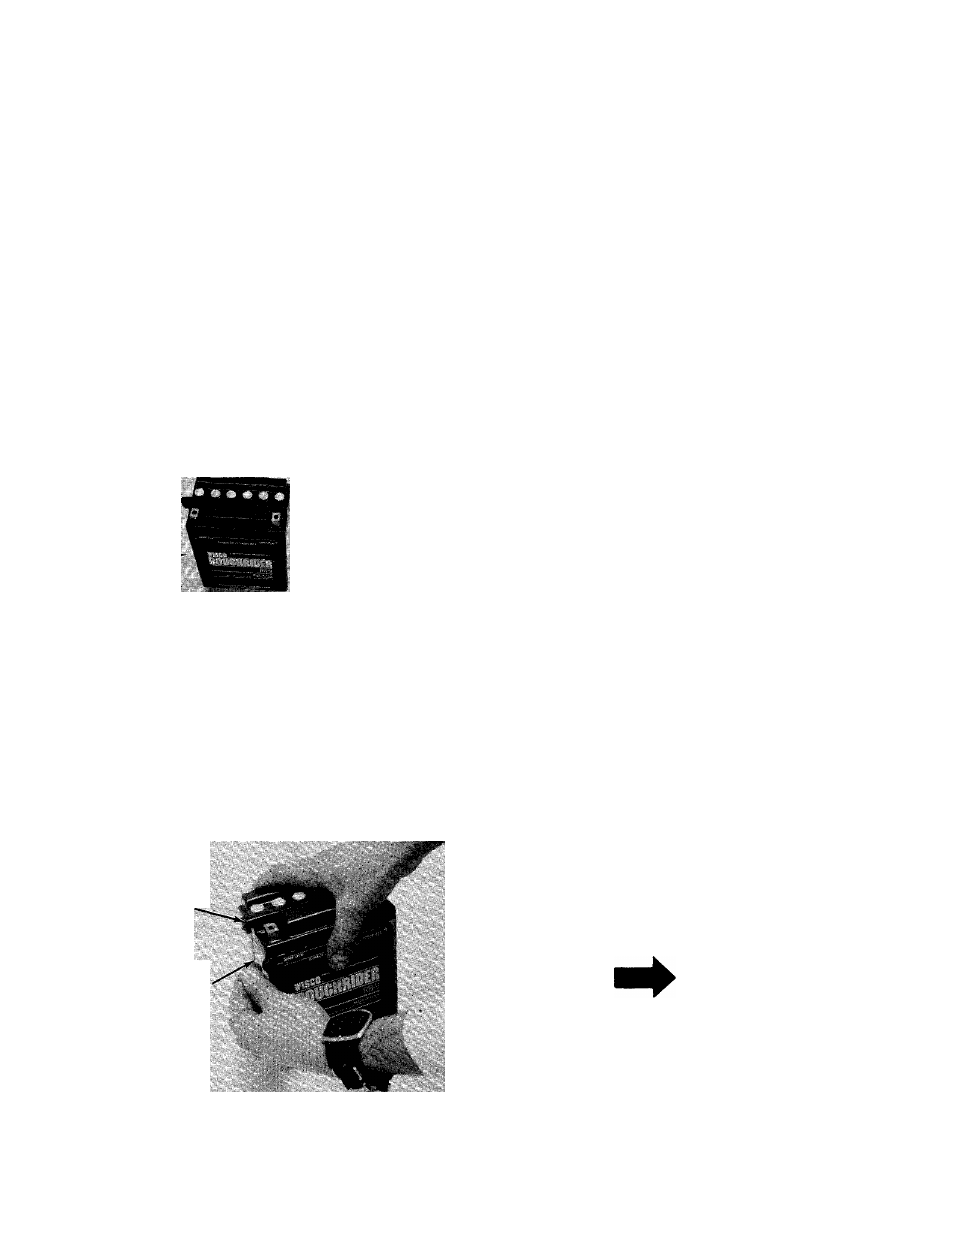
FIGURE 6.
Manifold on
Battery
Clear Plastic
Drain Tube
2. Place the battery on table or workbench to be
filled.
3. Place one end of clear plastic drain tube on
— manifold of battery. See figure 7.
NOTE
Some batteries may already have
the drain tube installed, in which
case it may be necessary to snip off
the sealed end.
FIGURE 7.