Calibrate the co, Display, E 30 – Shellab SCO6AD User Manual
Page 30: Operation (continued), Alibrate the, Isplay
30 |
P a g e
OPERATION (CONTINUED)
C
ALIBRATE THE
CO
2
D
ISPLAY
Note: The incubator must be stabilized at its calibrated operational temperature and CO
2
set points
before the CO
2
display can be accurately calibrated. The incubator must supplied with a feed
of 15
– 20 psi of CO
2
throughout this procedure.
Always use a CO
2
reference sensor regularly calibrated to a concentration accuracy of 0.1%. For
best results use a digital gas analyzer with a sample collection tube.
The incubator should be calibrated at the concentration level it will be set to during your incubation
application.
Wait until the unit has been stabilized at its CO
2
set point for one hour with no changes in
concentration on the CO
2
display panel before starting this procedure. Failure to wait until the unit is
stabilized will prevent an accurate calibration from being carried out.
Procedure continued on next page
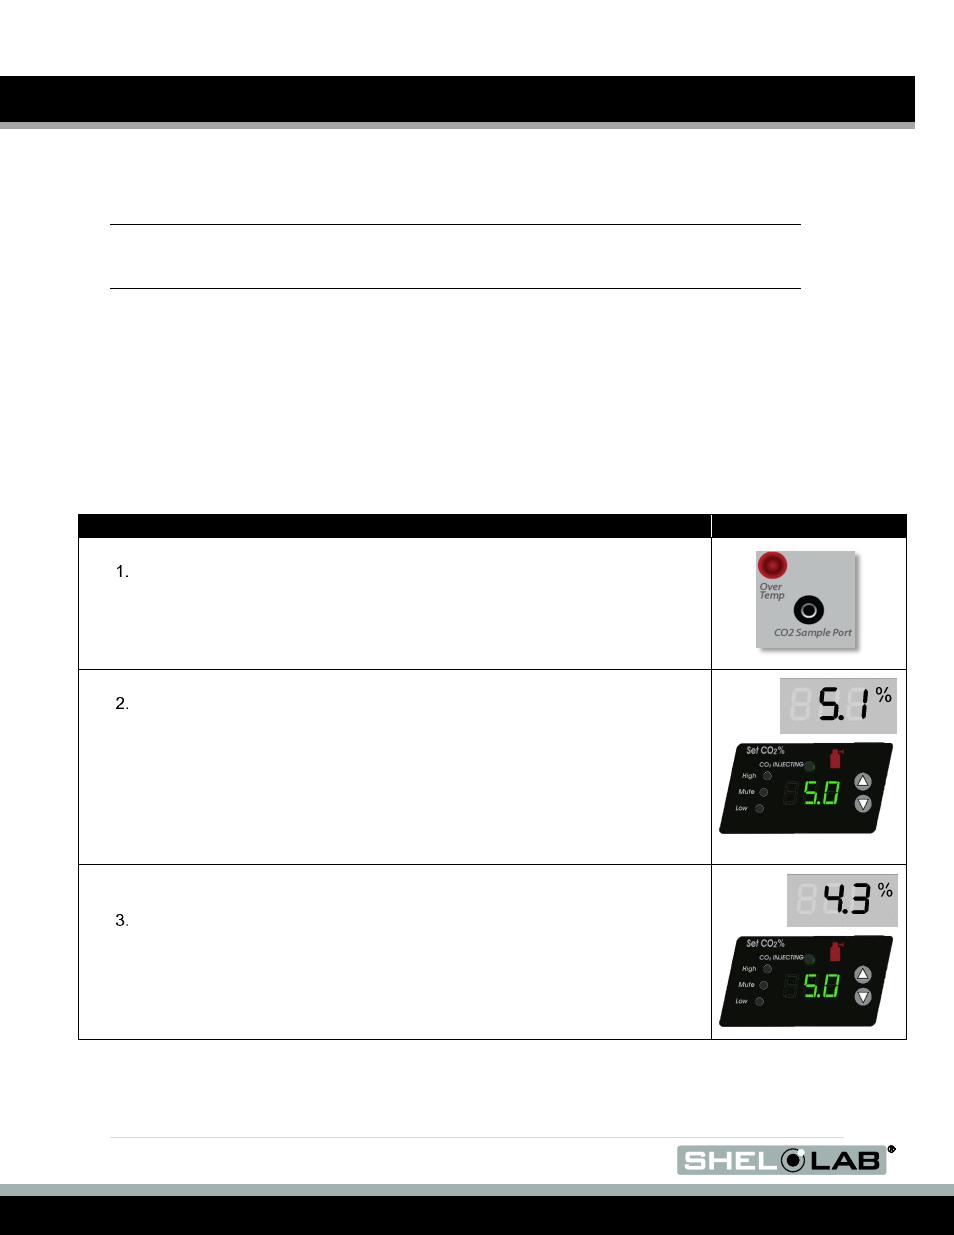
Connect a digital CO
2
analyzer sample tube to the sample port, located on
the OTL control panel.
Measure the current CO
2
percentage (%) inside the chamber with the
reference sensor.
a. Compare the reference reading with the percentage (%)
shown on the incubator CO
2
display panel.
b. If the readings are the same, or fall within the acceptable
range of your laboratory protocol the incubator is now
calibrated for CO
2
. The Calibrate CO
2
Display procedure is
complete.
If there is a difference between the two (2) readings, and that offset falls
outside the acceptable range of your laboratory protocol, place the CO
2
display into calibration mode. See the next step.