Zones – Interlogix TruVision 960H Premium Resolution Series PTZ Cameras Configuration Manual User Manual
Page 31
Chapter 2: Programming
TruVision Analog PTZ Camera Configuration Manual
29
To delete a task:
1. Go to
MAIN MENU
>
SYSTEM SETTINGS
>
SCHEDULE
.
2. Move the cursor to
CLEAR
and click
IRIS+
to delete the time and action of the current
task.
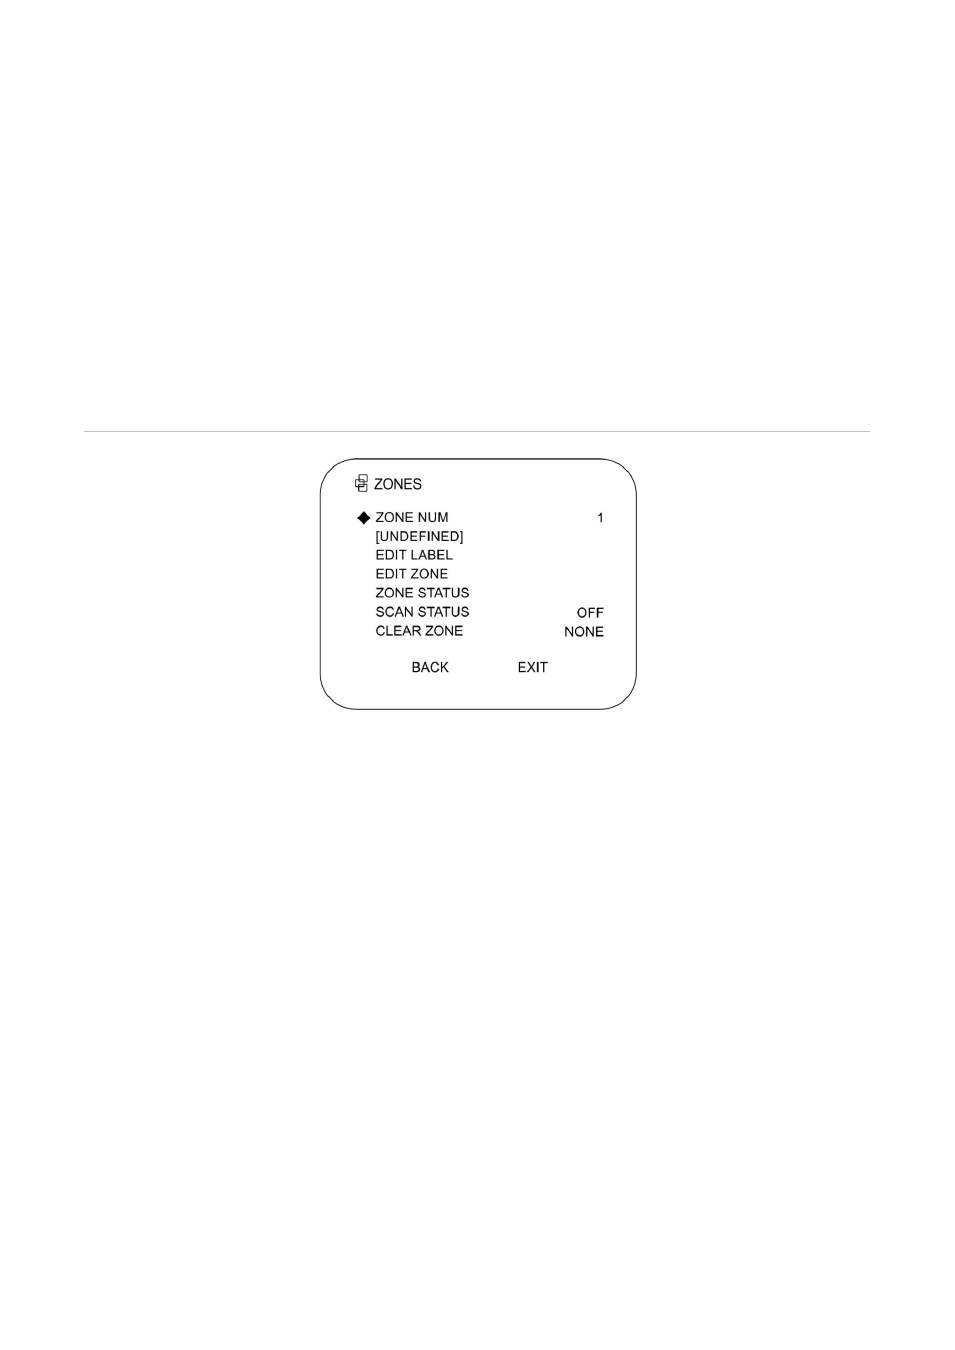
Zones
A zone is a pan and tilt area defined by the left/right and up/down limit stops. You can
configure the zones in the ZONES submenu. Zones are useful when the targeted
surveillance scene is a limited area. See Figure 11 below.
Figure 11: Zones menu
To set a zone number:
1. Go to
MAIN MENU
>
SYSTEM SETTINGS
>
ZONES
.
2. Move the cursor to
ZONE NUM
and click
IRIS+
to enter.
3. Click the up and down buttons to select the zone number to be configured.
Note: You can configure up to eight zones.
To edit a zone label:
See “To edit a preset label” under “Presets” on page 21
To set a zone area:
1. Go to
MAIN MENU
>
SYSTEM SETTINGS
>
ZONES
.
2. Move the cursor to
EDIT ZONE
and click
IRIS+
to enter.
SET LEFT LIMIT appears on screen.
3. Click the direction buttons to set the left limit stop.
4. Follow the prompts on screen to set the right limit, up limit, and down limit.
5. Click
IRIS+
to save the settings and exit.