Install the control horns prepare the canopy – Great Planes Super Skybolt 60 Kit - GPMA0170 User Manual
Page 62
leave it in the dye solution, the darker it
will tint. The powdered dye will produce
a darker tint than w i l l the l i q u i d .
CAUTION: Do not heat the dye water
above hot tap water temperature, as this
could deform the canopy.
D 1. Using a scissors, carefully cut the canopy
(CANPY056) along the trim line. Sand the edges of
the canopy to remove any nicks or burrs.
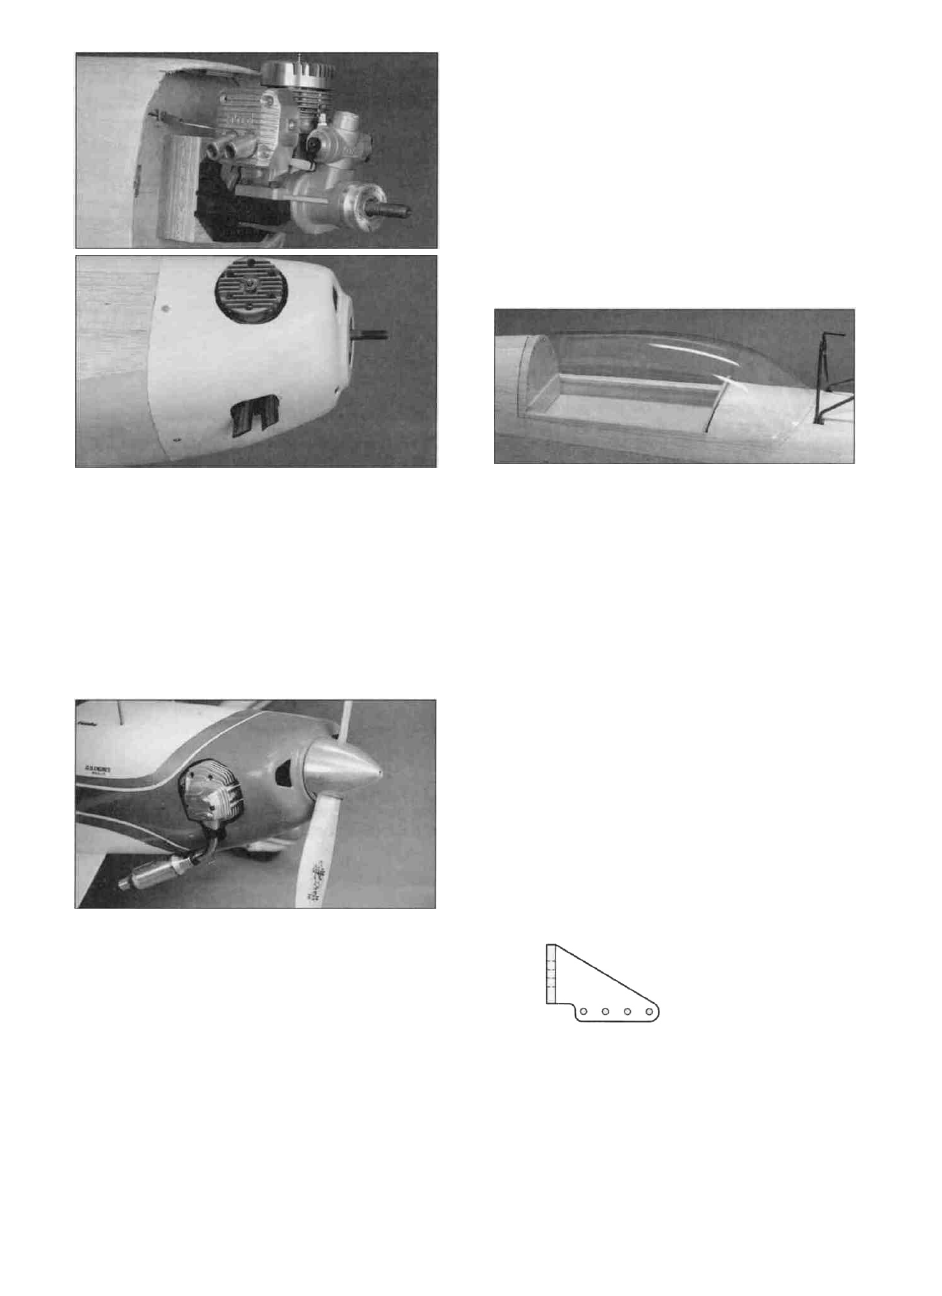
D 16. Install your muffler, and determine where the
cowl will need to be cut to clear it. A small Pitts-style
muffler will work on most 2-cycle engines. The
mufflers that come with most 4-cycles will also work
fine, and they can usually be installed after the cowl
is screwed on. The plans and photos show several
different installations. Cut the cowl to clear the
muffler. IMPORTANT: Provide at least a 1/8" gap
between the muffler and the cowl, or the cowl may
melt when the muffler gets hot.
D 2. Trial fit the canopy onto the fuse, lightly
pressing it into place. Refer to the plans to get an
idea where the canopy should be positioned. Trim
and sand as necessary for a good, even overlap.
D 3. Final sand the edges of the canopy with fine
(320 grit) sandpaper. It is important that the canopy
does not have any cracks along the edges, as the
engine vibration could cause them to spread.
O.S. 120 4-cycle shown
NOTE: Do not glue the canopy in place
until after you have covered your model.
INSTALL THE CONTROL HORNS
PREPARE THE CANOPY
NOTE: You may tint your canopy by
immersing it in a concentrated mixture
of Rit Dye and hot tap water. Remove
the canopy after 5 minutes and rinse it
off to check the amount of tint. The
hotter the water and the longer you
Large Nylon
Control Horn
D 1. Hold the large nylon control horns
(NYLON02) on the elevators and the rudder in the
positions shown on the plan, and mark the mounting
hole locations. Drill 3/32" holes at these locations.
- 6 2 -