Great Planes Super Skybolt 60 Kit - GPMA0170 User Manual
Page 15
D B Tack glue the tab on the top of LG1 into the
fuel tank floor.
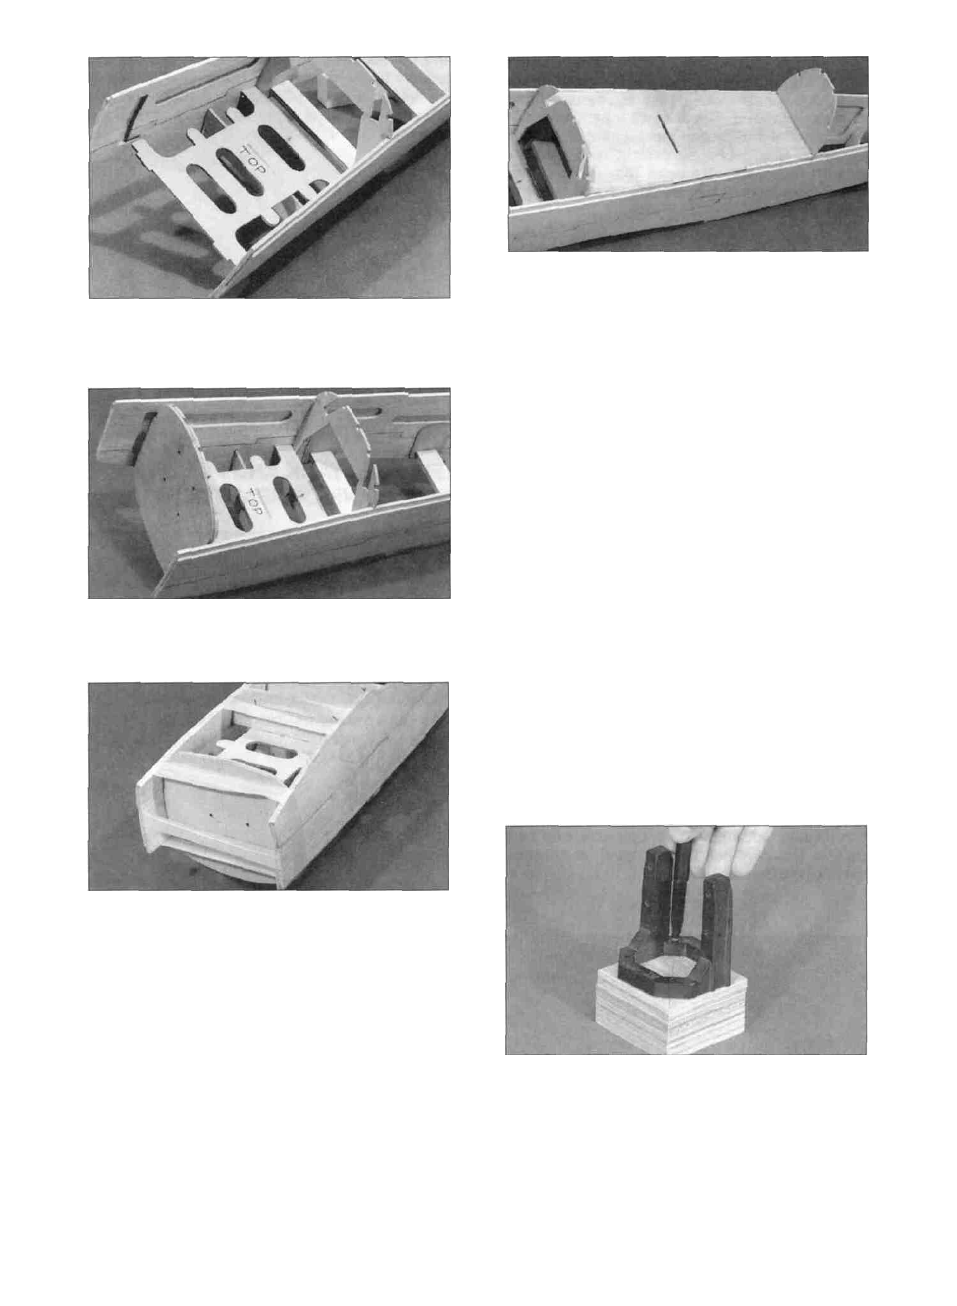
D 14 Snap the die-cut 1/8" ply cockpit bottom
(SKY6F11) in place by inserting the rear tab into
F3 and carefully sliding the front tab down into
place in F2 Glue the cockpit bottom to the fuse
sides and the formers.
D C Tack glue the firewall onto the front of the
fuel tank floor
Note: The engine mount shown in the
following photos may not be the mount
supplied in this kit.
D 15 Glue the required number of 9mm (3/8")
engine mount spacers (SKY6F27) together as
shown in the next photo You can lay your
engine/mount combination over the plans and
determine where the engine should be placed on
the mount and how many spacers should be used
We have determined that the following engines
usually require
D D Pull the fuse sides together and use
strapping tape to hold everything together
Securely glue everything in place with either epoxy
or CA If you are going to use CA, you can tape
everything first and thoroughly saturate the joints
with thin CA Then apply a generous bead of thick
CA around each joint
The OS 61 SF requires 3 spacers
The OS 91 Surpass requires 1 spacer
The OS 1.20 Surpass requires no spacers
D E Included you will find a piece of 1/4" balsa
triangle for you to install on the back of the firewall
It should be pressed into the corners formed by the
fuse sides and the firewall.
D 16 Center the engine mount on the face of the
spacers and mark where to drill the mounting
holes Drill 3/16" holes straight through all the
spacers you glued together (a drill press will be
helpful for this, if you have access to one)
15-