Drill engine mount, Fit fuel tank and fuelproof tank compartment – Great Planes Super Skybolt 60 Kit - GPMA0170 User Manual
Page 16
D 17. Mount your engine to your mount following
the manufacturer's recommendations. Refer to the
plans to make sure you get the engine positioned
far enough forward. The distance from the front of
the firewall to the front of the engine thrust plate
should be approximately 6-1/16" for a spinner
without overhang. Remove the engine. The
following instructions explain how to work with the
mount supplied.
and the required number of spacers. Glue the
spacers to the firewall and screw your engine to
the mount. If the 2-1/2" screws protrude into the
fuel tank compartment, cut them off flush with the
blind nuts.
DRILL ENGINE MOUNT
(Great Planes EM4070 or similar glass-filled mounts)
D 1. Hold the engine pointing straight ahead on
the mount (in the approximate location shown on
the plans) and mark the mounting hole locations
on the mount. At the marked locations, accurately
drill 7/64" (or #36) holes. NOTE: If you have
access to a drill press, use it for drilling these holes
to insure that they are drilled vertically.
FIT FUEL TANK AND FUELPROOF
TANK COMPARTMENT
D 2. Now you may use one of the following
methods to attach your engine to the mount:
#6 X 3/4" Sheet Metal Screw
Method 1: Screw the #6 x 3/4" sheet metal
screws (provided in the kit) through the engine
mounting flange and into the mount. When first
installing these screws, put a drop of oil into each
screw hole.
Method 2: Cut threads into the holes you just
drilled using a 6-32 tap and tap wrench. If you use
this method, you'll have to supply your own bolts
(6-32 x 1" socket head cap screws) for attaching
the engine to the mount.
D 3. Attach the engine mount to the firewall using
the 6-32 x 2-1/2" machine screws (SCRW071)
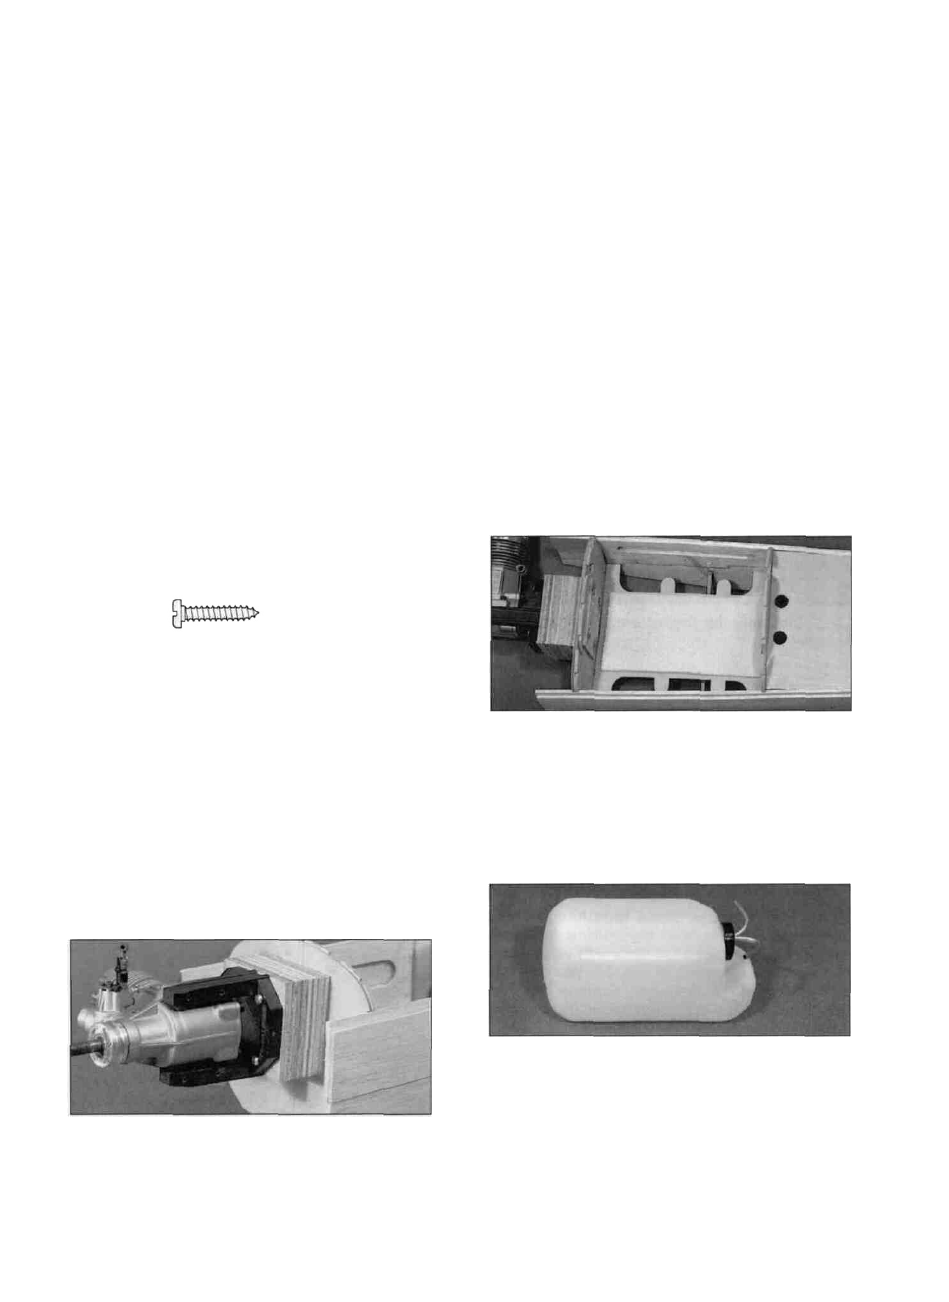
D 1. Cut a piece of 1/4" thick latex foam (not included)
into a 3" x 6" rectangle. Glue it to the ply tank floor to
help keep the fuel tank from vibrating excessively.
D 2. Assemble your 14 oz. fuel tank according to
the tank and engine manufacturer's instructions.
HINT: To avoid kinking the tubes when bending,
use K&S Tubing Bending Springs. We routed
the fuel and vent tubes as shown in the photo. This
helps keep the fuel tubing from getting kinked.
- 1 6 -