Setting up the answering machine, Setting the remote tam activation id – Panasonic KX-F560 User Manual
Page 21
Attention! The text in this document has been recognized automatically. To view the original document, you can use the "Original mode".
4
.
Making and Receiving Fax Calls
Setting up the answering machine
1. Set the desired number of rings (1 to 4) on the telephone answering machine.
2. Record your greeting message referring to the example below.
“This is (your name, business and/or telephone number). We are unable to answer the phone right now.
To leave a message, please speak after the long beep. To send a fax, press our remote fax activation
code and start transmission. Thank you. ”
—Do not pause for more than 4 seconds in the message.
—Your message can be from 8 to 16 seconds. We recommend you keep it around 10 seconds in length.
—Inform your remote fax activation code beforehand {see page 37).
3. If your answering machine is equipped with a remote operation feature, you must set the same access
code (remote TAM activation ID) as stored on the answering machine in the unit’s memory. See below.
Helpful hint:
• Transmit the leaflet on page 57 to several of your associates. This way, you can inform them of the
procedure for transmitting a document and/or recording a voice message.
Setting the remote TAM activation ID
Set the same ID code as stored on your answering machine.
Important:
•
Note that this code should be different from the remote fax activation code (see page 37) and the junk mail
prohibitor ID (see page 38).
о
START/ISETl
О
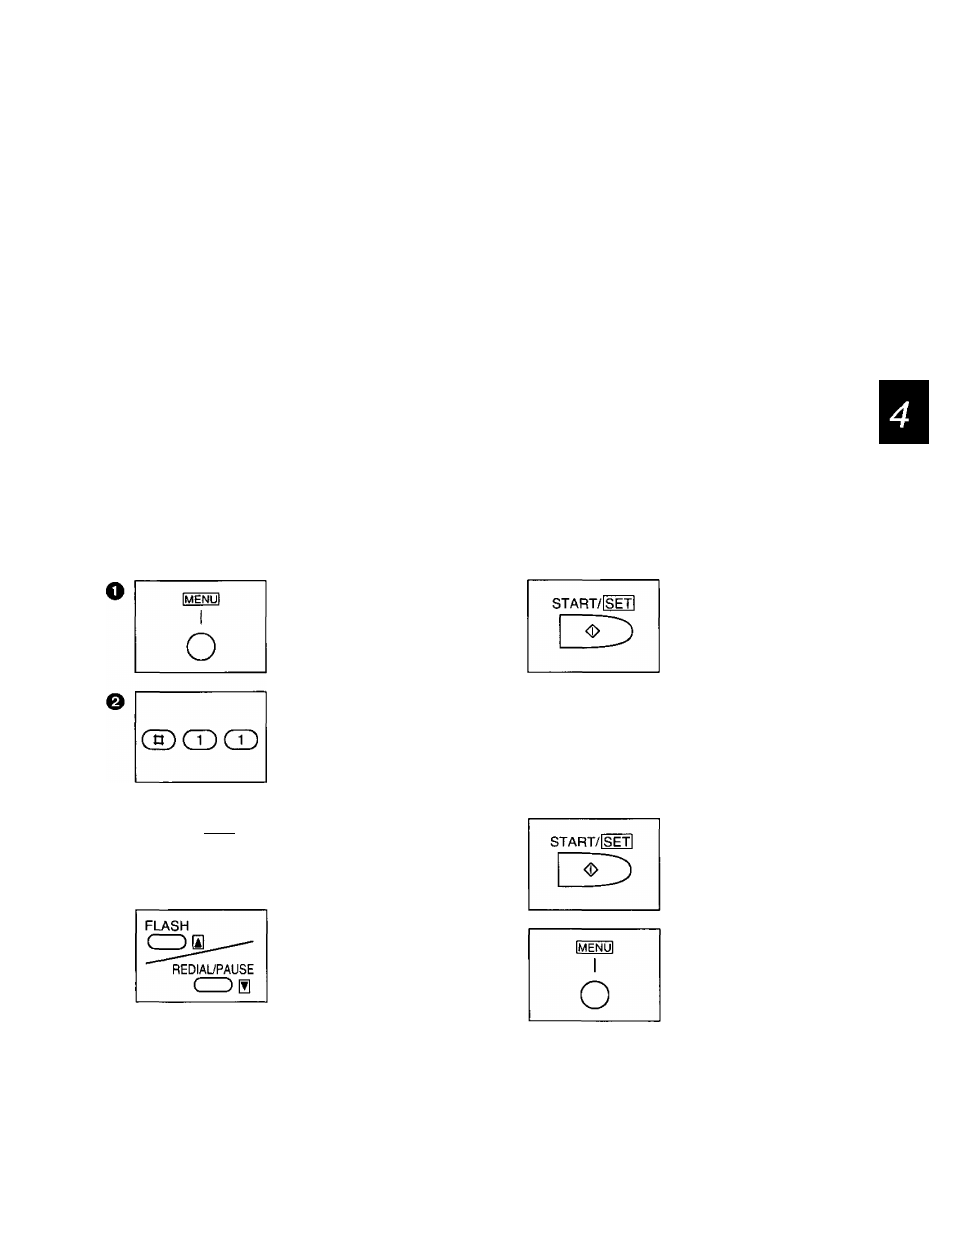
Press MENU.
1 . SYSTEM SET UP
Press then 11.
REMOTE TAM ACT.
Press
START/SET.
MODE=OFF
[ A T
Press
A
or
T
to select
"ON”.
MODE=ON
A T
©
QDCl^Cl)
Press
START/SET.
ID=11
—The display shows the
current ID preselected.
Enter the new ID number.
Press
START/SET
to
store the number.
Press MENU to end the
program.
21