Creating your original scene templates, Note, Notes – Yamaha HTR-6080 User Manual
Page 40: Rename the scene templates, A / v
Attention! The text in this document has been recognized automatically. To view the original document, you can use the "Original mode".
Selecting the SCENE templates
Creating your original SCENE
templates
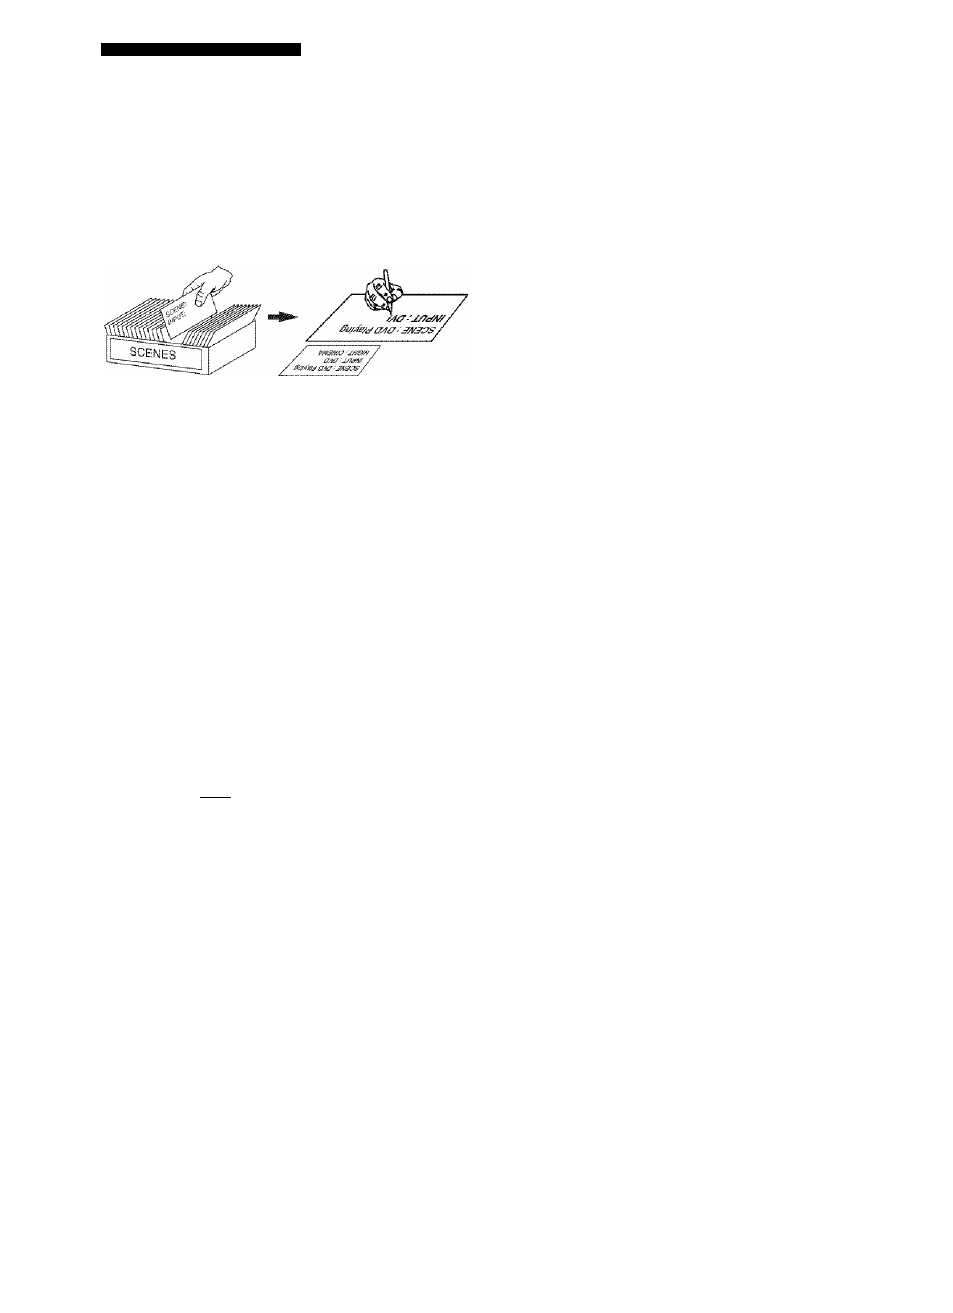
You can create your original SCENE templates for each
SCENE button. You can refer to the preset 18 SCENE
templates to create the original SCENE templates.
Select the desired SCENE
template
Create an original SCENE
template
SCENE template library
(Image)
Assign the SCENE
template to the
SCENE button
1
Turn on the video monitor connected to this
unit.
2
Set the operation mode seiector to ®AMP
and then press and hoid the desired
©SCENE button for 3 seconds,
T h Q
SCENE template customizing screen appears on
the video monitor.
SCENE
DUD
Uiewir,g
INPUTS
DUD
MuDbi
bi hlfliLiHT
HICiHTi
EVSTEN
EfcNTER]-F:enar'ie
CSCEKE1]:SL-T
[RETURN]; ST HI US
Note
When the SCENE tcinplaie you want to customize h not
assigned to any of the
©SCENE
buttons, press @<1 / {>■
repeatedly to recall the desired SCENE template on the
menu screen.
3
Press
® A / V
to seiect the desired parameter
of the SCENE tempiate and then ® < / > to
seiect the desired value of the selected
parameter.
You can adjust the following parameters for a SCENE
template:
•
INPUT:
The input source component.
•
MODE:
The active sound field programs,
STRAIGHT or Pure Direct mode.
•
NIGHT:
The night listening mode (see page 49).
- SYSTEM: Keeps the current night listening
mode.
- CINEMA: Sets the night listening mode to the
CINEMA mode.
- MUSIC:
Sets the night listening mode to the
MUSIC mode.
4
Press the ©SCENE button again to confirm
the edit.
An asterisk mark {'-■-) appears by the name of the original SCENE
template.
Notes
• Once the desired SCENE templates are assigned to the
eorresponding
©SCENE
btiuons, you need to set. the input
source of the SCENE template on the remote control. See
page 85 for details.
■ You can create a customized SCENE lejiiplate for each SCENE
button, and if you create another eiistomized SCENE template,
this unit overwrites the old customized SCENE template with
the new one.
• The newly created template is only available for the assigned
SCENE button.
■
Rename the SCENE templates
Select the name of the SCENE template at step 3
of “Creating your original SCENE templates” and
then press ©ENTER.
• Press ®^ /
V
to select the desired character.
• Press ® <1 / to place an (underscore) under the
space or the desired character.
• Press
©RETURN
to cancel the new name.
• Press
©ENTER
to confirm the new name.
36
En