Detect, 1 go to detect menu, 2 motion detect – DVR systems DVR31xxH Series User Manual
Page 39: 5 detect
39
Figure 4-16
4.5 Detect
4.5.1 Go to Detect Menu
In the main menu, from Setting to Detect, you can see motion detect interface. See Figure
4-17. There are three detection types: motion detection, video loss, camera masking.
4.5.2 Motion Detect
Detection menu is shown as below. See Figure 4-17.
Event type: from the dropdown list you can select motion detection type.
Channel: select the channel to activate recording function once alarm occurred. Please make
sure you have set MD record in encode interface(Main Menu->Setting->Schedule) and
schedule record in manual record interface(Main Menu->Advanced->Manual Record)
Latch: when motion detection complete, system auto delays detecting for a specified time.
The value ranges from 10-300(Unit: second)
Region: Click select button, the interface is shown as in Figure 4-18. Here you can set
motion detection zone. There are 396(PAL)/330(NTSC) small zones. The green zone is
current cursor position. Grey zone is the motion detection zone. Black zone is the disarmed
zone. You can click Fn button to switch between the arm mode and disarm mode. In a rm
mode, you can click the direction buttons to move the green rectangle to set the motion
detection zone. After you completed the setup, please click ENTER button to exit current
setup. Do remember click save button to save current setup. If you click ESC button to exit
the region setup interface system will not save your zone setup.
Sensitivity: System supports 6 levels. The sixth level has the highest sensitivity.
Show message: System can pop up a message to alarm you in the local host screen if you
enabled this function.
Alarm upload: System can upload the alarm signal to the network (including alarm centre)
if you enabled current function.
Send email: System can send out email to alert you when alarm occurs.
PTZ activation: Here you can set PTZ movement when alarm occurs. Such as go to preset,
tour &pattern when there is an alarm. Click
“select” button, you can see an interface is
shown as in Figure 4-19.
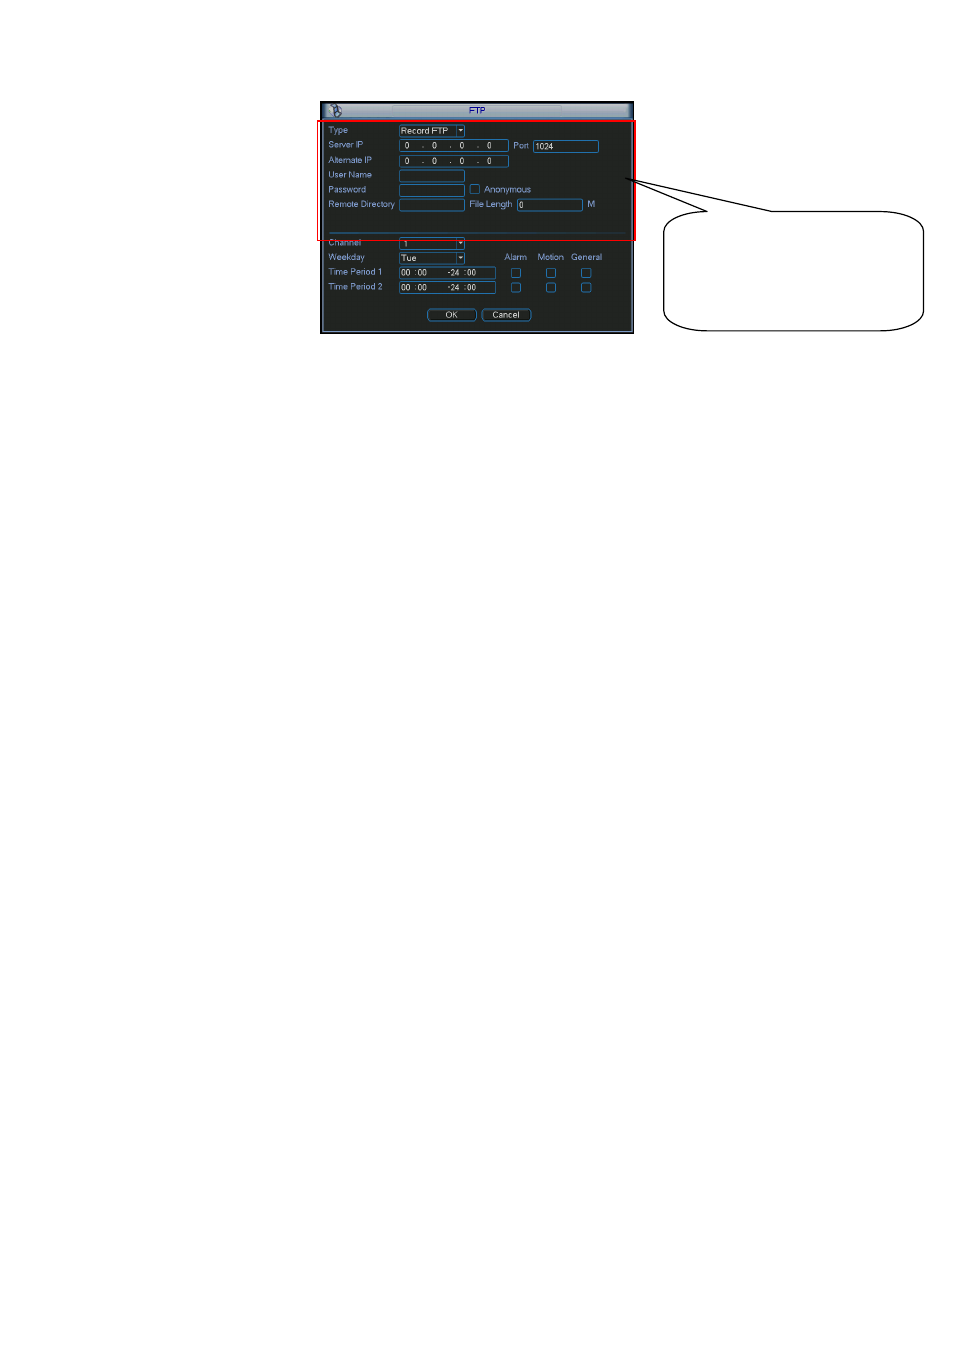
Please input the
corresponding information
here, if you just upload the
image FTP.