Connecting to power source outlet, Motor specifications and electrical requirements, Glossary of terms for woodworking – Craftsman 113.298761 User Manual
Page 6: Connecting, Power source outlet
Attention! The text in this document has been recognized automatically. To view the original document, you can use the "Original mode".
glossary of terms for woodworking
Sawblade Path
The area of the workpiece or table topdirectly in line with
the part of the workpiece which will be, or has been, cut
by the blade.
Set- /■'
■ ■;
:
.
The distance that the tip of the sawblade tooth is bent (or
set) outward from the face of the blade.
Throw-Back
Throwing of pieces in a manner similar to a kickback.
Thru-Sawing
Any cutting operation where the blade extends com
pletely though the thickness of the workpiece.
Trailing End
The workpiece end last cut by the blade in a ripping
operation.
Workpiece
The item on which the cutting operation is being done.
The surfaces of a workpiece are commonly referred to
as faces, ends, and edges.
motor specifications and electrical requirements
This saw is designed to use a 3450 RPM mo tor only. Do
not use any motor that runs faster than 3450 RPM. It is
wired for operation on 120 volts, 60 Hz., alternating
current. IT MUST NOT BE GONVERTED TO OPER
ATE ON 230 VOLTS.
CAUTION: Do not use blower or washing machine
motors or any motor with an automatic reset over
load protector as their use may be hazardous. For
replacement motor, referió parts list in this manual.
CONNECTING
TO
POWER SOURCE
OUTLET
This saw must be grounded while in use to protect the
operator from electrical shock.
Ifpowercord iswornorcut.ofdamagedinanyway, have
it replaced immediately.
Your saw is wired for 120 voits and has a plug that looks
like the one shown below.
Plug power cord of fully assembled saw info a 120V
properly grounded type outlet protected by a 15 amp.
time delay or Circuit-Saver fuse or circuit breaker.
It you are not sure that your outlet >$ properly
grounded, have it checked by aquaiified electrician.
WARNING: Do not permit fingers to touch the
terminals of plug when installing or removing the
plug to or from the outlet,
WARN ING: If not properly groundedi ihis power tool
can incur the potential of eiectrical shock, particu
larly when used in damp locations, in proximity to
plumbing, or out of doors. If an electrical shock
occurs, there is the potential of a secondary hazard,
such as your hands contacling the sawblade.
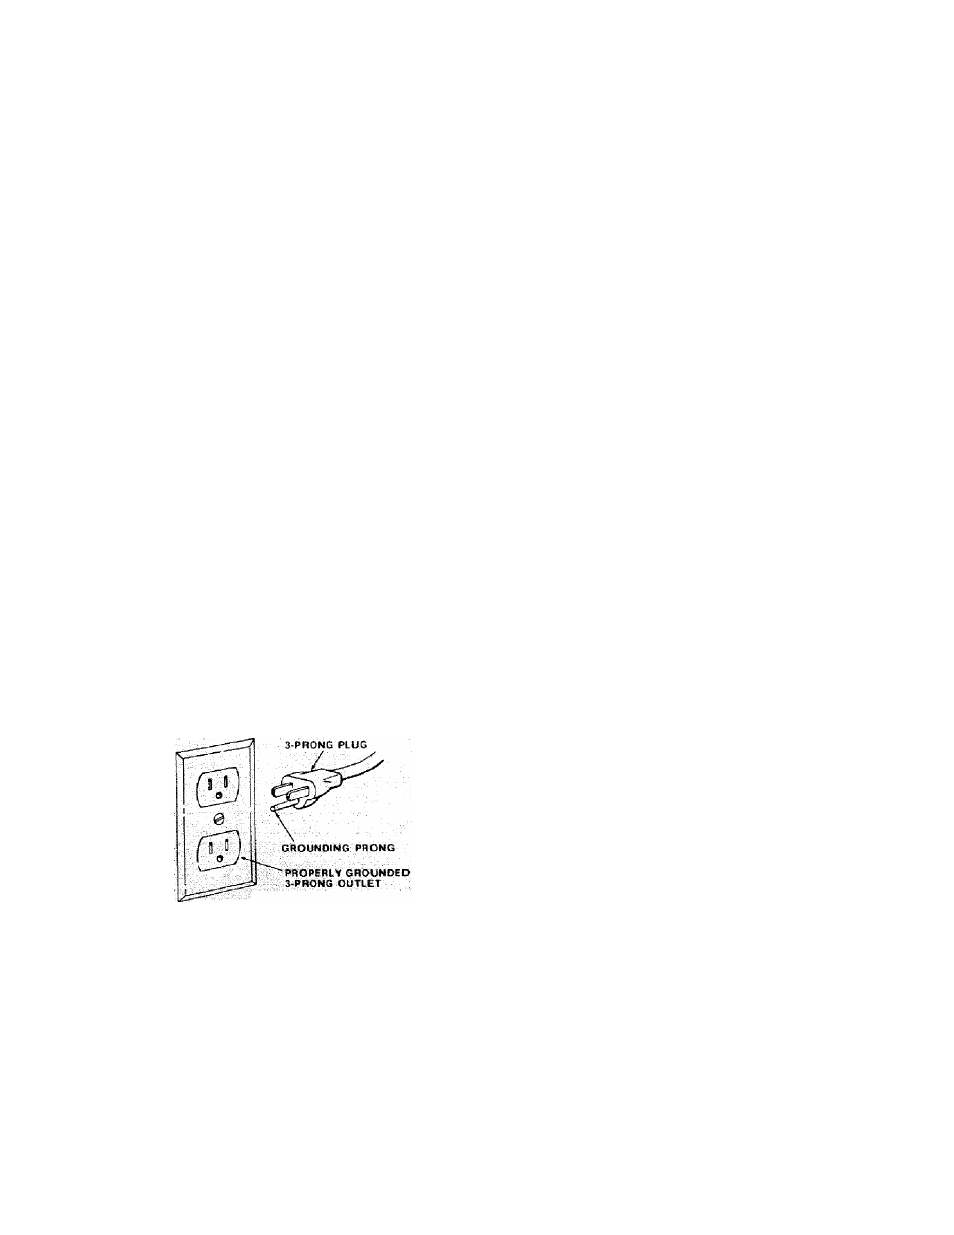
This saw is equipped with a 3-conductor cord and
grounding type plug which has a grounding prong,
approved by Underwriters’ Laboratories and the Cana
dian Standards Association. The ground conductor has
agreen lug and is attached to thetool housing atone end
and to the ground prong in the attachment plug at the
other end.
This plug requires a mating 3-conductor grounding type
outlet as shown.
If the outlet you are planning to use forthis saw is of the
two prong type, DO NOT REMOVE OR ALTER THE
GROUNDING PRONG IN ANY MANNER. Use an
adapter as shown beiow and always connect the ground
ing fcjg to a known ground.
it is recommended that you have a qualified electrician
replace the TWO prong outlet with a
properly
grounded
THREE prong outlet.
grounding
LUG
3-PRONG
PLUG
i S i
MAKE SURE THIS IS
CONNECTED TO A
KNOWN GROUND
2-PRONG
RECEPTACLE
ADAPTER
Atemporary adapter, as shown, is available for connect
ing plugs to 2-prong receptacles. The green grounding
lug extending from the adapter must be connected to a
permanentground such as to a properly grounded outlet
box. This adapter should be used only until a properly
grounded outlet can be installed by a qualified electri
cian.
WARNING: The green grounding log extending
from the adapter must be connected to a permanent
ground such as to a properly grounded outlet box.
Notali
outlet
boxes ae properly grounded.
If you are riot: sure that your outlet box is properly
grounded, have it checked by a qualified electrician.
6