Inserting an add-in board – Sony PCV-130 User Manual
Page 167
Attention! The text in this document has been recognized automatically. To view the original document, you can use the "Original mode".
Inserting an Add-in Board
Inserting an Add-in Board
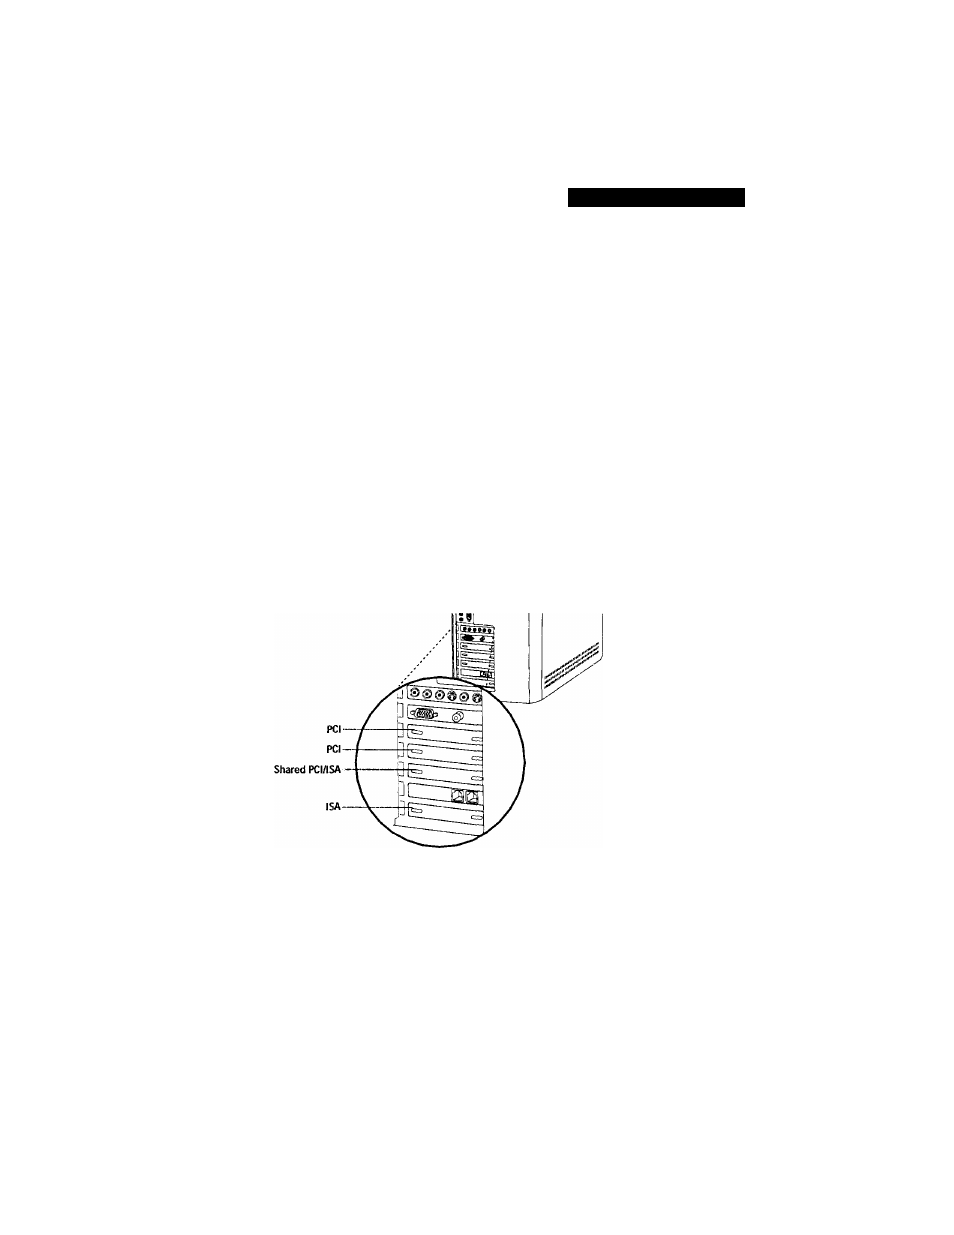
You can add ISA or PCI boards to the system. After removing the side
and rear panels and the I/O bracket, identify the connector where you
want to insert the add-in board.
¡ Make sure you observe the proper safety precautions when you add boards to
your Sony PC. See "Notes on Use" on page 183.
To insert an add-in board
1
Shut down your PC and turn off all peripheral devices, such as your
printer, display, and speakers.
2
Unplug your PC.
3
Remove the side and rear panels and the I/O bracket as described
on page 160.
4
Locate the correct slot cover for the type of board you are installing.
5
From the rear of the system, insert a 3/16-inch screwdriver into the
right
hole in the slot cover.
163