Fax mode, Dpof printing menu, Camera selection preview – Dell 964 All In One Photo Printer User Manual
Page 14
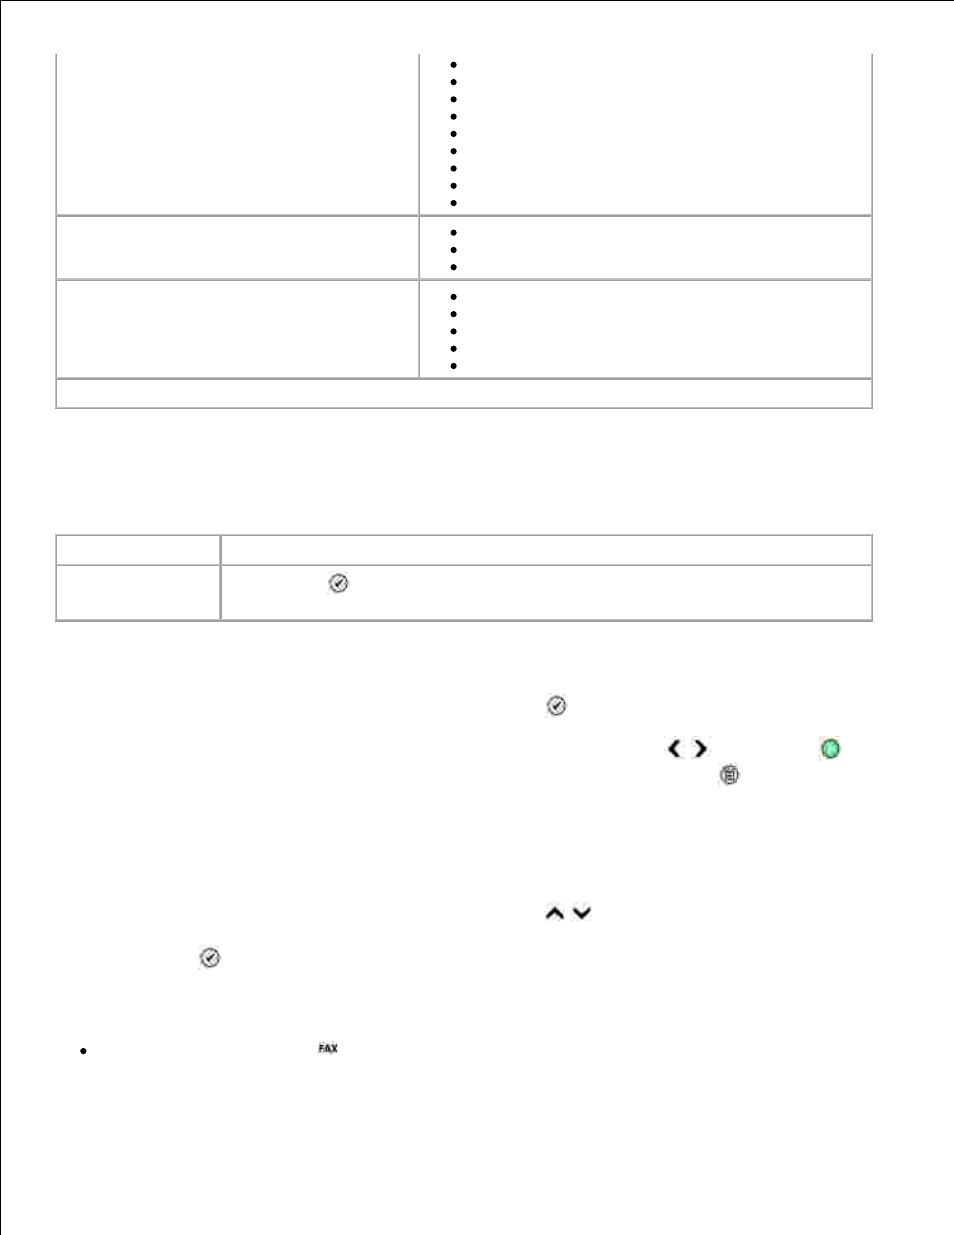
Borderless (1 per page)
One Photo Centered
1 per page
2 per page
3 per page
4 per page
6 per page
8per page
16 per page
Quality
Draft
Normal*
Photo
Paper Type
Auto Detect*
Plain
Coated
Photo
Transparency
*Factory default setting
DPOF Printing Menu
The DPOF Printing menu is accessed by selecting Print Camera Selections from the Photo Mode main
menu.
Menu item
Settings
Print Camera
Selections
Press Select
to enter Camera Selection Preview . For more information, see
Camera Selection Preview .
Camera Selection Preview
The Camera Selection Preview is accessed by pressing Select
from the DPOF Printing menu.
To navigate through the camera selections, use the left and right Arrow buttons
. Press Start
to
print the photos using the current print settings. To alter the print settings, press Menu
.
Fax Mode
To edit the Fax Mode settings:
From the main menu, use the up and down Arrow buttons
to scroll to Fax .
1.
Press Select
.
2.
In order for faxing to function properly:
The printer's FAX connector (
-right side connector) must be connected to an active phone line.
See Setting Up the Printer With Equipment for setup details.