Manual recording, Summarization, Programming a recording steps – SONIQ DVR150 User Manual
Page 24
Summarization
This function can make this unit record automatically according to the preset requirements when the preset
time is coming. And it will resume the original mode after finishing the recording. To carry out this function.
You should set down a record schedule first and then finish the configuring of the system according to the
requirements on the schedule.
Programming a Recording Steps
Record scheduler
No
Source
Quality
Date
Start
End
.
1
2
3
4
5
6
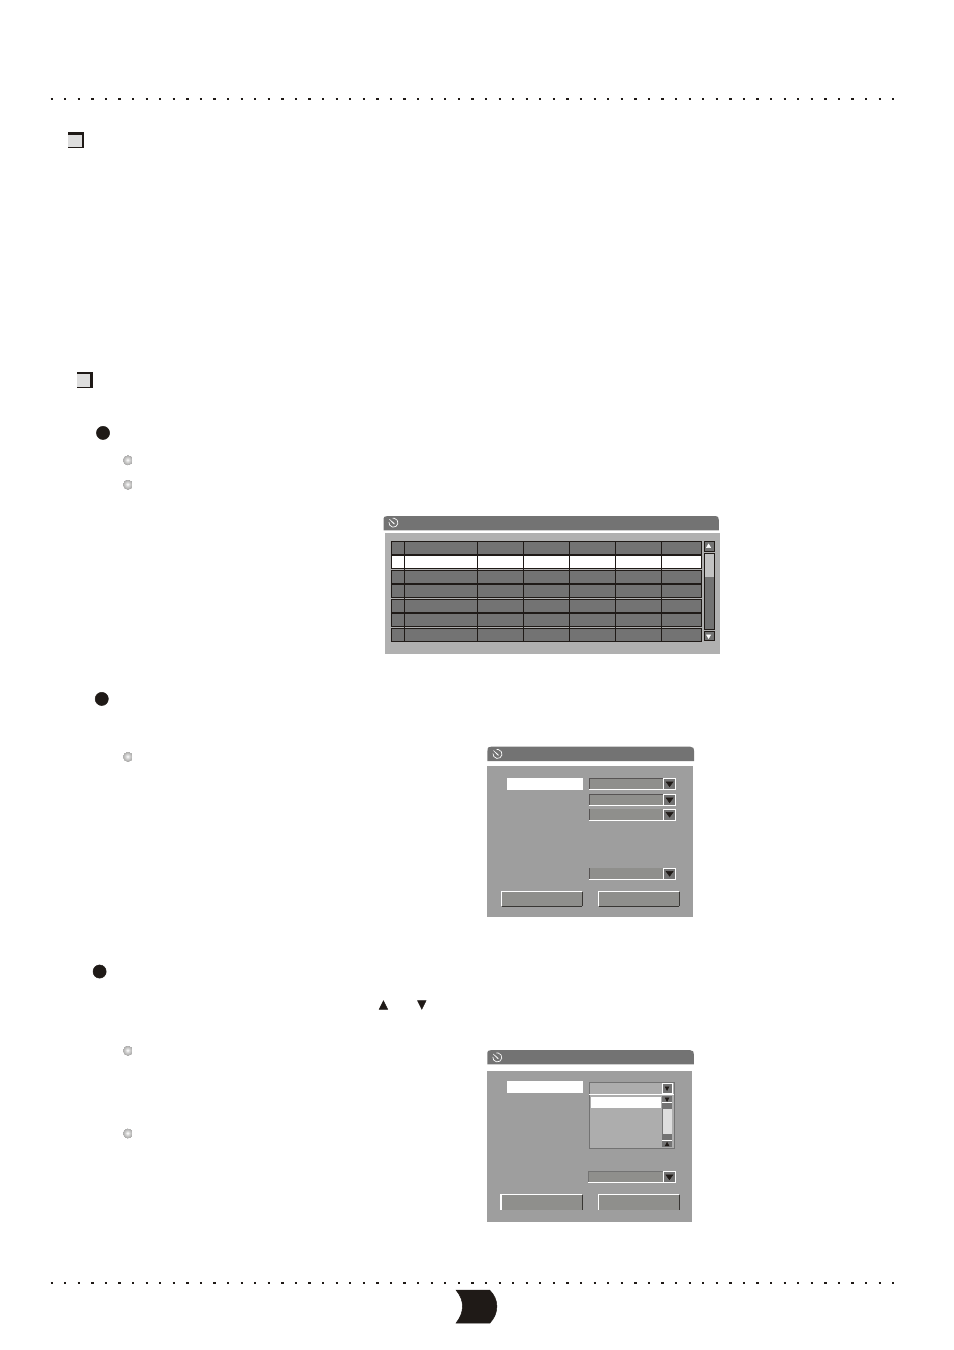
Press the [TIMER] button to display the record schedule menu shown as the following figure.
This menu is composed of 8 notes, each of which stands for one record scheduler.
Highlighting any non-empty note by cursor buttons, and the pressing [ADD/CLEAR] button,
can delete it.
Highlight a note in “Record scheduler”, and press [ENTER] button, then the TV screen displays the
following dialogue window.
P e r f o r m i n g t h e r e l a t i v e s e t t i n g i n t h i s i t e m
E d i t o r w i n d o w c a n m a k e a r e c o r d s c h e d u l e r.
Setting the input source:
Highlight “Source” item by sursor[
], [
] buttons, and press [ENTER] button to display the drop
down list, then select the right item from the list. At last, press [ENTER] button to confirm.
Please refer to “System Setup - Record
Settings - Default Input Signal Sources
Selection” for the values of the “Source”
item.
For example, if you want to record the
P003 TV program, you may set the value of
the Source item to P003.
1
2
3
The item Editor window
19
Item Editor
OK
Source
Quality
Mode
Date
Start
End
PDC
Front CVBS
Cancel
01 / 01 / 00
01 : 48
02 : 18
Once
SP
OFF
Item Editor
Cancel
OK
01 / 01 / 00
01 : 48
02 : 18
Source
Quality
Mode
Date
Start
End
PDC
OFF
Front CVBS
Front CVBS
Front S-VIDEO
Rear CVBS
Rear S-VIDEO
MANUAL RECORDING
PDC