Kenco Engineering SmartSonic Transmitter (Integral) User Manual
Page 6
Page 6
CALIBRATION
This section explains how to set up and calibrate the SmartSonic for accurate measurement monitoring. SmartSonic is
supplied with preprogrammed default settings, making it ready for immediate operation. It is recommended that you check
the Initial Set-up Menu, to verify that the transmitter is set for your Application Type and Measurement Range. Also, you
should replace the default tank height value with the actual tank height (
Pr. 02). When using SmartSonic, the tank height
is calculated as the distance from the surface of the sensor to the bottom of the tank. You should enter this value
whenever tank height is required. (For flow measurement, enter the precise flume height.)
SmartSonic contains eleven Standard Programs, and five Initial Set-up Programs, which enable you to change the default
settings and calibrate SmartSonic as required. These functions are accessed from a functions menu. The functions
Pr.01,
Pr.02, Pr.04, Pr.05, Pr.23, and Pr.24 are the most important to ensure correct usage of your SmartSonic device (with the
addition of
Pr.00 if using the Open Channel Flow software). Function Pr.03 may be used if there are interfering signals.
The remaining functions (
Pr.06, Pr.07, Pr.08, Pr.09, Pr.10, Pr.20, Pr21, and Pr.22) enable you to customize SmartSonic
for your monitoring requirements or to restore factory default settings.
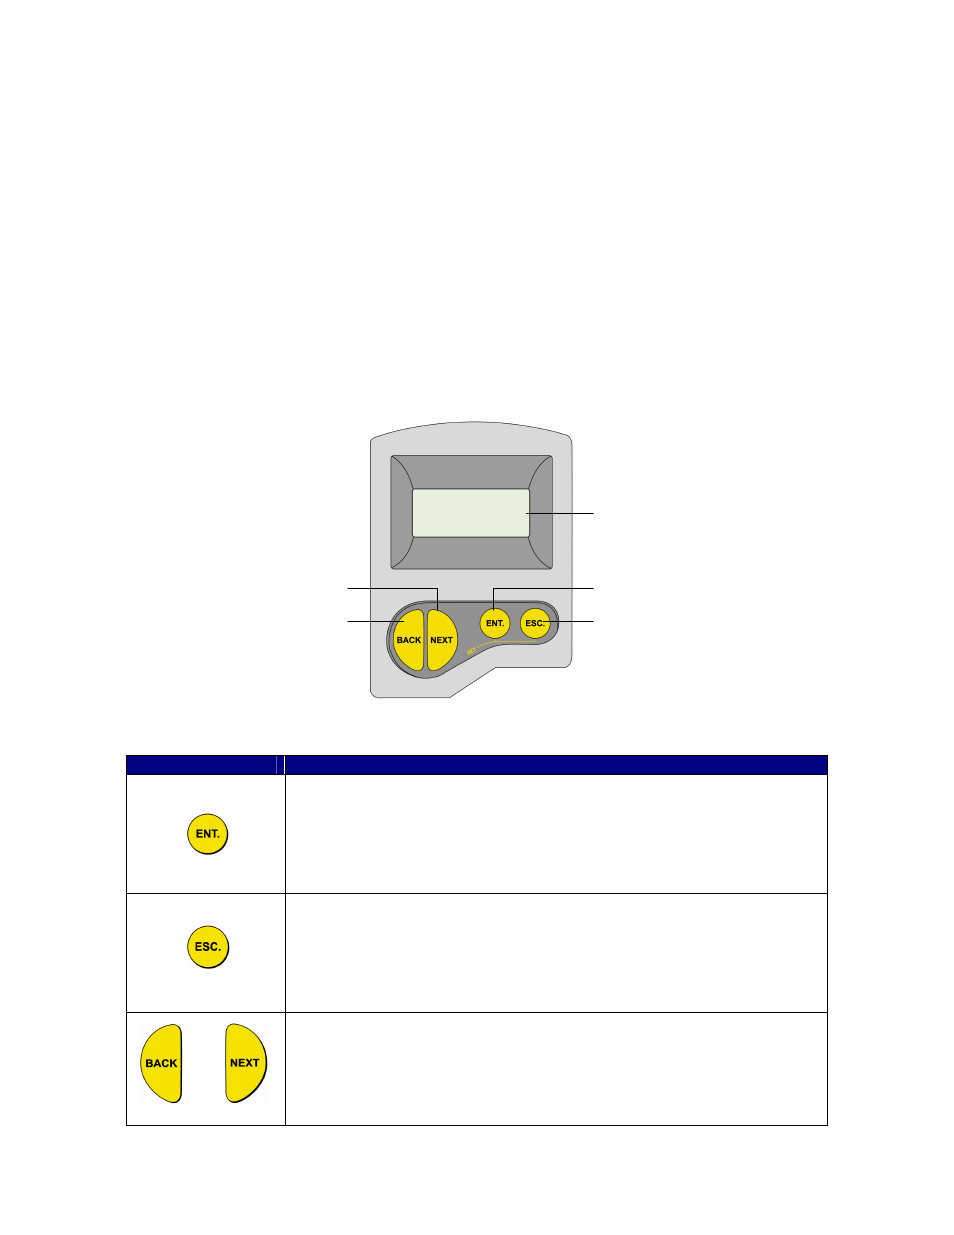
Display / Keypad
The LCD display screen functioning in “Normal” mode provides continuously updated measurement readings. This
display is also used to view the program menus, options, settings, and data values. These are accessed by using the
keypad. The picture below shows the display and keypad of the SmartSonic:
The keypad buttons are used to perform various operations, summarized in the following table
Button
Uses Include:
• Accessing the program menu (when pressed simultaneously with “ESC.”
• Selecting Programs.
• Progressing to the next step of a program.
• Moving from left to right between displayed digits.
• Saving changes to data.
• Accessing the program menu (when pressed simultaneously with “ENT.”
• Exiting the program menu to return to the “Normal” mode.
• Moving from right to left between displayed digits.
• Exiting a program without saving changes.
• Clearing error messages.
or
• Scrolling through program menu.
• Scrolling through data values in programs.
Enter button
Escape button
LCD display
Back button
Next button