Hinging the rudder and stabilizer – E-flite Ultimate 20-300 10 ARF User Manual
Page 19
19
E-flite Ultimate 20-300 Assembly Manual
Hinging the Rudder and Stabilizer
Required Parts
Elevator (left and right)
Rudder
Tail wheel assembly
Fuselage
CA hinge (10)
Control horn
Control horn backplate
Required Tools and Adhesives
Medium CA
Felt-tipped pen
Hobby knife
Thin CA
6-minute epoxy
Mixing sticks
Mixing cups
Rubbing alcohol
Paper towels
Note: The first few steps of installing the elevators is
necessary to make sure everything will operate properly.
Do not use any adhesives until instructed to do so.
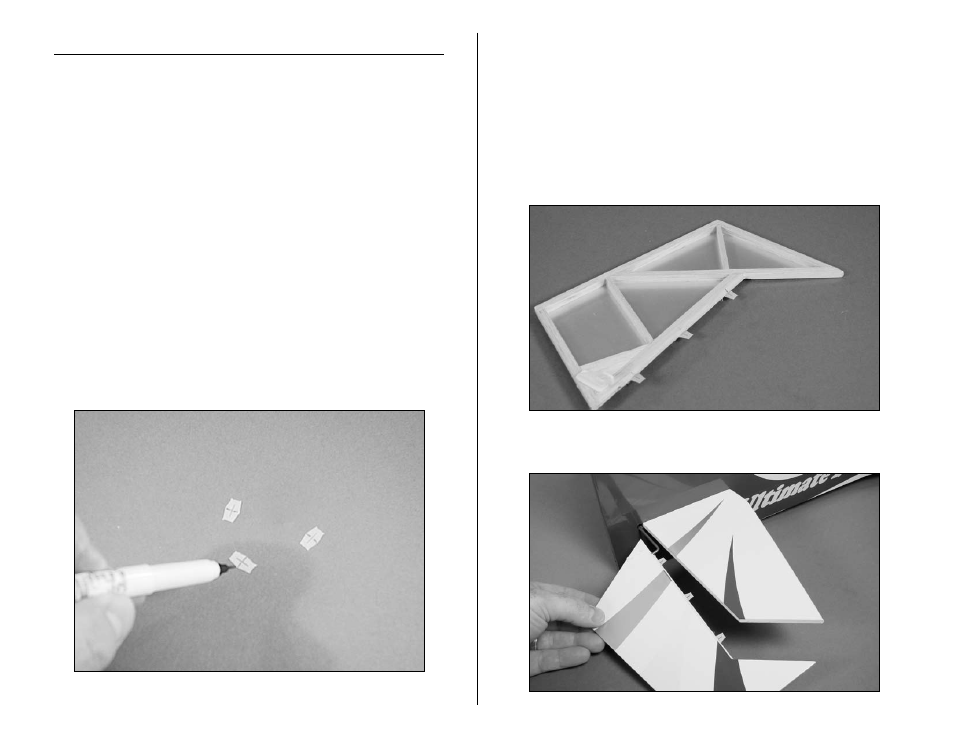
1. Use a felt-tipped pen to mark the center of three CA
hinges. This will help in positioning them equally in the
elevator and stabilizer.
2 Slide the three hinges into the elevator, using the line
to center them properly. Install the control horn in the
stabilizer on the bottom side. Use a felt-tipped pen to
mark the area around the base of the control horn.
Remove the horn and use a hobby knife to cut the
covering away from the area inside the outline. Glue the
control horn using medium CA. A control horn backplate
is also installed on the top side of the elevator. Remove
the covering under this also.
3. Slide the elevator onto the elevator joiner wire.