Microswitch (optional - front of camshaft) – Watts Autotrol 263 / 268 (Logix Series) User Manual
Page 52
52
VALVE SERVICE
Rev A
To remove microswitch:
1. Disconnect power to the switch.
2. Remove cover.
3. Unscrew switch base from top plate.
4. Disconnect wires.
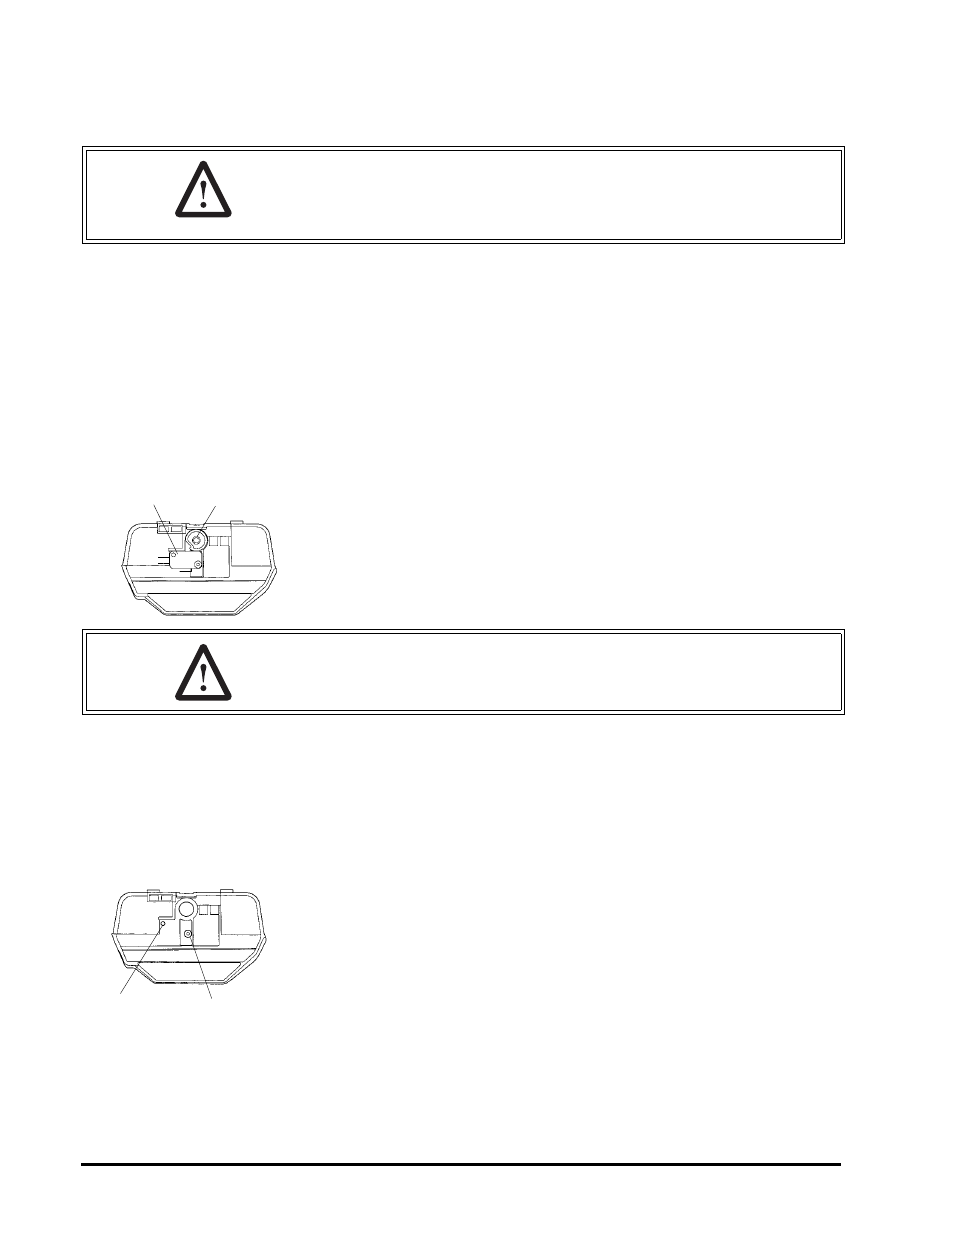
Microswitch (Optional - Front of Camshaft)
This microswitch is mounted behind the controller at the front end of the
camshaft. The switch is mounted to the top plate. The cam for this switch
is screwed to the front of the camshaft. This cam can be adjusted to
activate the microswitch at any time during the regeneration cycle.
The front end cam switch is available as a kit from GE Water Technologies.
To remove microswitch:
5. Disconnect power to the switch.
6. Remove cover.
7. Remove controller.
8. Unscrew switch from top plate.
9. Disconnect wires.
To install microswitch:
1. Connect wires.
2. Screw switch base to top plate using the switch guide pin over screw
boss.
3. Attach the switch cam to front of the camshaft with a self-tapping
screw. Adjust to the appropriate cycle and tighten.
WARNING: The Autotrol valve is rated for low voltage (less than
48 volts) microswitch components only. Using a high voltage switch
may result in damaged valves or fire and may interfere with electronic
control function.
Cam
Switch
WARNING: This switch will normally control an event on another piece
of equipment. Be certain of what effect your actions will have on the
other equipment.
Optional Microswitch
Mount
Hole
Post