Rear installation – Skyjacker HB-TU760MS User Manual
Page 8
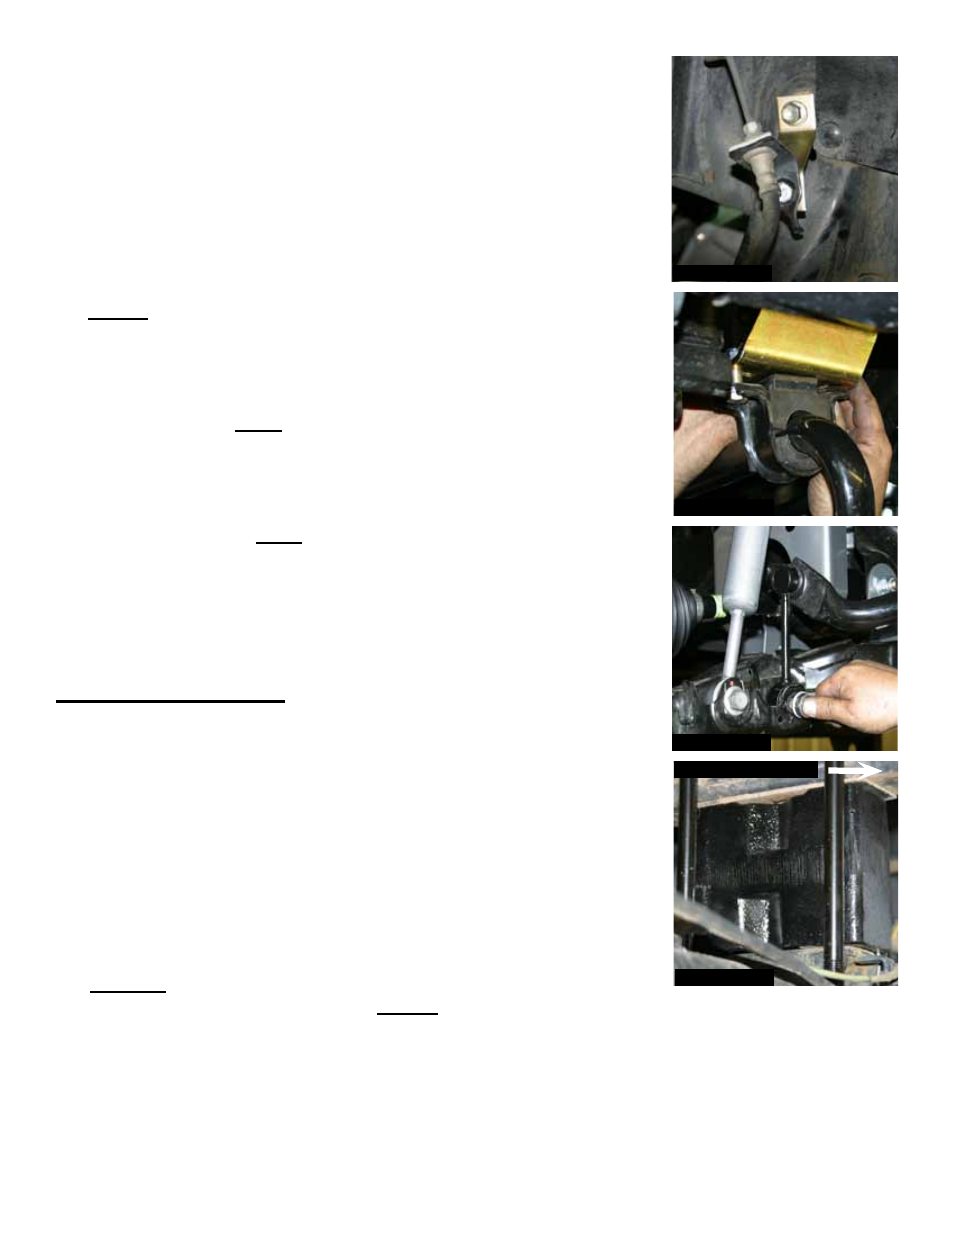
29. Install the new Skyjacker front brake line extension brackets using
the OEM hardware & the supplied 5/16" x 3/4" bolts & nuts. (See
Photo # 32)
30. To install the OEM outer tie rod ends to the new Skyjacker steering
knuckles, the OEM outer tie rod ends will need to be swapped from
driver to passenger & passenger to driver side. Attach the OEM
outer tie rod ends to the new Skyjacker steering knuckles using the
OEM hardware. Reinstall the OEM brake rotors, brake calipers, &
etc.
31.
6" Lift: Install the OEM sway bar using the new Skyjacker sway bar
lowering brackets. The new sway bar lowering brackets will install
between the OEM sway bar & the OEM mount on the frame using
the OEM hardware. The OEM sway bar will be attached to the new
sway bar lowering brackets using the supplied 7/16" x1 1/2” bolts,
washers, & nuts.
Note: The new sway bar lowering brackets should
offset the OEM sway bar towards the front of the vehicle. (See Photo
# 33)
32. Install the new Skyjacker sway bar end links with the pivoting end at
the OEM sway bar.
Note: The new sway bar end links are side
specific for passenger & driver side. (See Photo # 34)
33. Install the front tires / wheels & lower the front of the vehicle to the
ground.
Rear Installation:
1. With the vehicle on flat level ground, block the front tires / wheels.
Raise the rear of the vehicle & properly support using jack stands.
Remove the rear tires / wheels.
2. Disconnect the OEM E-brake cables, ABS line, & rear brake lines
from the rear differential.
3. Support the rear differential & remove the OEM rear shocks &
u-bolts.
4. Install the new Skyjacker rear blocks & new Skyjacker u-bolts.
4.5" Lift: Install the new Skyjacker rear blocks with the taller end of
the block toward the rear bumper.
6" Lift: Install the new Skyjacker
rear blocks with the female hole of the new rear block offset towards
the front of the vehicle. (See Photo # 35)
5. Install the new Skyjacker rear shocks using the supplied shock hardware & OEM hardware.
I-TU746SP
Pg 8
Photo # 33
Photo # 34
Photo # 35
Front of Vehicle
Photo # 32