Sensaphone WSG30 System Users manual User Manual
Page 33
Chapter 7: Wireless Sensors
33
Power suPPly wIrIng (router Mode)
When using your wireless sensor in Router mode, you must use an external power supply (Sensaphone
Part #XFR-0041). This is required because router mode uses more power than can be supplied by
batteries alone for an extended period of time. You can also use a power supply when the sensor is
configured as an End Point, which will greatly extend the life of the batteries and minimize the need to
change them.
To connect the power supply, remove the sensor cover and locate the screw terminals labeled “5V DC”.
connect the positive wire from the power supply to the “+” terminal. Plug the power supply into an
appropriate outlet.
1.375”
MountIng
The sensor can be mounted directly on a flat surface. Consideration should
be given as to whether or not an electrical outlet will be required if using the
optional power supply. Mount the sensor as high as possible to provide for
optimal Wireless transmission. When installed within a building where the
Wireless signal must travel through several obstructions, the sensor should
be located within 250’ of the WSG30 or within 300’ of a sensor/router.
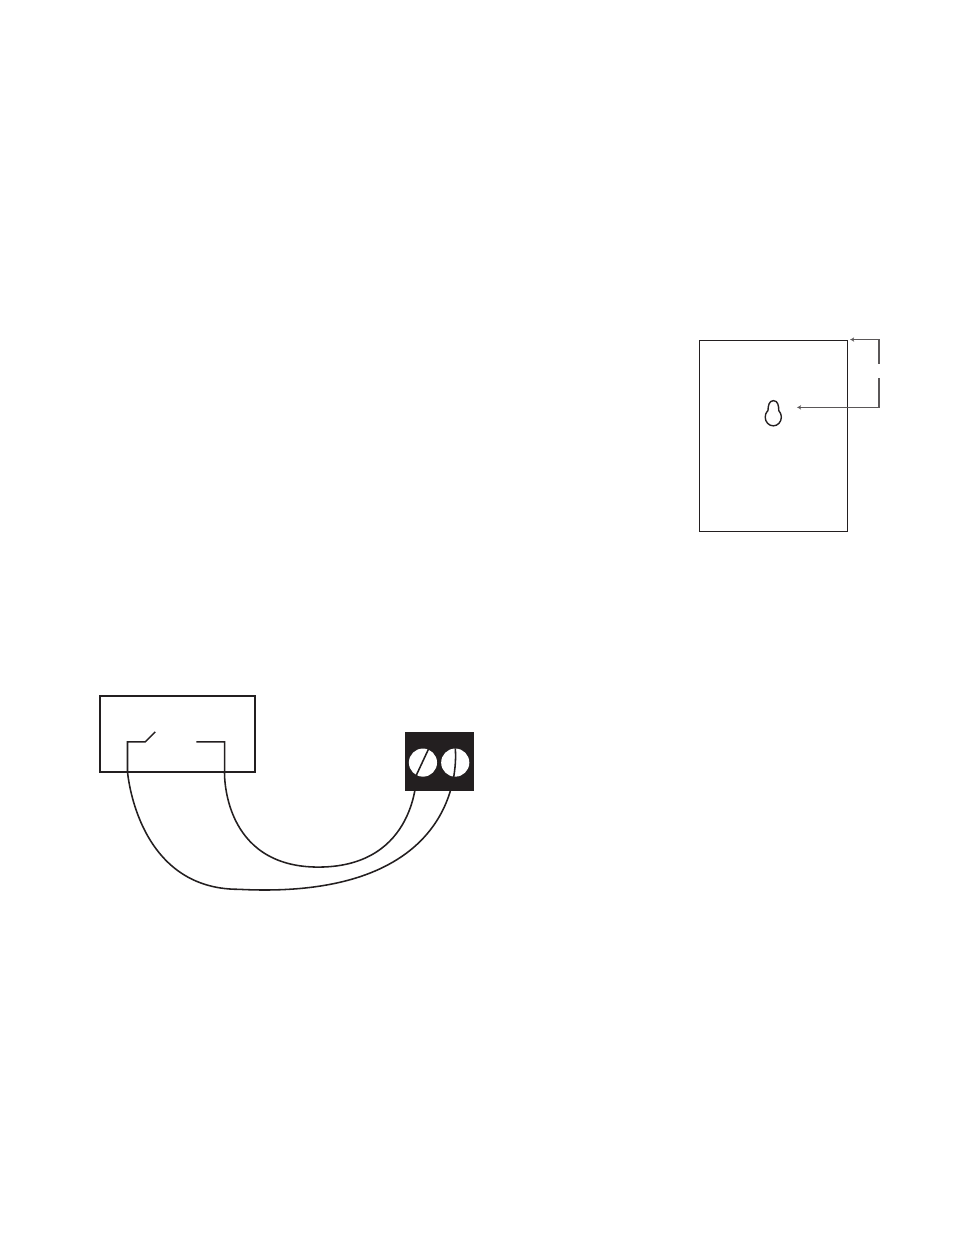
Use a pencil to mark the hole locations at the top and bottom of the housing.
Install the drywall anchors (if necessary) to the wall. Attach the housing to
the wall using #6 tapping screws.
wIrIng
Connect any normally open or normally closed dry contact to the “sensor” terminals on the circuit
board. Be sure to strip the wires .25” before inserting and tightening the screws.
Alarm
Contact
The Wireless Dry Contact sensor will, by default, be set to accept a Normally Open contact. To change
the input type to a Normally Closed contact, you can use the web page or use the keypad on the WSG30.
To use the keypad, press the Menu button, then select Inputs. Scroll to the dry contact sensor you wish
to change and press Enter. Next, scroll down to the Type and press Enter. Choose either N.O. or N.C.
and press Save.