Barco R9002327 User Manual
Page 42
INSTALLATION ADJUSTMENTS
INSTALLATION
ADJUSTMENTS
INSTALLATION ADJUSTMENTS
INSTALLATION
ADJUSTMENTS
7-9
7-9
5975069A BARCOVISION 708 200498
5975069A BARCOVISION 708 200498
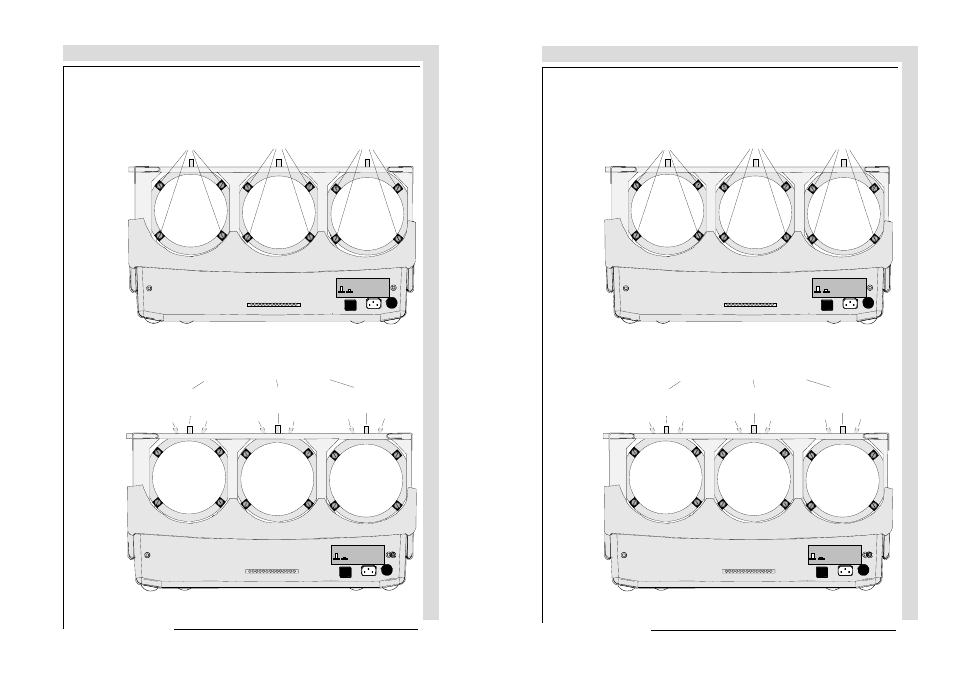
1. Open the top cover (see Gaining access to controls)
2. Loosen the lens bolts (do not remove them), and slide the lens to the front until the
scheimflug ring can move freely (nutdriver 8 mm or screwdriver).
3. Push the scheimpfug ring to its correct position (front view).
range 1 : to the right
range 2 : in the middle
range 3 : to the left
4. Push the lens back till it fits in the ring and secure the four bolts.
See installation instructions before
connecting to the supply
V NOM 120/230 Volt
I MAX 5/2.5 AMP
FREQ 60/50 Hz
OFF
ON
/HQV EROWV
*UHHQ OHQV
/HQV EROWV
5HG OHQV
/HQV EROWV
%OXH OHQV
See installation instructions before
connecting to the supply
V NOM 120/230 Volt
I MAX 5/2.5 AMP
FREQ 60/50 Hz
OFF
ON
htrÃ!
htrÃ"
htrÃ
%OXH
htrÃ!
htrÃ"
htrÃ
*UHHQ
htrÃ!
htrÃ"
htrÃ
5HG
6FKHLPSIXJ FRUUHFWLRQ KDQGOH