System setting, Ddns, Email – CCTV Camera Pros iDVR-PRO A Series DVRs User Manual
Page 46
System Setting
46
|
System Setting
\
\
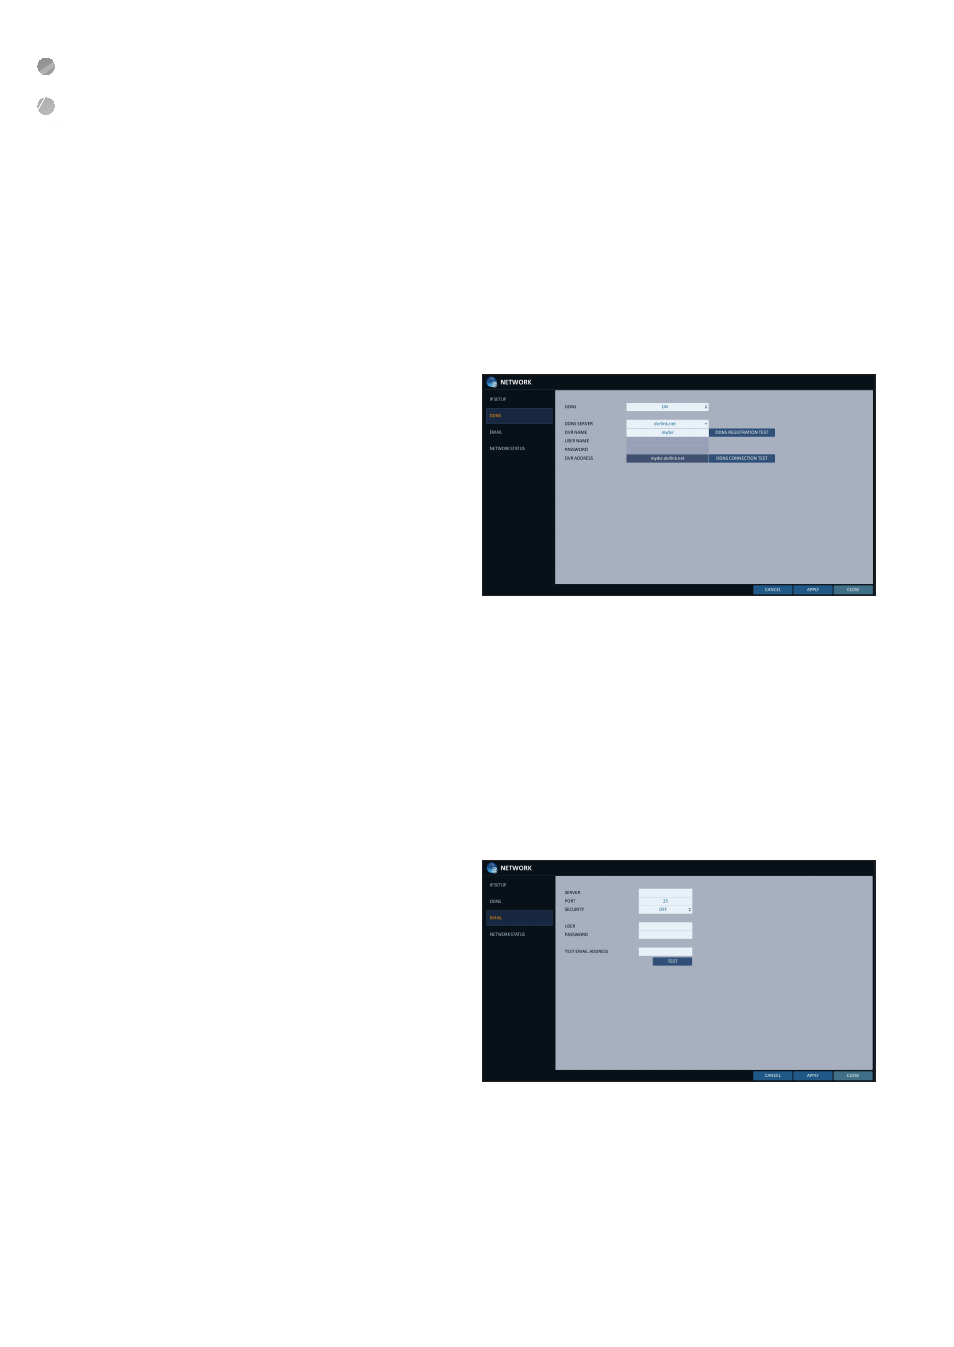
DDNS
You can configure the DDNS settings so that remote users who are connected to the network can access remotely.
DDNS is an IP redirection service in a dynamic IP environment that redirects (maps) the new IP address to a registered domain name
each time the IP address is changed.
1.
From
2.
Use the [
▲▼◀▶
/ENTER] buttons on the remote
control or use the mouse to specify the use of DDNS
and select a server.
i
DDNS : Specify the use of DDNS connection.
i
DDNS SERVER : Select a server to connect to.
i
DVR NAME : Enter the name of the DVR that you
want to use as DDNS.
i
DDNS REGISTRATION TEST : Check if the
duplicate name in the server, the registration will
fail. If this is the case, rename the
and press Test to check if it works properly.
i
USER NAME : Use this field only if you set DDNS server to dyndns.org.
i
PASSWORD : Use this field only if you set DDNS server to dyndns.org.
i
DVR ADDRESS : Provide the
will be added automatically.
i
DDNS CONNECTION TEST : Perform the connection test to check if DDNS is normally registered.
3.
To apply the change, click
4.
When done, press the [EXIT] button on the remote control or click
message appears and you will return to the previous menu.
\
\
You can register and test an email address so that an email notification is delivered at a specific interval or if an event occurs.
1.
From
2.
Use the [
▲▼◀▶
/ENTER] buttons on the remote
control or use the mouse to specify the use of email
and select a server.
i
SERVER : Set up the mail server.
Set the mail server that will be used for notification
to the DVR.
Use the virtual keyboard to enter your mail server.
i
PORT : Enter the mail server port.
i
SECURITY : If it is set to
transferred in secure mode.
If it is set to
a server that does not support SSL.
i
USER : Provide the email account (ID) of the sender.
i
PASSWORD : Provide the password of the sender.
i
TEST EMAIL ADDRESS : Enter an email address for the test purpose.
i
TEST : Send a test email and check if the test email is delivered normally.
3.
To apply the change, click
4.
When done, press the [EXIT] button on the remote control or click
message appears and you will return to the previous menu.