Cleaning and inspection, Assembly, Cleaning and inspection -12 assembly -12 – JLG E300 Service Manual User Manual
Page 154
SECTION 5 - HYDRAULICS
5-12
– JLG Lift –
3121253
4. Withdraw the O-ring and back up ring carefully as
not to damage the seals.
5. It is impossible to disassemble the bushing because
it is pressed on. Remove it by using a press.
PISTON SEAL DISASSEMBLY
1. The piston seal is used in pairs and the ring at the
outer diameter is easily removed by hand. Remove
the inner rubber ring carefully with the disassembly
tool so as not to cause damage to a processed
good.
2. Carefully remove the o-ring and back up ring with
the disassembly tool as not to cause damage to the
seals.
Cleaning and Inspection
1. Clean all parts thoroughly in an approved cleaning
solvent.
2. Inspect the rod threads for the additional damage. If
necessary, dress rod threads.
3. Inspect the inside of the cylinder barrel for any dam-
age. Inspect the inside diameter for tapering or oval-
ity.
4. Inspect the barrel threads for the damage and dress
threads as necessary.
5. Inspect the piston surface for the damage. Replace
the piston if necessary.
6. Inspect the piston threads for damage.
7. Inspect the seal and o-ring grooves for burrs and
sharp edges. Dress the surface as necessary.
8. Inspect the cylinder head inside diameter for dam-
age, ovality and tapering. Replace as necessary.
9. Inspect the head threads for damage. Dress the
threads as necessary.
10. Inspect the gland seal and o-ring grooves for the
burr and sharp edge. Dress the surface as neces-
sary.
11. Inspect the cylinder head outside diameter for dam-
age, ovality and tapering. If necessary, replace it.
12. Inspect rod and tube bearings for signs of excessive
wear or damage.
Assembly
NOTE: Prior to cylinder assembly, ensure that the proper
cylinder seal kit is used. Refer to the JLG parts man-
ual.
GLAND, PISTON SEAL ASSEMBLY
1. Install the new rod seal into the applicable cylinder
gland grooves by hand.
2. Use a soft mallet to tap a new wiper seal into the
applicable cylinder head gland groove. Install a new
wear ring into the applicable cylinder head gland
groove.
3. Place the o-ring and back up seal in the outside
grooves of the cylinder gland.
4. Install a washer ring onto the rod and carefully install
the gland on the rod ensuring that the wiper and rod
seals are not damaged or dislodged. Push the head
gland along the rod to the rod end, as applicable.
5. Carefully slide the piston spacer on the rod.
NOTE: The main boom telescope cylinder piston has an o-
ring installed inside the spacer.
6. If applicable, correctly place the o-ring in the inner
piston diameter groove. The back up ring side fac-
ing the o-ring is grooved.
GLAND, PISTON, PISTON NUT ASSEMBLY
1. Clamp the rod assembly
2. Use a guide jig so as not to cause damage to the
inner seal of the gland and assemble it.
3. Assemble the piston onto the rod assembly
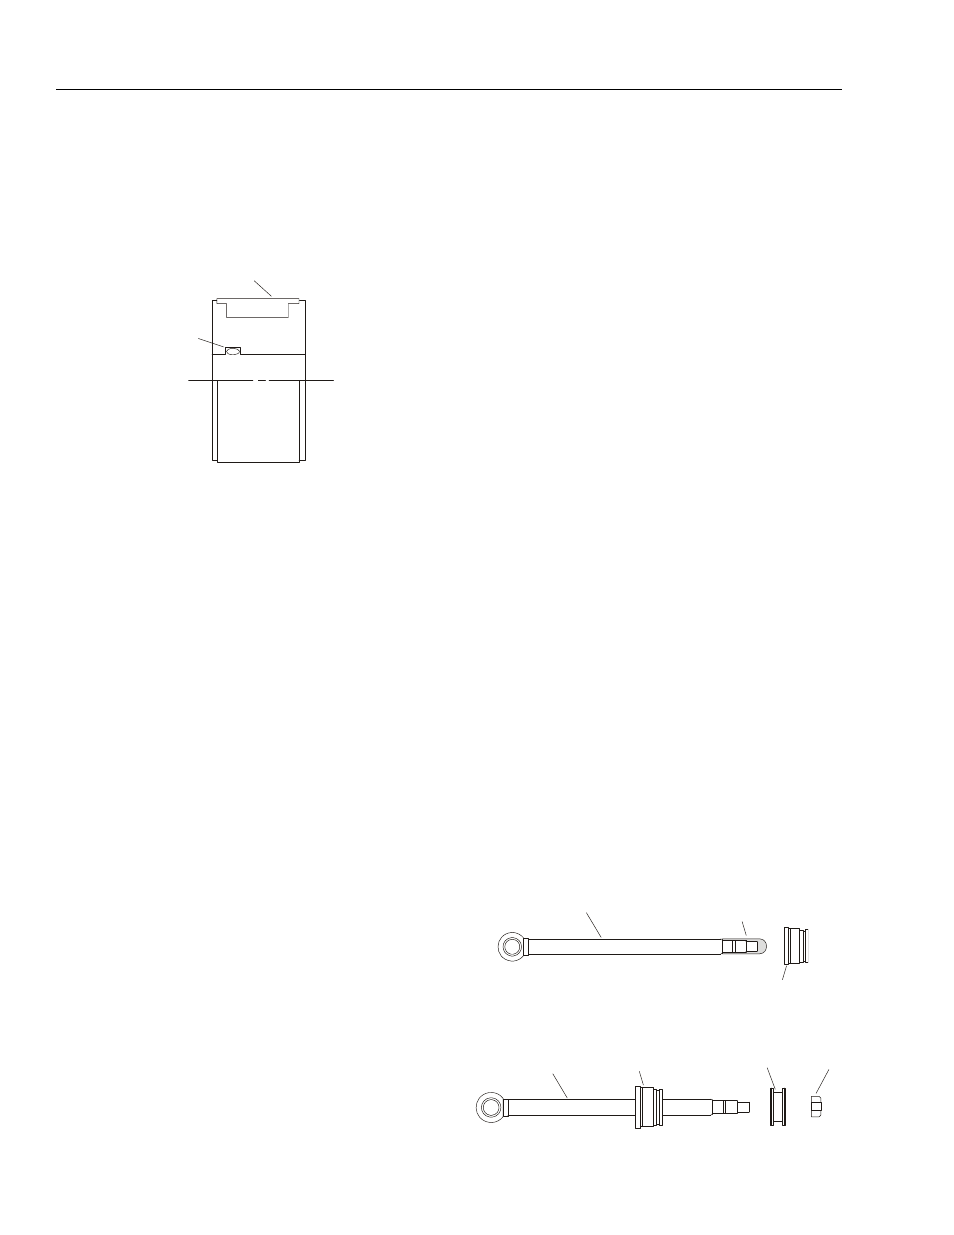
PISTON SEAL
O-RING
ROD ASSEMBLY
GLAND
GUIDE JIG
ROD ASSEMBLY
GLAND
PISTON
NUT