Getting ready to record – Apple GarageBand '09 User Manual
Page 52
52
Chapter 5
Tutorial 3: Recording Vocals and Musical Instruments
To add an Electric Guitar track:
1
Click the Add Track button, or choose Track > New Track.
2
In the New Track dialog, click Electric Guitar, then click Create.
A new Electric Guitar track appears in the timeline, and the Track Info pane opens to
the right of the timeline, showing a guitar amp and stompbox effects for the track.
3
In the Track Info pane, choose a guitar preset from the pop-up menu.
4
To choose a different guitar amp, move the pointer over the amp on the stage, then
click the left or right arrow.
5
To change the input source, click Edit (with the amp selected), then choose a different
input from the Input Source pop-up menu.
6
To hear your guitar as you play, choose On or On with Feedback Protection from the
Monitor pop-up menu.
Getting Ready to Record
After you’ve added a Real Instrument or Electric Guitar track to record in, there are a
few things to check before you start recording:
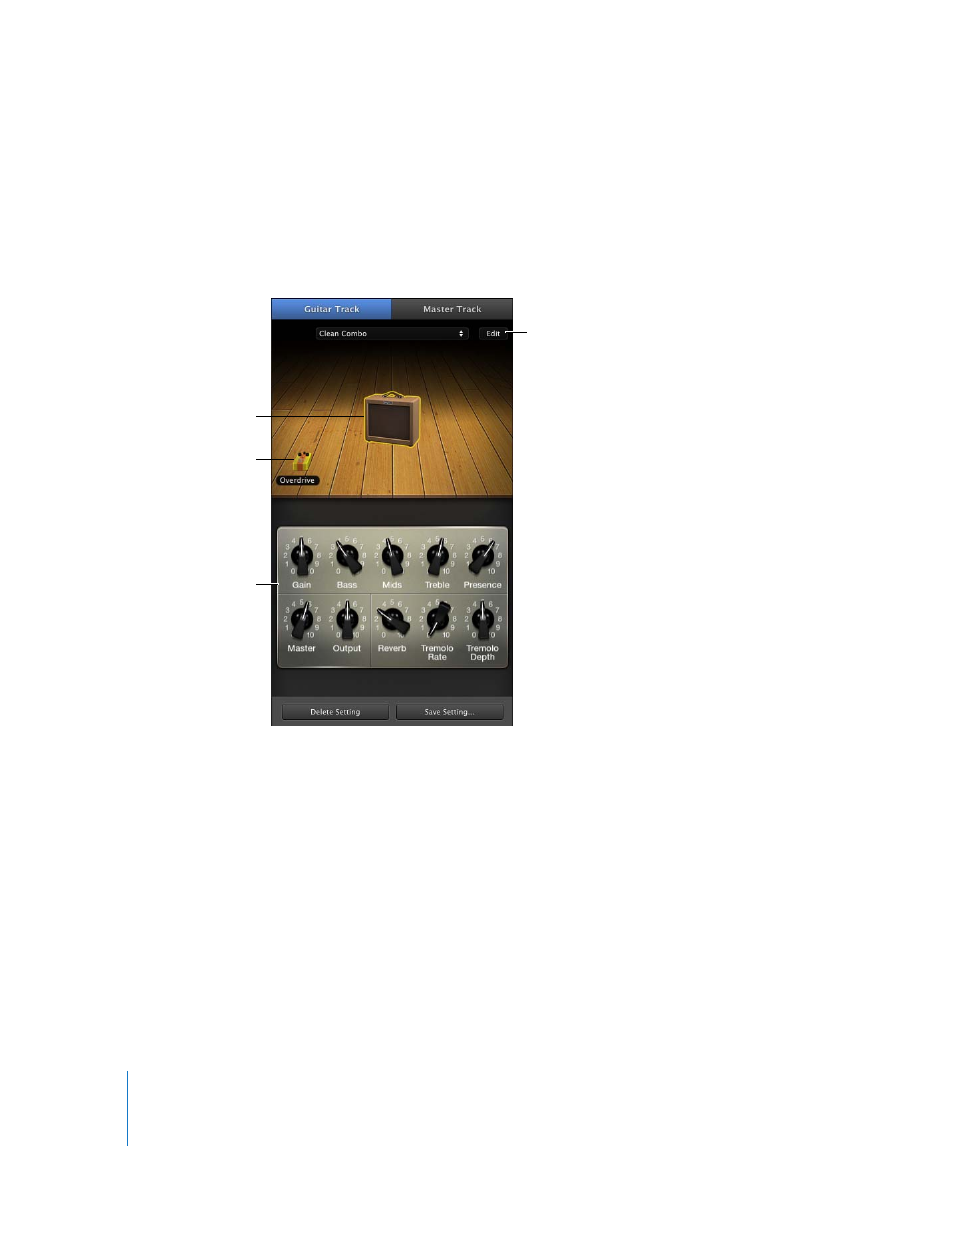
Click the amp to see the
amp controls below.
Click a stompbox to see
its controls below.
Controls for the
selected item appear
below the stage.
Click to change the input
source or see all available
stompbox effects.