Apple Xserve (Early 2008) DIY Procedure for Enclosure User Manual
Page 94
Xserve (Late 2006/Early 2008) Power Distribution Board Replacement Instructions
12
Tighten the thumbscrew that secures the backplane to the enclosure.
4.
Reconnect the backplane-to-logic board I/O cable to the backplane.
5.
Reconnect the front panel board cable to the front panel board.
6.
Replacing the Fan Array
Align the power connector on the fan array with its connector on the power distribution
1.
board and lower the array into the enclosure. Push down on the fan array power connector
to make sure it is fully seated.
Tighten the screws at the ends of the array. Make sure the large front panel board cable runs
2.
above the power connector but below the tab on the top of the power supply.
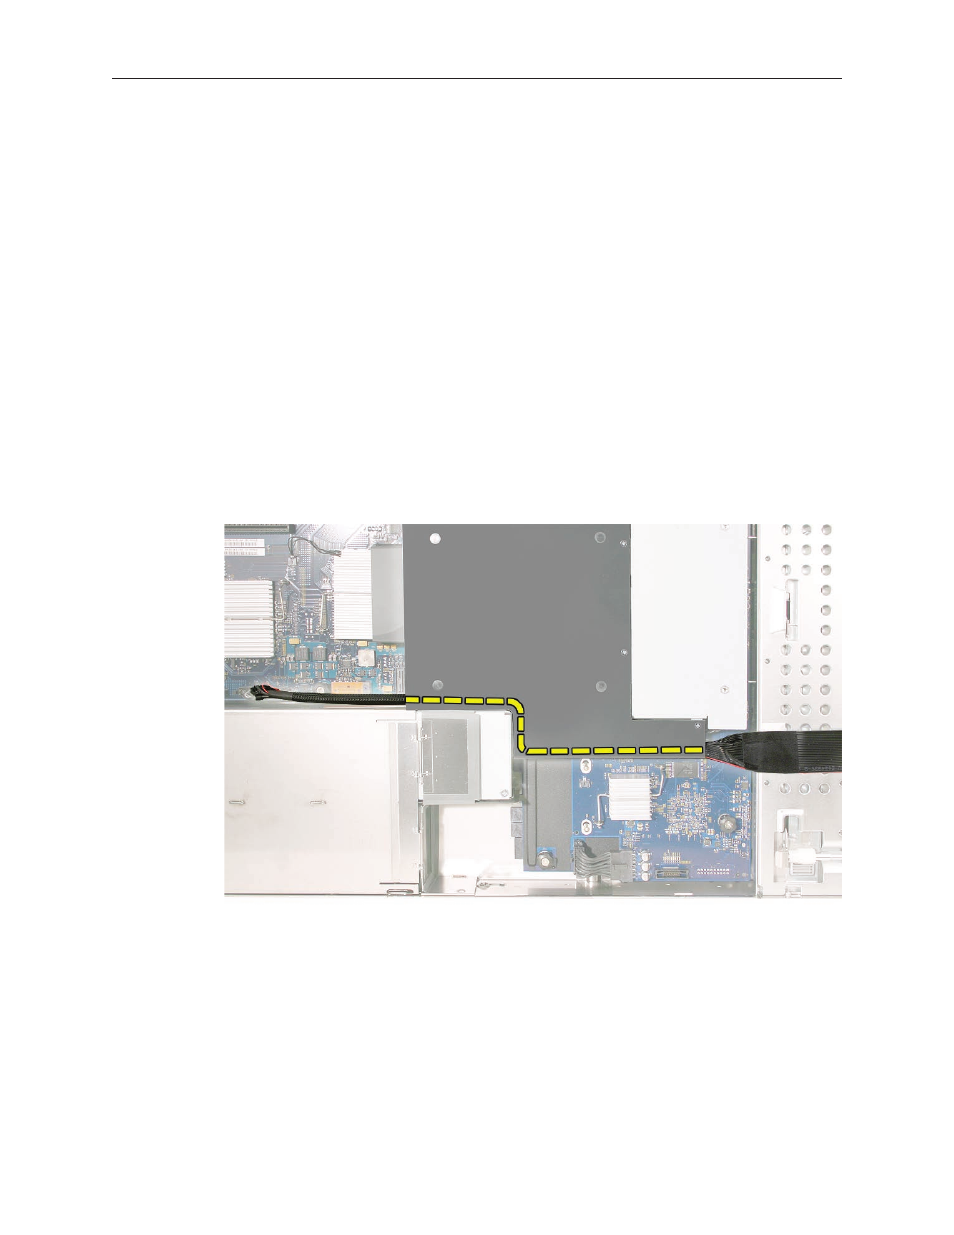
Replacing the Airflow Duct
Lower the airflow duct into position on the logic board.
1.
Note: When installing the airflow duct, be sure to route both the front panel board cable and
the backplane-to-logic board I/O cable inside the channel under the left side of the duct.
Ensure the airflow duct fits flush all over, and does not protrude above the level of the
2.
enclosure.
Note: Be careful when working with any black foam pieces that are part of the airflow duct
or the logic board.