Setting the simulated sound, Stage, Using balance adjustment 128 – Pioneer AVIC-HD3-II User Manual
Page 128: Setting the simulated sound stage, Using balance adjustment
1
Touch [Equalizer] in Audio Settings
menu.
2
Touch [Customize].
The details setting screen appears.
3
Touch c or d to select the equaliser
band to adjust.
Each time you touch c or d selects equaliser
bands in the following order:
Low
— Mid — High
4
Touch c or d to select the desired cen-
tre frequency.
Low: 40
— 80 — 100 — 160 (Hz)
Mid: 200
— 500 — 1K — 2K (Hz)
High: 3.15K
— 8K — 10K — 12.5K (Hz)
5
Touch c or d to adjust the level of the
equaliser band.
Each time you touch c or d increases or de-
creases the level of the equalisation band.
+12dB to
–12dB is displayed as the level is in-
creased or decreased.
6
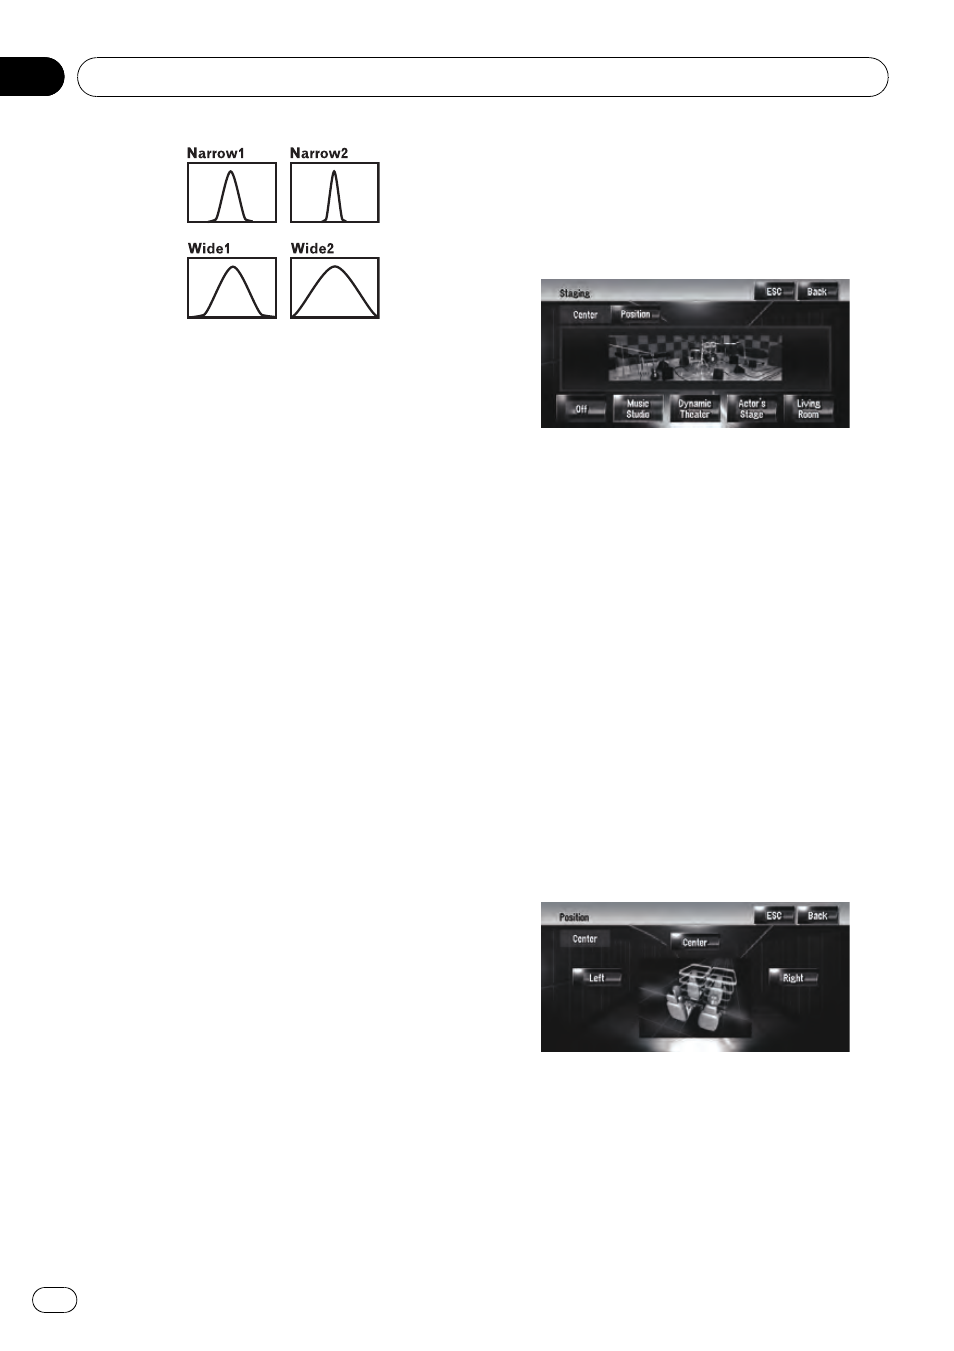
Touch c or d to select the desired [Q].
Touch c or d until the desired the curve char-
acteristics appears in the display.
Wide2
— Wide1 — Narrow1 — Narrow2
p To adjust other bands, repeat step 3 to step
6.
Setting the simulated sound stage
You can select the desired effect from various
simulated sound stages, such as Music Studio
or Dynamic Theatre. You can also adjust a lis-
tener positioning effect.
Setting a stage that fits your image
1
Touch [Staging] in Audio Settings
menu.
2
Touch desired stage setting.
p [Living Room] setting that emphasises
mid-range sound hardly has any effect near
the maximum volume level.
p When you set staging to an option other
than [
Off], the high pass filter (HPF) setting
turns [
Off].
= For details, refer to Using the high pass filter
on page 130
Adjusting a position effect
You can select a listener position that you
want to make as the centre of sound effects.
1
Touch [Staging] in Audio Settings
menu.
2
Touch [Position].
3
Touch desired position.
Using balance adjustment
You can select a fader/balance setting that
provides an ideal listening environment in all
occupied seats.
Customising the Audio Setting related with Audio Visual
Engb
128
Chapter
15